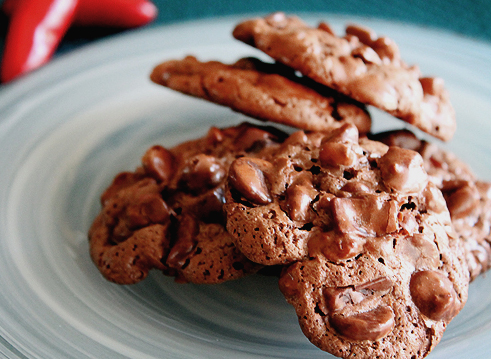
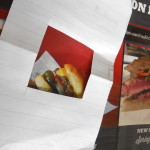
One of the nice things that happens at workshops, even serious ones like the one Bill Kurtin and I presented to ABODE yesterday on Contemplative Care, is networking – in this case, chocolate cookie networking. ABODE co-founder Patsy Sasek (left) brought some amazing cookies for workshop participants. They were, light, glossy, and chocolatey with chocolate chips and walnuts – and chipotle powder. And – get this- they are gluten free and practically fat-free (except for the chocolate chips – ahem). I asked Patsy if I could share the recipe with you guys, and she obliged – get ready for a chewy, chocolatey chipotle treat – thanks, Patsy:
Mexican Chocolate Chewies
Chocolate chewies are light, crisp, and, yes, chewy chocolate cookies that are studded with chocolate chips and pecans. You see them at bakeries all over Texas, and yet not too many people make them at home. There’s really no reason for this, especially as they are a snap to make. I’ve added a bit of cinnamon and chipotle chile powder to give them a bit of spice and heat.
Ingredients
2 cups pecans, roughly chopped (Patsy says she sometimes uses walnuts)
2½ cups powdered sugar
½ cup unsweetened cocoa powder
½ tsp. ground cinnamon
¼ tsp. chipotle chile powder (Patsy says she doubles this – you should, too!)
¼ tsp. kosher salt
3 large egg whites
1 tsp. vanilla extract
2 cups semisweet chocolate chips
Steps: Preheat the oven to 350 degrees and line a baking sheet with parchment paper.
While the oven is heating, arrange the chopped pecans in a skillet and place in the oven for 5 minutes or until they’ve turned a bit darker brown (but not black) and smell fragrant. Mix roasted pecans with the powdered sugar, cocoa powder, cinnamon, chipotle chile powder, and salt. Stir the egg whites into the dry mixture by hand (or beat with a stand mixer on low) just until the batter is well mixed. Stir in the vanilla extract and chocolate chips. Drop tablespoon-size portions of batter on the sheet an inch apart, about six per sheet, as these cookies will spread while baking. Bake for 15 minutes or until crackling on the surface.
Remove sheet from oven, lift parchment paper with the cookies still on it off the sheet, and cool on a rack. Allow cookies to cool for 20 minutes before removing from paper, as they’re very delicate. They will keep for a few days in an airtight container.
This content is from the book The Homesick Texan Cookbook by Lisa Fain.
Like this:
Like Loading...


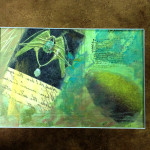


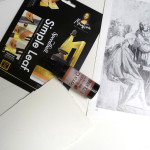
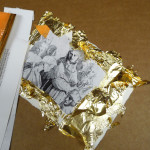
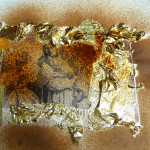
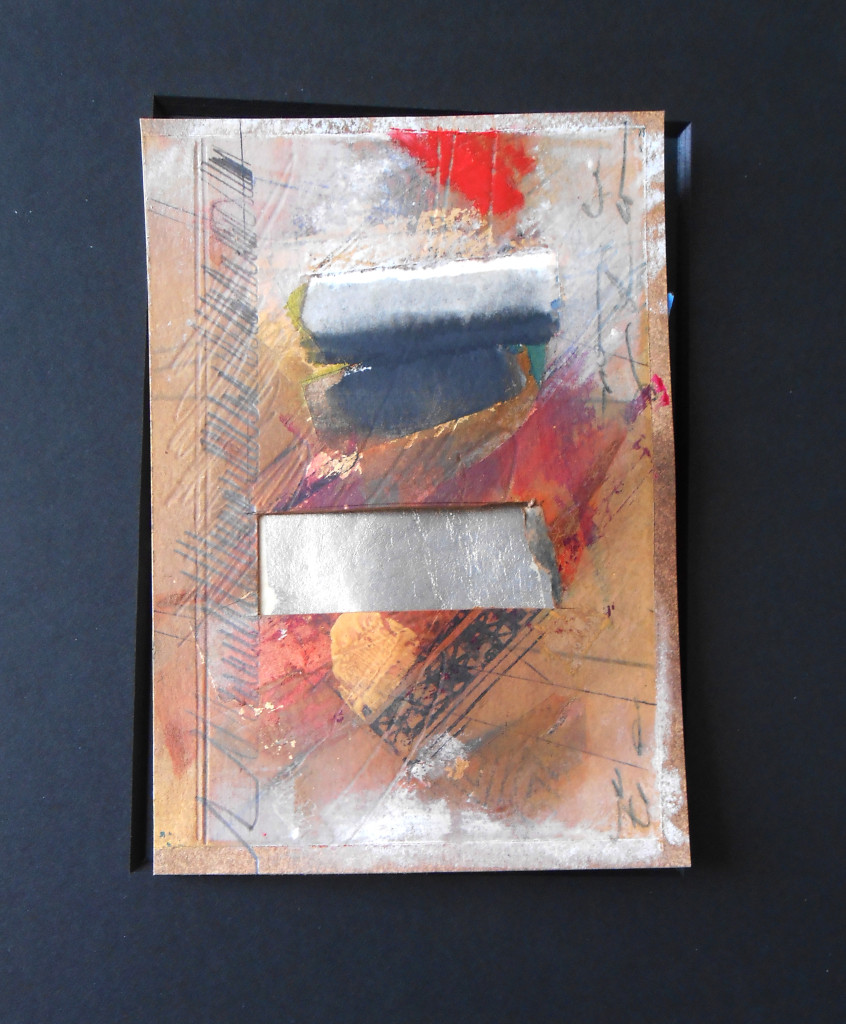 Here’s the next one – it might not be finished, but it isn’t overworked. I simplified the composition and the palette, and then stopped. Sometimes less is more. (Except maybe for gold leaf, walnut ink, chocolate sorbet and Diet Dr. Pepper. :))