Abstraction/Non-Objective: the emancipation of the mind ?

I had the great pleasure of working with five friends, all whom create artwork that I admire, in an abstract painting workshop at my Studio last Friday.

From left: Pamela Ferguson, Bibi Saidi, Carolyn Royall, Robin Gara – not pictured: Nancy Vandenburg

Part of the fun was sharing thoughts about abstraction and non-objective painting. Here’s one of my favorite quotes written by Arshile Gorky:

“Abstraction allows man to see with his mind
what he cannot physically see with his eyes…
Abstract art enables the artist to perceive beyond the tangible,
to extract the infinite out of the finite.
It is the emancipation of the mind.
It is an explosion into unknown areas.” 

Emancipating one’s mind is a tough assignment. It’s human nature to try to direct the outcome of our work, and it’s difficult to let go of that control. We followed a “map” of steps to an unknown outcome. You can download the workshop outline here to see how we painted our abstract studies.

I try to develop a slightly different plan of attack for each painting workshop. Individual students react in different ways to techniques that get them to break the ice on a blank canvas. But we almost always start with mark-making, usually asemic writing.

It’s super-important to agree at the beginning that we will not create a masterpiece in three hours, but we might learn some new approaches to making meaningful paintings. Here are some of the first stages or our warmup:

And here are some in the second stage:

When you watch the video, you can see what some of our results were – all interesting! Several of the artists said that they were out of their comfort zone, but pleased with the final outcome, which may be the whole point!

Video Link

For further study, you can read a good explanation of Abstraction in Art from the Tate Museum.

Thanks for reading SHARDS – and remember, if you and a group of four or five friends  would like to organize a workshop at my studio, just send me an email!

“Where can I get . . . ? (my top five sources – non-Amazon!)

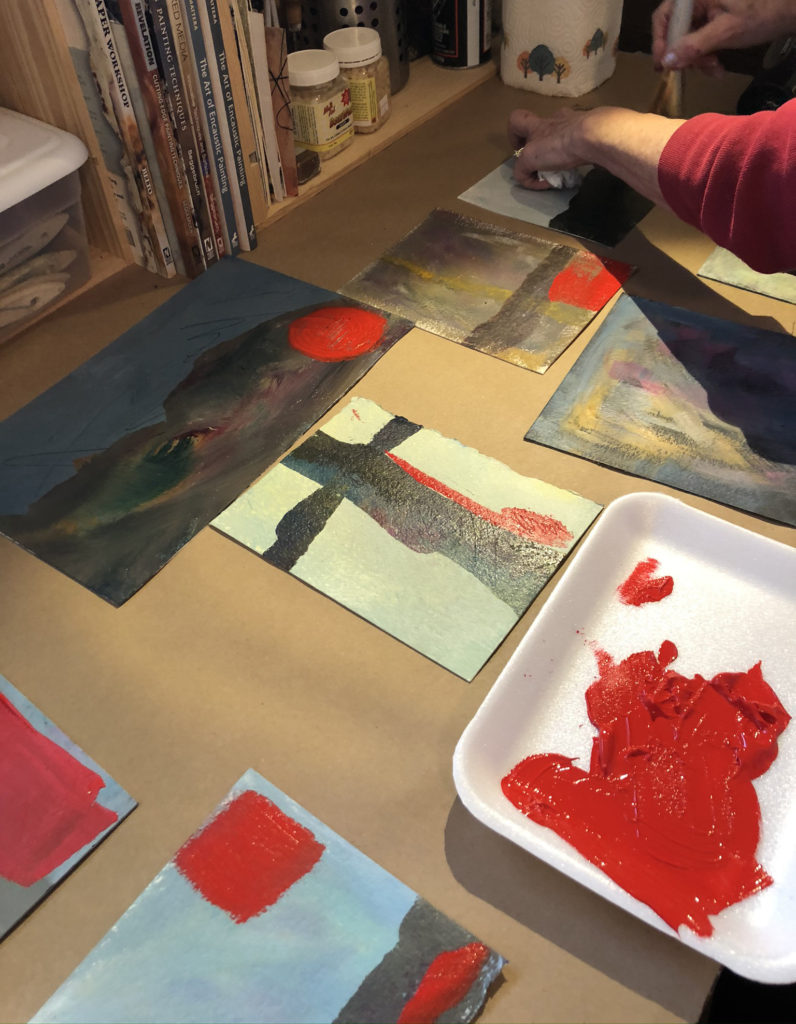
The New Year is a great time to identify the creative materials you use the most .  These are your signature media, your “desert island” necessities. This list can help you in your resolution to streamline and simplify your studio space once you know what you will really use.

I know what MY own signature media are. Here are the Top Five that I use extensively in my own work and in almost all of my workshops (Raise your hand if you’ve used walnut ink because you learned about it in one of our workshops!)

  1. Tsukineko Walnut Ink
  2. Beeswax
  3. Book Foil
  4. Sari Silk
  5. Artificial Sinew

I get a lot of questions about where to find these materials since they are not really mainstream art/craft materials. I prefer to buy from places other than Amazon (although the Big A is certainly fast and convenient).

But when I can obtain my signature materials from other artists or independent retailers, I try to share those sources.

Here they are – enjoy looking! :

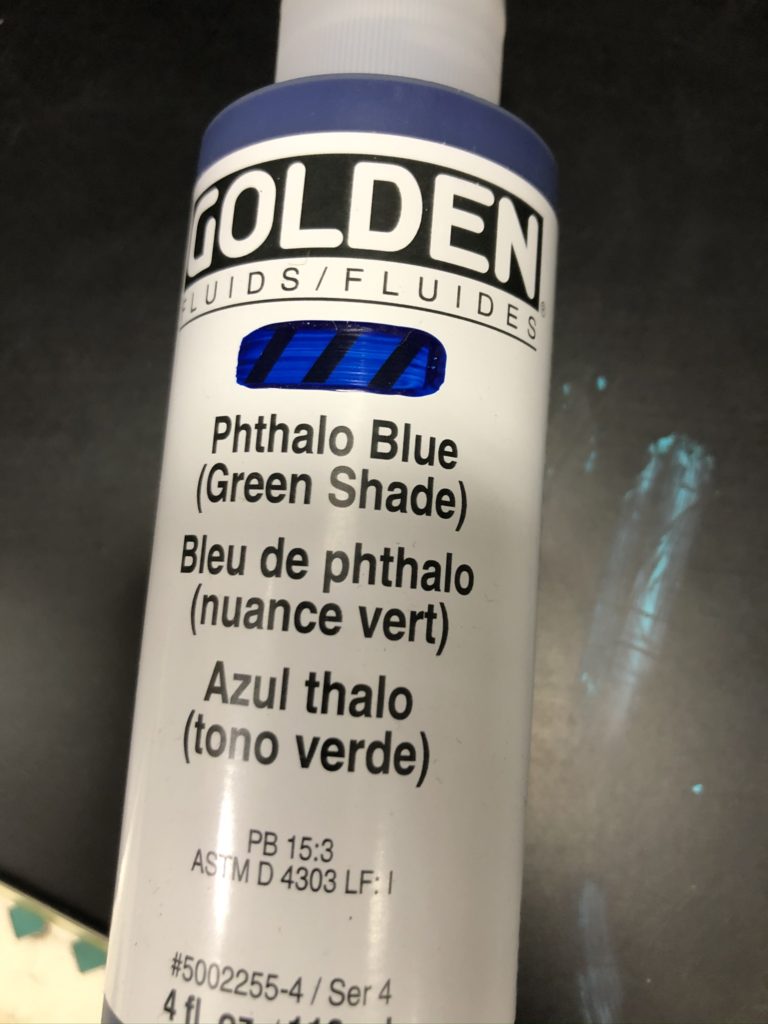
Tsukineko Walnut Ink:

https://www.imaginecrafts.com/walnut-ink/view-grid/1351

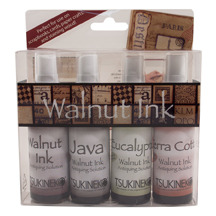
I have always ordered my walnut ink spray from Imagine Crafts. They have friendly customer service and ship quickly.  It’s often hard to find walnut ink at places like Michael’s or JoAnns (a lot of people have never heard of it) but it’s always in stock at Imagine.

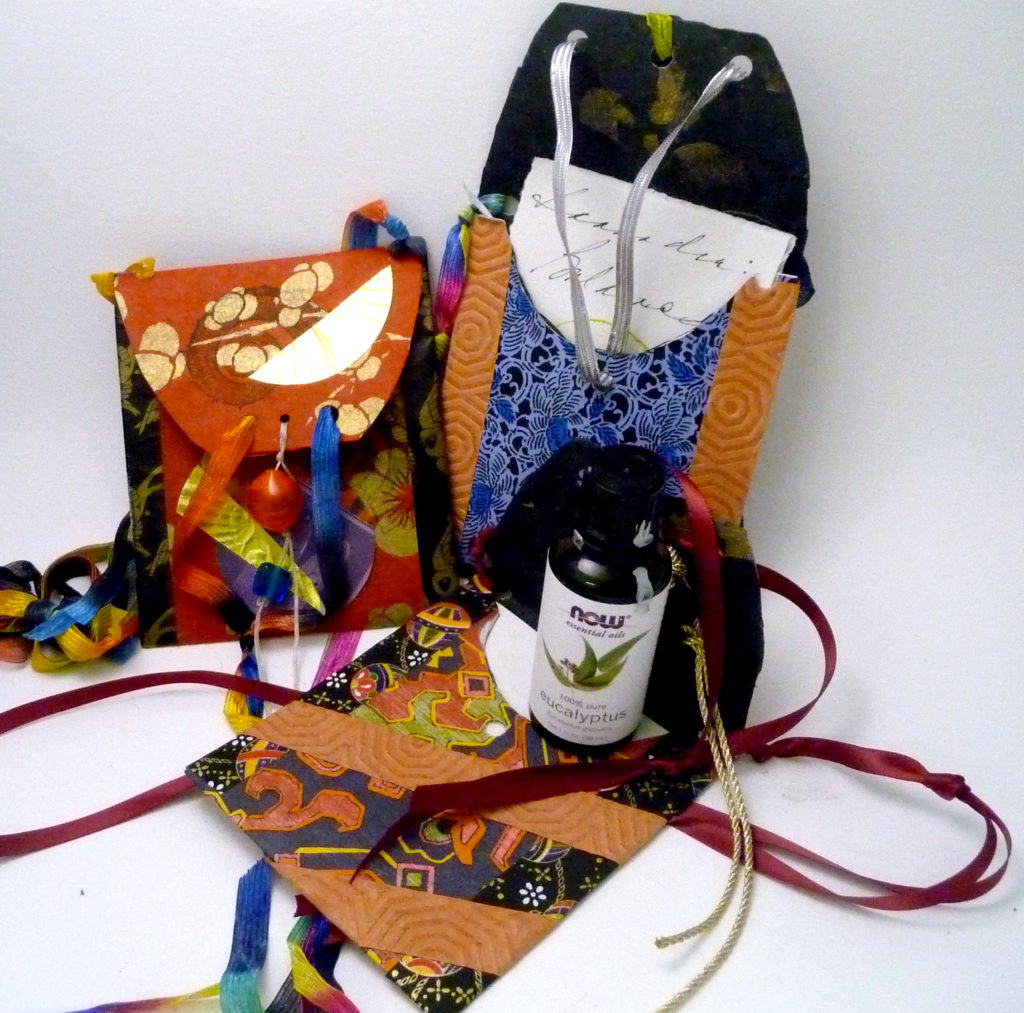
If you browse around the Tsukineko inks, you’ll see that there is a pastel set (Cherry Blossom, Cornflower, Willow, Lilac) as well as an earth-tone set (Java, Eucalyptus, Walnut, Terra Cotta). Either set of four bottles retails for $23. Any color can also be purchase singly for $5.70.
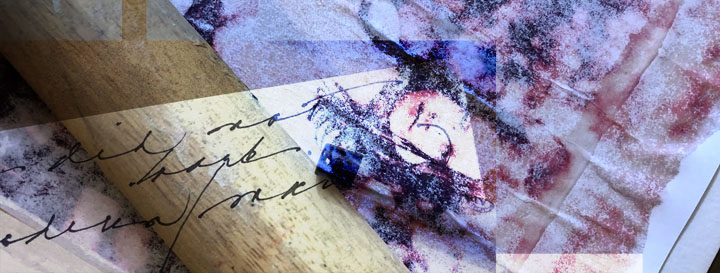
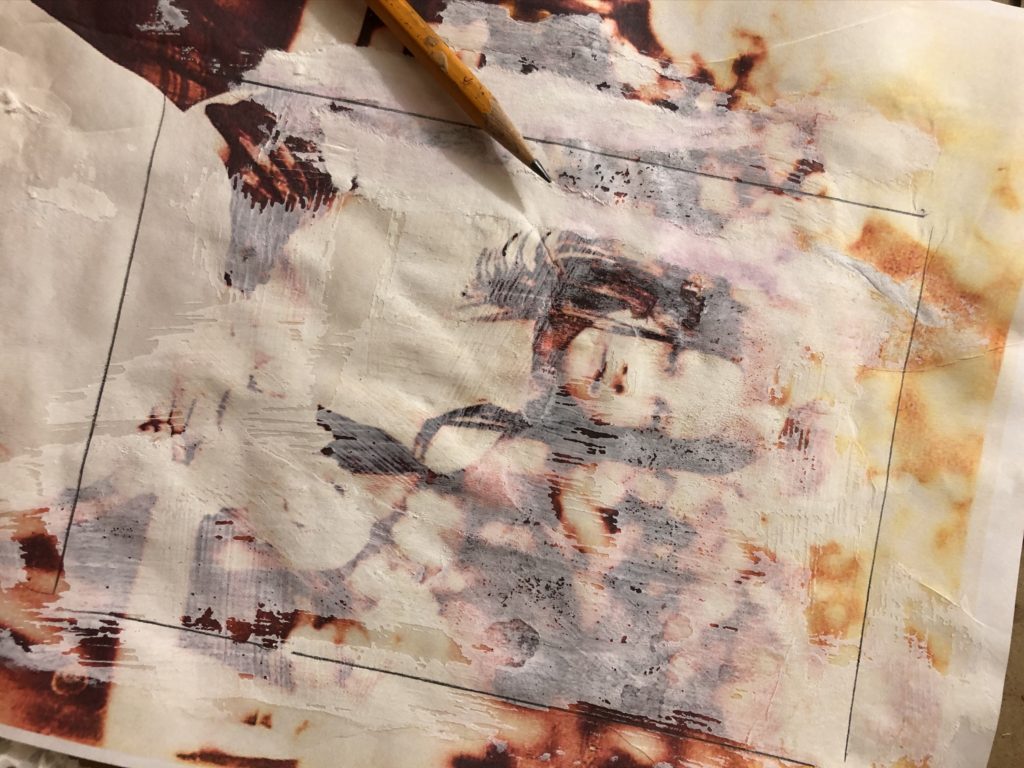
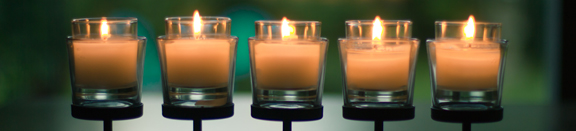
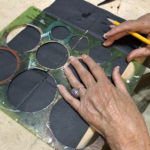
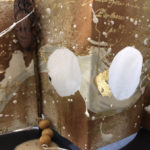
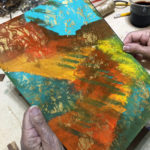
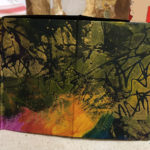
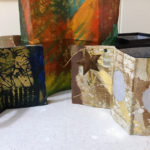
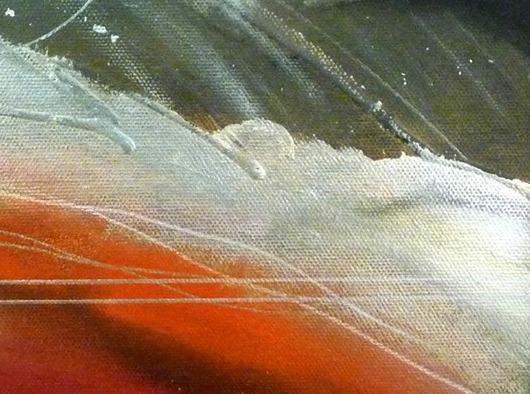
Beeswax:

There are many different forms of beeswax and thousands of ways to use it.  I use beeswax for encaustic collage and for assemblage. I use it on clay and on fiber. My preferred beeswax is all natural White Beeswax pellets, refined in the USA without any chemical bleaching aids. My favorite source for this is Swans Candles in Tenino, WA.

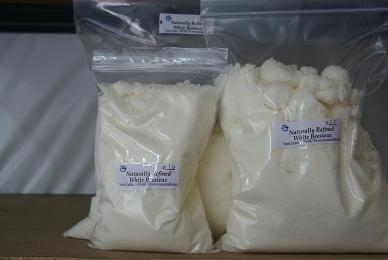
Swans has a fine selection of beeswax and other encaustic supplies (including Damar Varnish if you want to make your own encaustic medium). Their prices are excellent. You can buy a pound of Natural White Beeswax pellets for $9.95.

Most retail art stores now sell beeswax and other encaustic supplies, but you can expect to pay almost twice as much per pound. Even on Amazon, a pound of R&F Encaustic White Beeswax lists at $18.86.
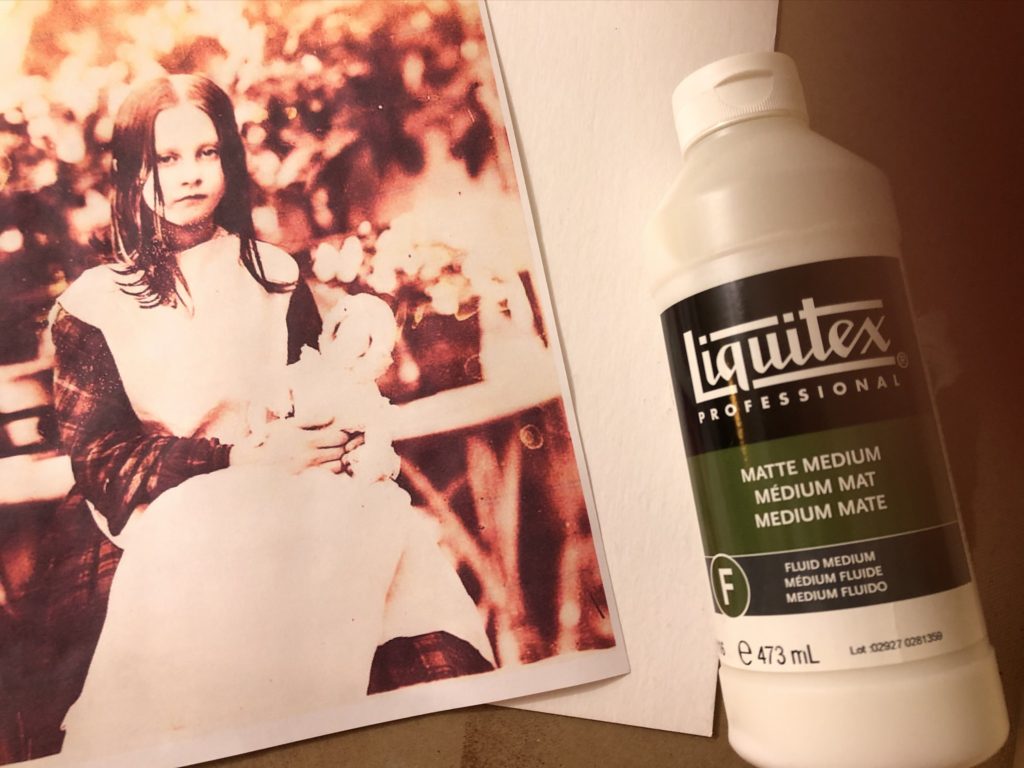
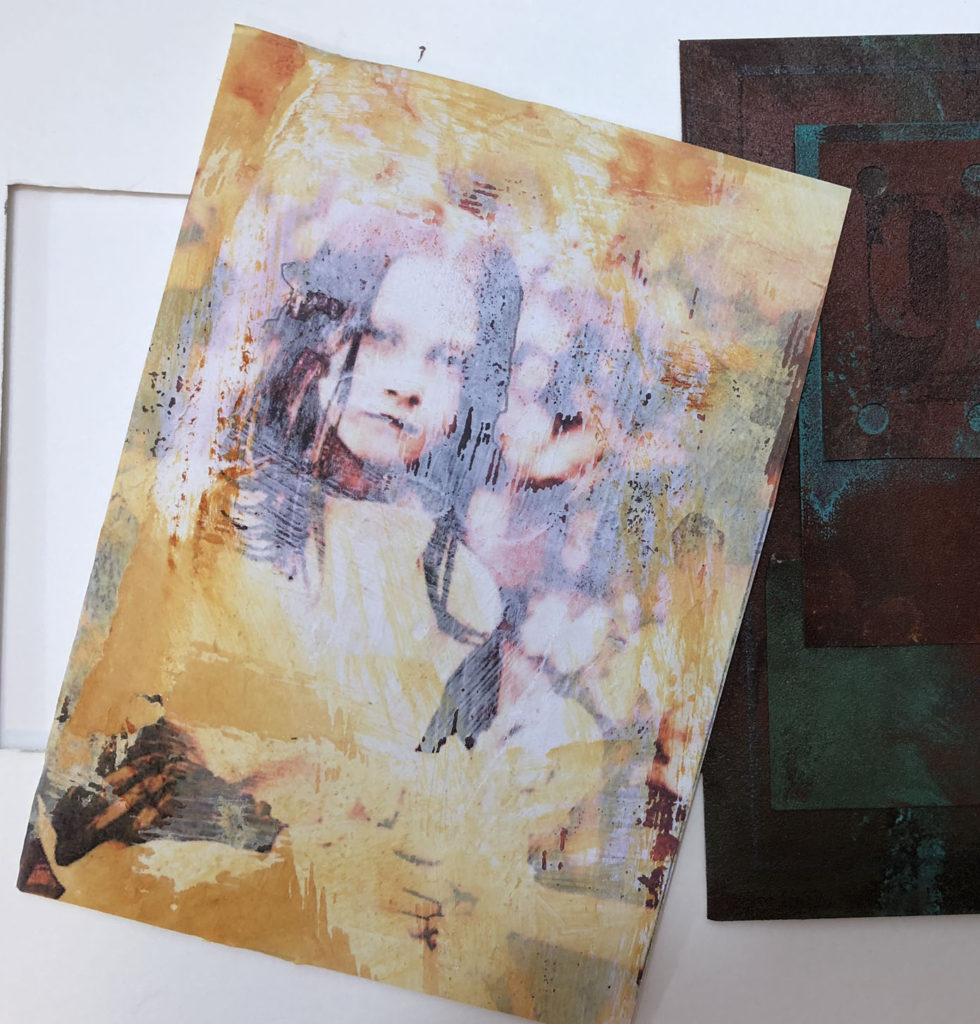
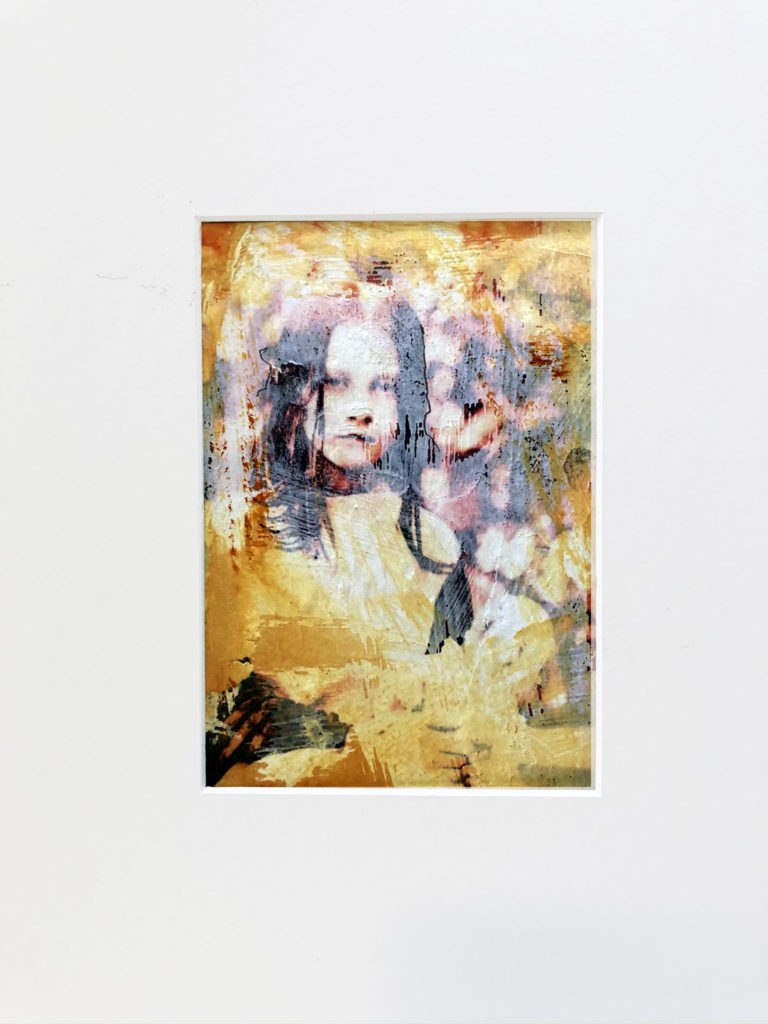
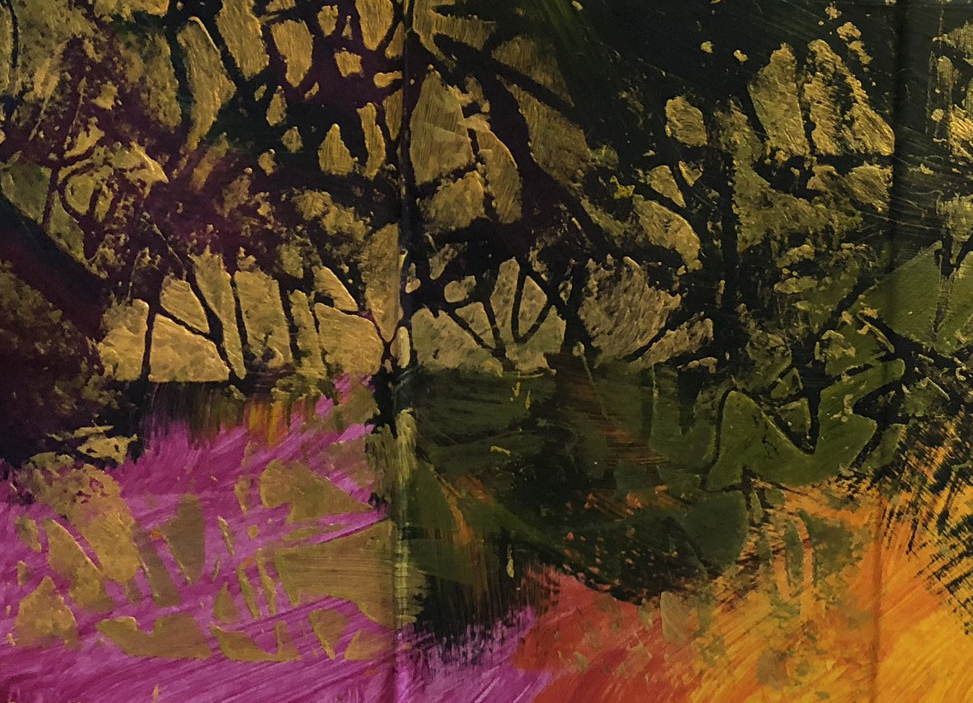
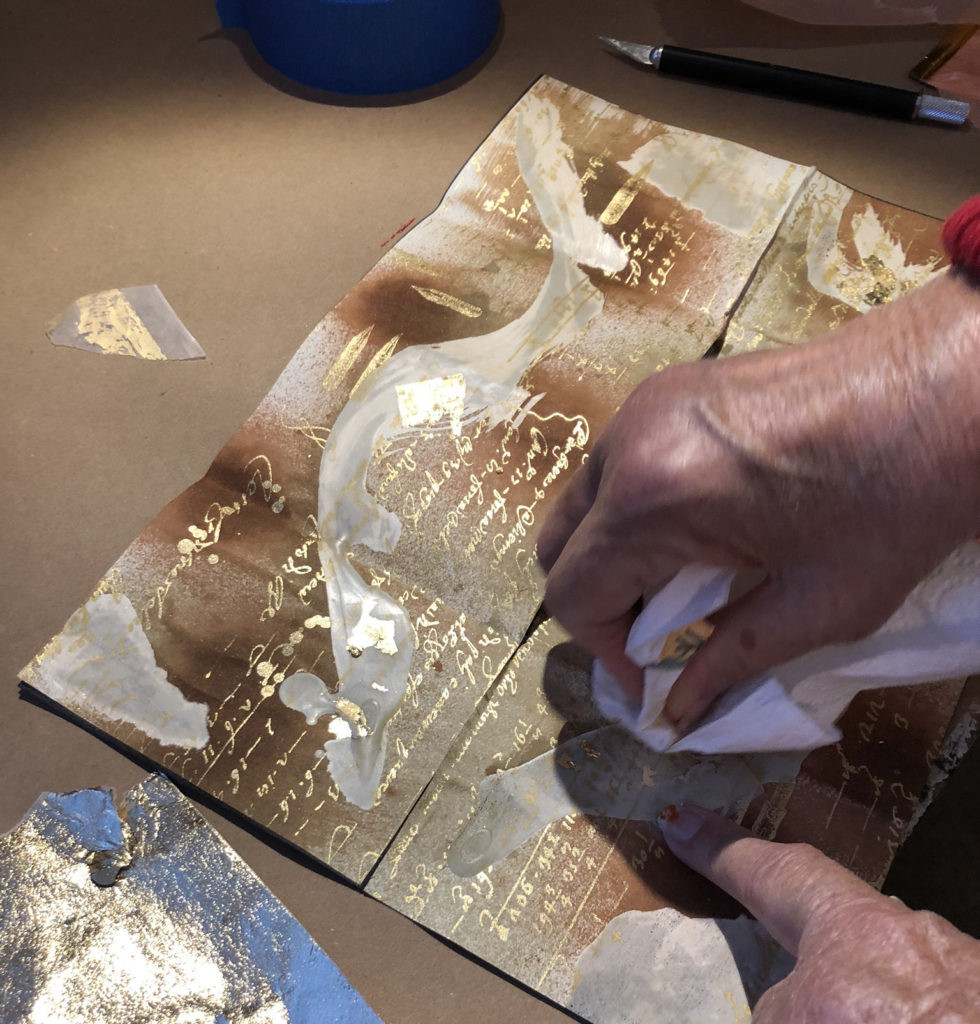
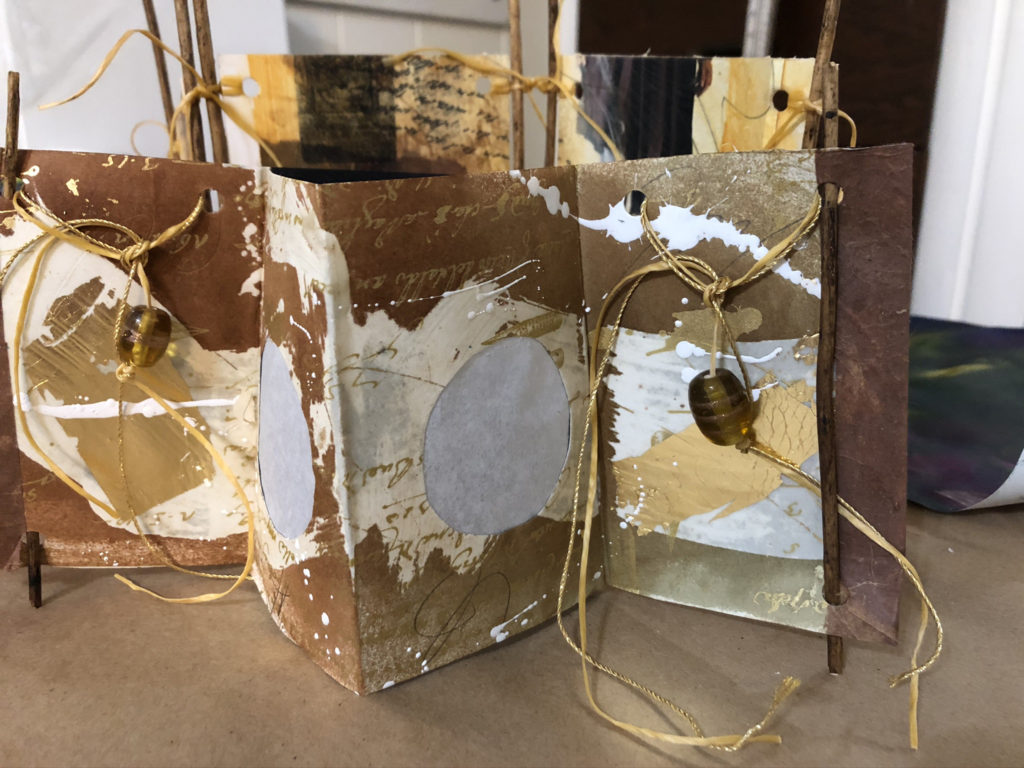
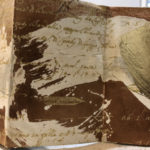
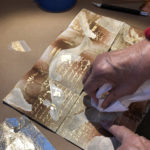
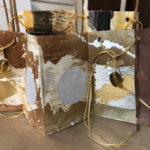
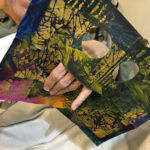
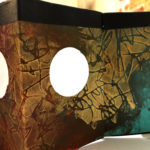
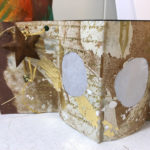
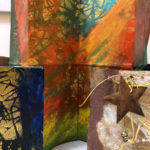
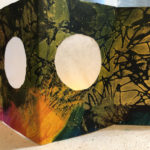
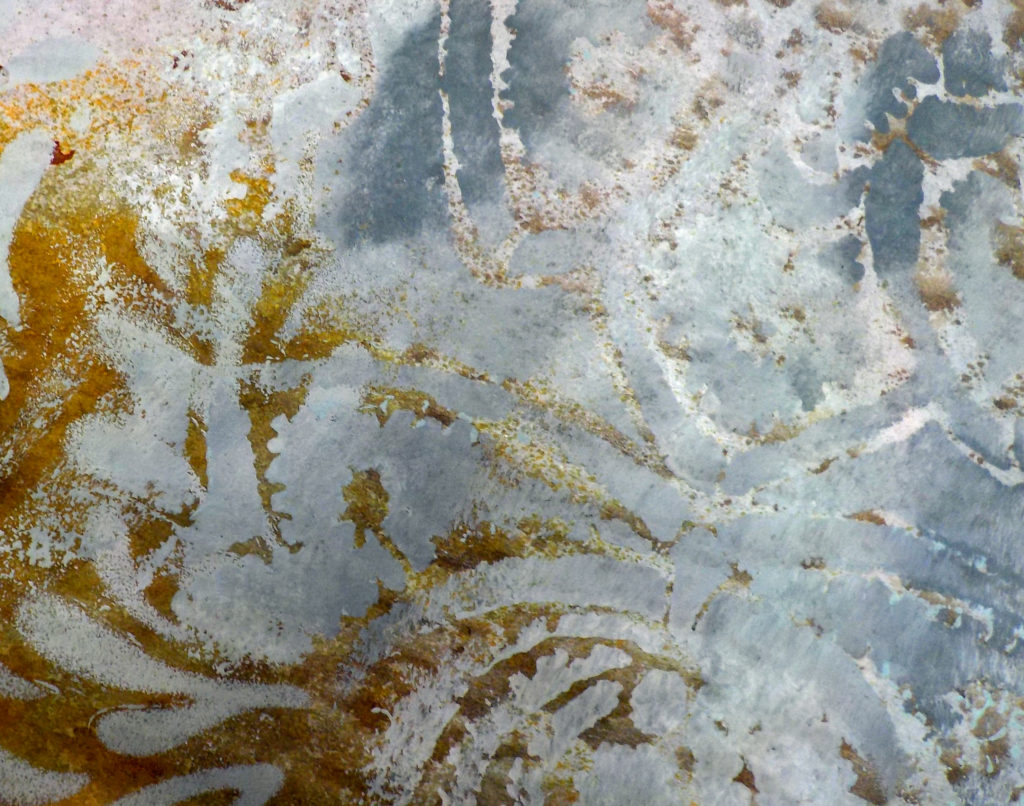
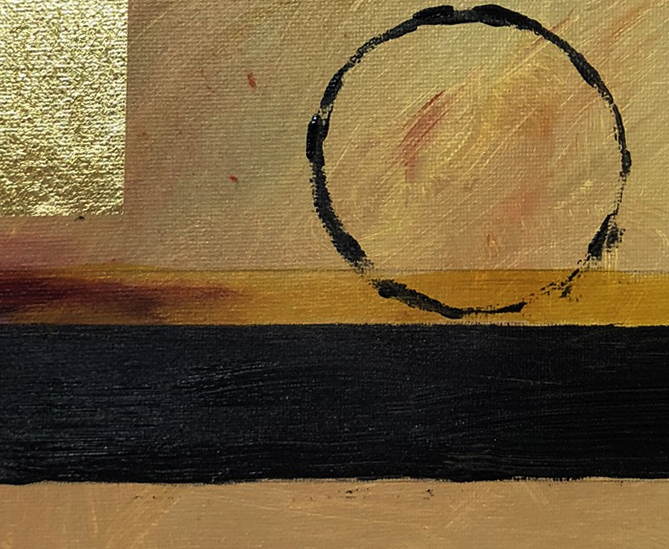
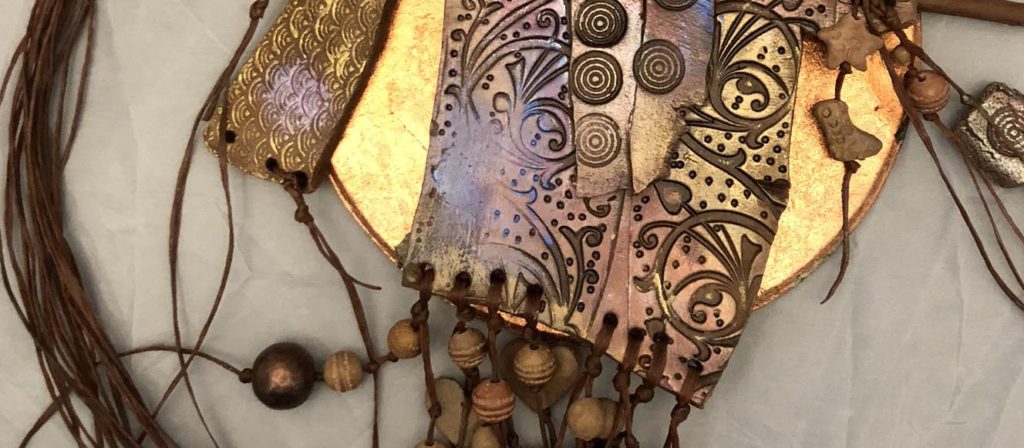
Book Foil:

This foil, also known as Deco Foil, is generally used for transferring metallic finishes to craft projects using an adhesive. Here’s a link to a video that shows demos about that. However, if you’ve taken an encaustic workshop with me, you know that we also use it to create fine gold marks onto a waxed surface.

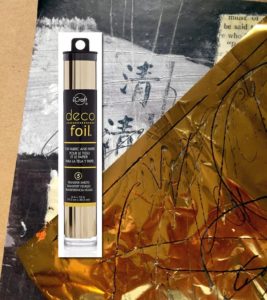
One of the best places to order this foil is Dharma Trading Company. They are generally known for their fiber art supplies, but you will love their site for lots of other reasons! For Deco Foil, for example, they have the best selection and lowest price of anyone, including Amazon. Currently, they sell a cylinder of five sheets, 6×10″, for just $3.89.
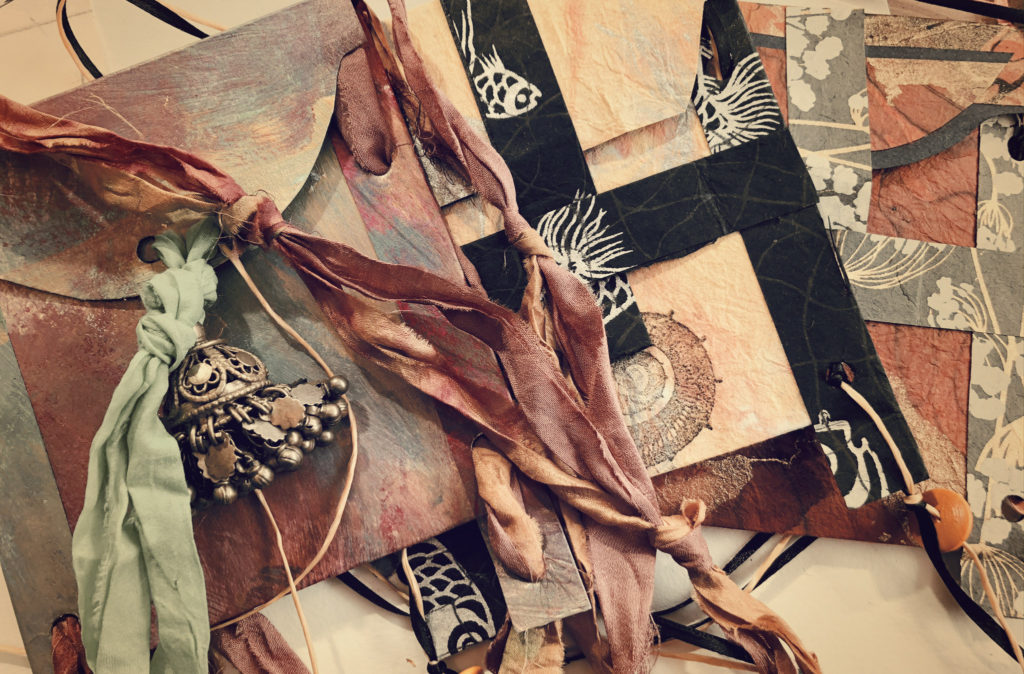
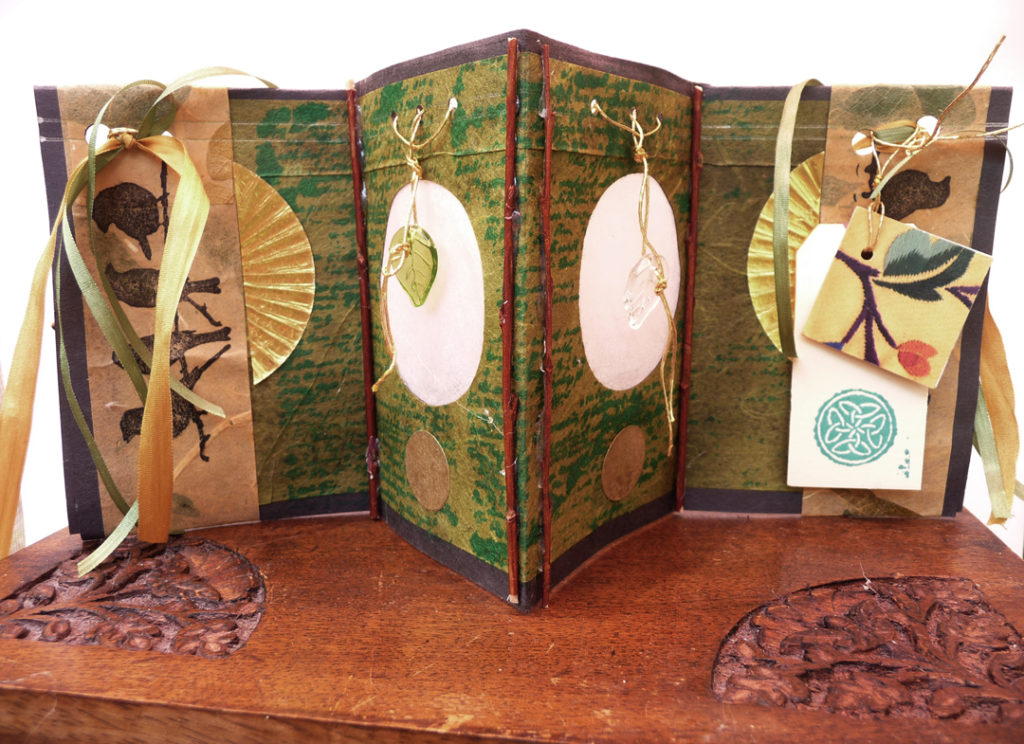
Sari Silk:

I discovered my source, Felt Better, on Etsy several years ago, and I have ordered from them many times.

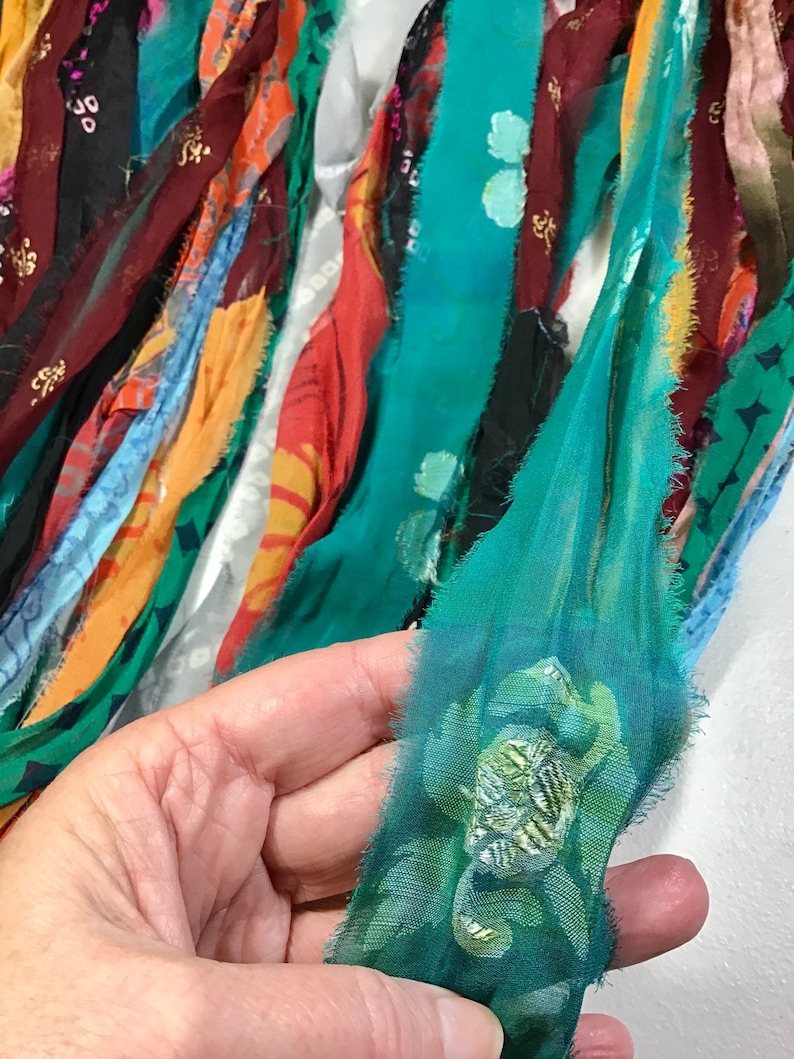
This is what the owner, Michelle, says about her sari silk: “The beautiful, exotic sari ribbon I carry is all the best things about recycling that I love. First and foremost, it helps our fragile planet by making use of material that would end up in landfills. Did you know that it helps women too? It’s a fair trade product that works close with women co-op groups, insures they get a fair wage, that helps them support their families….and most importantly, no child labor is involved.”

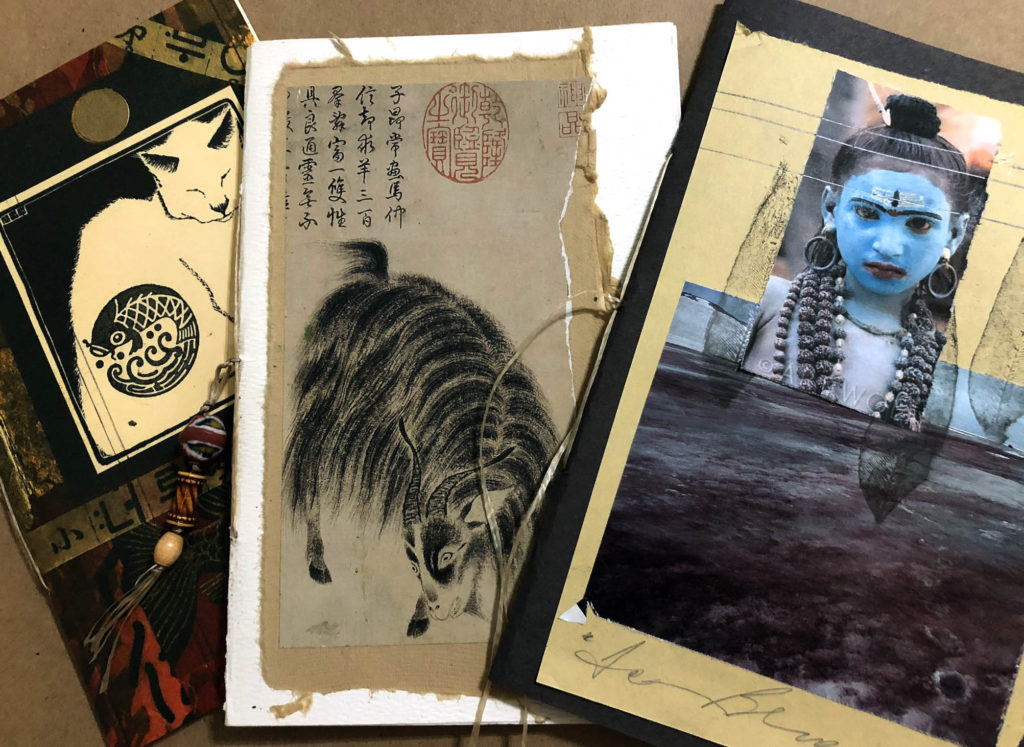
I use sari silk for so many things – for journals, assemblage, spirit dolls, and just to hang in my studio for pure enjoyment of its colors, history, and textures. A 100 gram skein (about 45 yards) costs $12.50 at Felt Better.
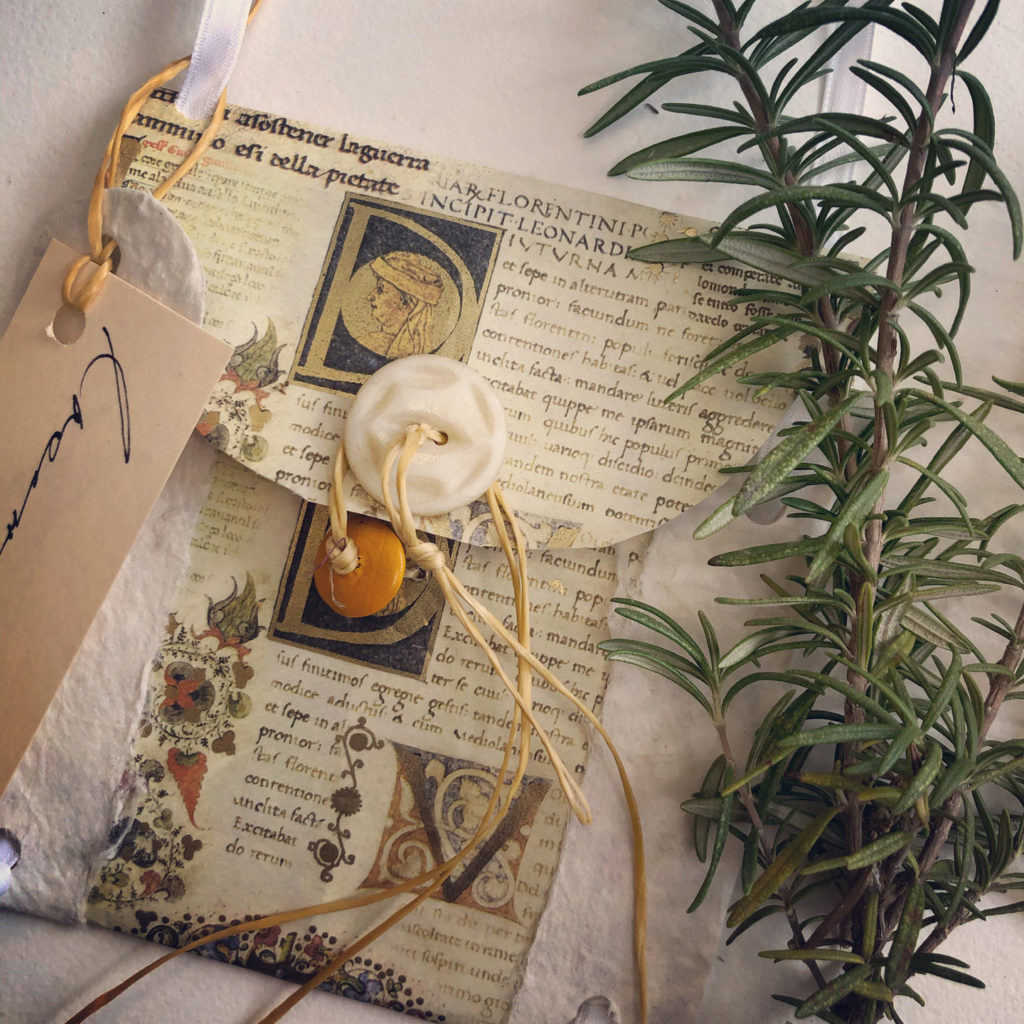
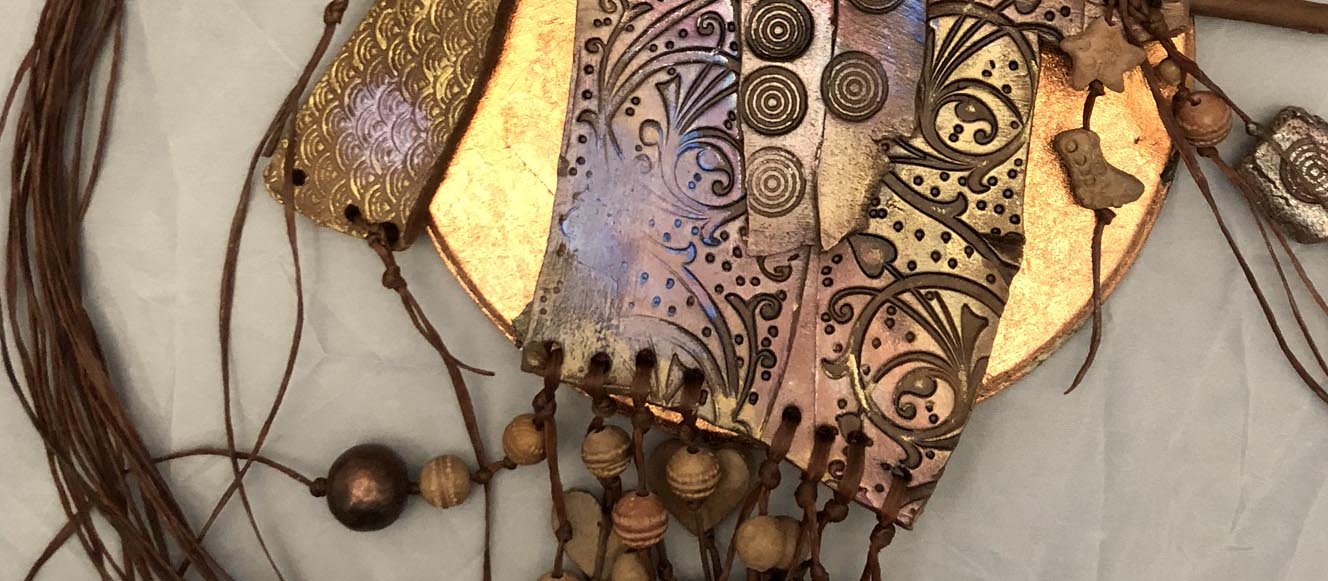
Artificial Sinew:

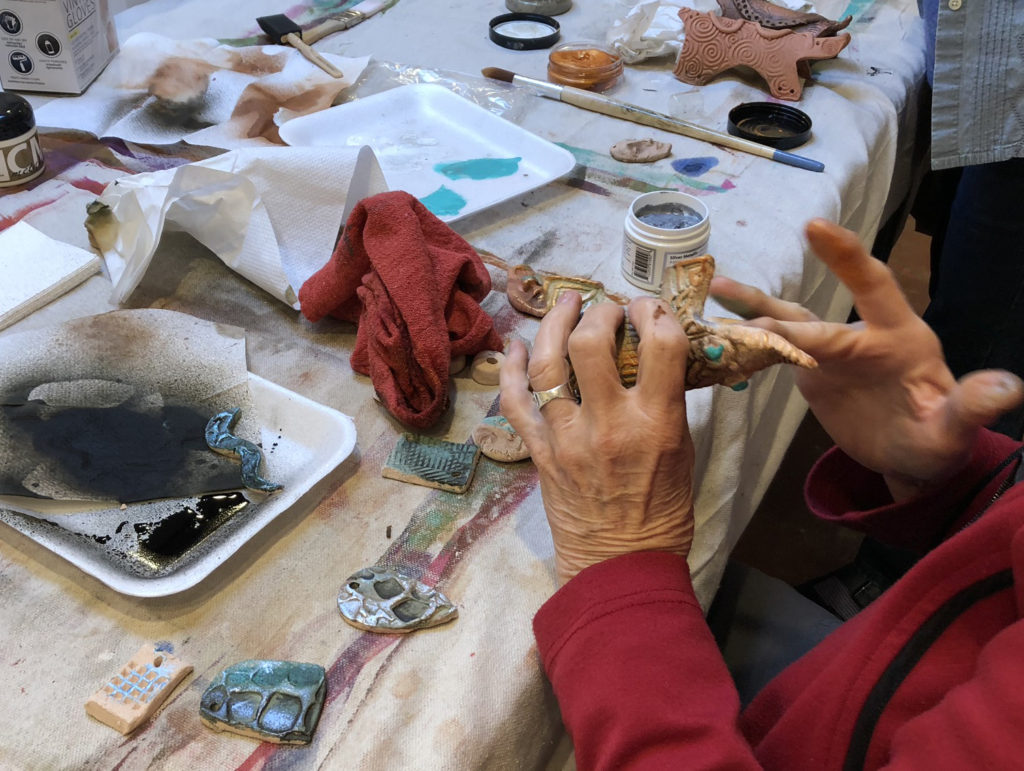
Do the words “cat gut” make you shudder? What about “sheep sinew?” Those were traditional material used for lacing and tying leather and gourds. Fortunately, artificial sinew is now available because I use a lot of it! It’s a material I use for clay assemblage, bead stringing, fiber art, and almost anything else that requires tying one thing to another thing.

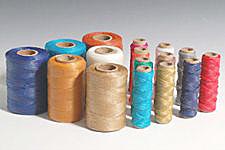
I used to buy it at Tandy’s Leather Store, but have discover a new online treasure trove. The Thread Exchange specializes in the kinds of thread that are not sold in stores, including a huge selection of artificial sinew. The company is based in North Carolina and its website is user-friendly.

They have almost twenty colors of sinew, although I am partial to the Natural and the other earth colors like Terra Cotta. A 17-yard roll is about $5.00 and a 265-yard roll is only about $15.00.

For 2020, I would like to make a commitment to bring into my workspace only those materials that I really need, use and love. Hmmmm… it’s not always easy, because experimenting with new things is part of the game.

So here I go, tempting you with great sources for wonderful materials that may be new to  — I hope some of these will inspire your work for the new year. Thanks for reading SHARDS!


Two Pamelas and me, scumbling and waxing to our hearts’ content

Wednesday’s Votive Candle Screen get-together was a de-light – I was joined in the studio by Pam B. and Pam F.  and the three of us spent a relaxing afternoon experimenting with surface design on paper for a candle screen project.  I’ve taught workshops on this topic before, but this session had a more intensive focus on hand-enhanced decorative papers.

This project is perfect for the holidays. Paper is folded and slit in a way that allows it to open in the middle for a little battery candle to fit inside. I wrote and article about this for Cloth Paper Scissors magazine a few years ago.

Alas, the magazine is no longer around, but I still have the article. Here’s an example of the folded paper votive screen:

We spent more time working on surface design than we did on decorating the finished votive screens.

First experiment – we covered a sheet of 9×12″ lightweight watercolor paper with three colors of acrylic paint, dry-brushing and “scumbling” the colors together. After that first layer dried, we stenciled over it with gold acrylic paint – here’s what that looked like:

Our next experiment involved Italian decorative paper with gold writing on it. We made loose brushstrokes of melted beeswax over the paper, then sprayed it with various hues of walnut ink. Here’s one of the Pamelas rubbing off some of the walnut ink from the cooled wax:

This paper folded beautifully into the votive screen shape:

Here are some more photos of various stages of the process of assembling the votive screens. I honestly don’t know which treatment I liked better – the scumble and stencil, or the beeswax and walnut ink.

The votive screens turned out well, but all of us decided that the hand-decorated paper surfaces were the real winners. Both of the techniques we used – scumble and stencil and beeswax and walnut ink –  would lend themselves beautifully to abstract painting, which will be my next workshop coming up in February of 2020.

Thanks to the two Pamelas for experimenting with me!

Here’s the list of materials if you want to try this on your own:

Votive Candle Cards Materials

  • 9×12 construction paper or other medium weight crafting paper
  • Two 4.5×11 pieces of decorative paper
  • 4 2.5” square pieces of translucent vellum or translucent rice paper
  • Two ½” bands of contrasting paper for side trim
  • Compass or large round hole punch
  • Craft glue or double sided tape
  • Stamps, stickers, metallic pens – whatever “de-lights” your heart
  • Small twigs, reeds or sticks
  • A battery votive tea light

As a special gift to you, I’m sharing the original article that I wrote for Cloth Paper Scissors with all of the directions and how-to photos for making your own mixed-media votive candle screens. I hope you enjoy it! How about making one for every person at your holiday dinner table?

VotiveArticleCPS

Happy Holidays, and thanks for reading SHARDS!

Photo by Food Photographer | Jennifer Pallian on Unsplash


Gray Friday – sorta like Black Friday, but with a reward after the commercial

It’s the day after Thanksgiving, and instead of running around shopping, I’m enjoying a gray rainy Friday just writing and rambling.

In this SHARDS post, you’ll find:

  • 1. An idea for my next eBook
  • 2. A Black Friday commercial (well, a Gray Friday one)
  • 3. A reward of a free air-dry clay technique demo

1. I’m thinking about air-dry clay. I started a book on this topic a couple of years ago and somehow let it lapse, but now I believe it’s time to make it into an eBook with videos, coming early next year.

I even have a cover and a title for the air-dry clay book (subject to change – like I said, this idea started a couple of years ago)!

What do you think? Would it make a good eBook with videos? It has unlimited possibilities for mixed media and fiber artists.The good thing about air-dry clay is that you don’t need a kiln, and many of the newer paper clays and polymer clays are very permanent and durable. And they even take beeswax!

So with all of this in mind, I’m going to give you a FREE SAMPLE of an easy air-dry clay process – a downloadable handout on how to transfer an image to a thin slab of air-dry clay. 

__________________________________________________________________

2. But first, you have to promise to read the following commercial and not just skip to the end. Here goes:

I’m teaching a brand new online workshop about Origami Kimono construction with a group called Mystic Springs Studios in their year-long Artwalk Alchemy 2020. The kimono workshop is cool. You will love it. And when you buy the Artwalk Alchemy 2020 subscription, you get my workshop plus 23 others that look good too. I know some of the other artists, including Anne Marie Fowler who heads the program, and the projects look intriguing.

Anyway, for this weekend only, you can get a discount on the ArtWalk Alchemy 2020 classes.

You can click on the image above to go to the class description, or just click HERE.

I’ll be around when the Art Walk classes start to answer your questions and give feedback, as well as post photos of your work – so save $10 and sign up now!

And while I am in commercial mode, you can shop for my three existing eBooks (the first two with videos) just to see how they work. All have great reviews, if I do say so my own self 🙂  Here they are:

WAX & WORDS: An exploration of asemic writing, words, mark making and images enhanced with beeswax encaustic layers and gold foil – with nine videos

Beeswax, Clay, Paper and Fiber Talismans – with videos!

Behind the Veil: Beeswax and Collage

The upcoming air-dry clay eBook should be a good addition to this collection.

END OF COMMERCIALS – START OF FREEBIE!

_______________________________________________________________

3.  Your free technique demo from the upcoming eBook – the photos below show an inkjet image printed on plain copier paper that has been transferred onto a thin slab of air-dry clay.

The second photo show the complete sample with more clay and mixed-media elements added.

Acrylic transfer on air-dry clay in progress

Completed sample – inkjet image transfer on air-dry clay with cold finishes

Here is all you need to do this image transfer technique – acrylic medium and air-dry clay (and an image, of course). I’ve given you two links to the products, but the materials are available at more than these two places. I have found that these two brands work best, but you can certainly experiment.

Delight Air Dry Clay

Golden Fluid Matte Medium

And here’s how:

4. BUT WAIT – THERE’S MORE!

If you’re interested in air-dry clay, regular clay, photos of clay, collages about clay, etc., etc., don’t forget to enter the Texas Clay 20/20 Vision juried show at the San Antonio Art League!! It’s the best entry fee on the planet – only $10. Here are the details:

The deadline is December 12th, so shake a leg if you want to win that $500 first place award!!


Workshop report – painting is hard work!!

Imagine setting off on a path with lots of possible destinations and no map of where you were going – except for a possible clue at every intersection? That’s what happened to the participants in our Acrylic Abstract Painting Exploration workshop Wednesday. The phrase “trust the process” was the only compass on this journey toward a non-objective acrylic painting.

We did some warm-up paintings on 300# watercolor paper and practiced blending “no-colors” with a scumbling technique. Then we developed a compositional framework based on either a landscape or cruciform foundation.

When everybody seemed to be stalled, we laid out our work on a table and I prepared a big blog of Cadmium Red paint and told the hapless victims to add red paint to their work – anywhere they wanted, but it had to be red.

Wow! That was a jolt of energy. Everyone knew that they could paint over the red if they wanted to, but just that bright pop of color pointed at lots of new possibilities.

Some of the techniques we practiced going forward were:

  • Mark-making
  • Scraping
  • Lifting
  • Taping
  • Ombre stripes
  • Glazing
  • Stenciling
  • Texture
  • Object stamping
  • Veiled collage words

Each artist took a very different path, although when a technique worked particularly well, everyone gave it a try.

One thing that helped a lot was consistency – consistency of size (12 x 12″) and consistency of basic palette colors.

My friend Gwen Fox taught me that you could make a myriad of rich colors with just these three Golden acrylics:

These colors, plus white and Payne’s Gray (or black) create amazing and easy color harmonies.

Here are some details from the participants’ paintings that show these colors at work with a few added colors and some of the surface techniques:

Watch the Workshop Video (below) for further views of the paintings and the process. The participants were learners and risk-takers of the best kind!

VIDEO LINK

Thanks for reading – and watching!


Animals, animals . . . . what a spirited workshop!

We finished the second part of the “spirit critter” workshop today at the Art League – beautifying our creations.

Leslie Newton did a very skillful job of loading and firing the kiln between last week’s session and this one. Not one ear or tail was lost.

Pan of fired nekkid critters

Today I got to teach some cold finish techniques for the workshoppers to experiment with on the test pieces and the animals. Cold finishes (or post-fire finishes) are amazingly versatile as long as the piece is not going to be used as a functional item – like a mug.

Potters are discovering things like walnut ink (yeah, my old favorite) and wax embedded with metallic particles. Here are some sample pieces that I used today to demo and test various combinations of walnut ink and metallic wax..

And here are some that were made by Jill Wilson, one of our participants, that show lots of possibilities.

When it came time to put finishes on the animals, a lot of participants liked the idea of the simplicity of just using walnut ink to bring out the texture. Here’s an example – this little guy is almost Pre-Colombian looking – very minimalist and whimsical.

By contrast, this piece has layer upon layer of metallic wax and walnut ink which gives it the look of cast bronze.

This is an example of a cold finish formula that I demonstrated today – there are a thousand variations:

  • Spray the bisque-fired clay liberally with Java walnut ink and let it sit for five or ten seconds.
  • Blot the ink with a shop cloth, then dip one corner of the cloth in water and wipe away the color on the surface, leaving the ink in the contours.
  • With your finger, add a layer of silver Inka Gold metallic finish.
  • When that is even, burnish it with a cloth, then add another partial layer of blue Inka Gold, being random and leaving spots uncovered.
  • Add another random layer, this one gold, and blend in with the blue as you go.
  • Rub on a bit of Jacquard powder in Interference Blue. This will give you a raku-like finish.

If you want to see the whole process, click on the links below to see how the animals were created, start to finish:

DAY ONE – BUILDING THE ANIMALS

DAY TWO- COLD FINISHES AND COMPLETION

Many thanks to the participants – Jill Wilson, Lisa Stamper Meyer, Vera Smith, Becky Hadley, Kimberly Anderson – and especially to my co-teacher, Leslie Newton!

Let’s do it again next year!


Art Walk Alchemy 2020 and The Enduring Kimono

Teaching online workshops is a joy. But preparation is time-consuming. So when Anne Marie Fowler asked me to develop a lesson for Art Walk Alchemy 2020, I almost said that I was too over-scheduled with my work at the Art League.

But then I remembered a project that had been a signature of my work in the 80’s and 90’s – the Origami Kimono!

I had done a version of this for the Dallas Fiber Artists last year which was super fun. With some additional mixed media lessons and demos, like how to create your own scumble-painted paper, this could be a great online workshop lesson.

Here’s a “scumble sample” video from the lesson for painting a long paper strip that is then folded into a kimono:

There are a ton of other mixed-media techniques in this lesson, including new ways to use gold leaf, walnut ink, and stamps in your work.

I’d never done a lesson like this that is part of a year’s worth of workshops, but it’s neat because you get tons of other lessons from many other really excellent teachers from Art Walk Alchemy. Check out the project highlights!

Woodland Dreams-Art Walk Alchemy 2020 from Mystic Spring Studios on Vimeo.

Registration for Art Walk Alchemy is open right now – including a fantastic four-video lesson on The Enduring Kimono by you-know-who. Take a look at the offerings – 🙂

For Love of Leonardo – a fiberart sculpture

That’s the title of a new fiber art sculpture I (almost) just finished. Where these ideas come from, I’m not sure, but I was looking at some of Leonardo da Vinci’s anatomical drawings and thinking about insides and outsides and metaphors, so I photocopied some of his drawings and notes onto linen fabric.

Then I started building a form with no real plan . . . I use sticks and sinew and gauze and all kinds of things to engineer the armature.

At this point, I just go happily along with no idea of where this figure might be going, but trusting the process. It’s like reading a book that you can’t skip to the end of to find out what happens, but I knew it would have something to do with the Da Vinci notes on linen.

The big step is finding the face that helps tell the story.

Now the “it” has become a “her,” and I look at her in different light and different places to get to know her better.

The linen layers are in progress, and I’m refining some of the details, like skewering her headpiece to add sinew. I got so engrossed at this point that I forgot to take process photos!

Her linen-wrapped legs are anchored into a wood block covered with faded Turkish carpet scraps.

The plot thickens – there are pieces of stitched linen with hearts and babies and love letters . . . it’s complex, and a bit disturbing, but terribly intriguing!

She has an ivory silk braid hanging down her back.

Here is the (almost) completed piece – she’s 20″ high.

For Love of Leonardo, Lyn Belisle, 2019, Fiber sculpture with mixed media

I borrowed a lot of techniques I developed for last year’s “Boro Horse,” (below) which I love, but the Leonardo piece feels more personal somehow.

Next up – a wall piece that celebrates the complexity old fiber rugs and weavings.  I plan to incorporate some of the found objects I’ve collected in the last couple of weeks for the Collage Challenge.

This piece is just barely started, but we shall see what we shall see –


From Spark to Finish

Finding time to work on pieces to submit for juried shows is definitely a luxury these days, but I’m always looking for the spark of an idea that might work for an interesting “Call for Entry.”

So I got an idea last week for  the upcoming Fiber Artists of San Antonio show based on a piece I did for a show at St. Mary’s University in February. It was a standing screen sculpture with silk ribbon pieces on the surface. I wrote about it in a previous blog post.

I made a very rough drawing in my sketchbook with tag-shaped objects that might have faces on them to be printed on linen and then attached to a new screen structure.

You can see the word “beeswax” under the sketch – honest, that’s what it says. But I wasn’t thinking about encaustic at this point, focusing on fiber instead.

I decided to use the faces in this 1936 photo of children in the Netherlands who were living in poverty – isn’t it haunting?

I adhered a piece of linen to some freezer paper that was cut to 8.5 x 11″ and then opened the photo in Photoshop, edited it for a sepia tone, and ran it through my printer. Once the freezer paper was peeled off, I tore two of the photos apart and adhered those to some rice paper. Here they are:

They looked good – and then I got stuck. They really weren’t right for the screen idea – too strong, too something. Days passed. Then I remembered the piece I had just written about, the one at the Museum of Encaustic Art with the faces of young girls working in poor conditions but looking both brave and resigned.

I hadn’t planned on making an encaustic piece from these faces, but coincidentally, the Museum of Encaustic Art in Santa Fe has a current call for entry called Global Warming is Real. All of a sudden, I could visualize these children’s faces looking through a window  onto a world where crops fail, oceans rise, and humans suffer devastation.

In the studio, I built a panel frame and added layers of wax and tissue with words of warning about climate change collaged around the edges. I waxed the linen and rice paper images. When the children’s faces were added, the piece worked as an expression of the theme. I call it “The Last Window.”

You can see in these details how well the linen works with the beeswax:

My beloved professor, the late sculptor Phil Evett, once told me that if an idea isn’t working, it’s not about the idea, it’s about where it belongs. In his case, he was talking about a carved head that had sat in his studio for 20 years until he finally found the right piece to attach it to.

In my case, these compelling children’s faces belonged in a mixed media encaustic and fiber collage about a critical environmental concern. It just took me a while to figure it out.

So let’s keep making those sketches and creating small shards of ideas – they will let you know where they belong! Oh, yeah, and I’ll let you know if “The Last Window” is accepted for the exhibit! (The deadline for submitting is tomorrow).

Thanks for reading SHARDS today.


Photoshop Elements Texture Quickie

This morning I started putting together a post about jurying art competitions, coming soon. Yesterday I was the Juror for the Canyon Lake Art Guild‘s new exhibition. It’s always an honor – and a learning experience! Stay tuned to see the winners – and see if you agree with me!

In the meantime, I got distracted by a topic on Pinterest that’s worth sharing (I have the attention span of a gnat).  Even if you’ve used Photoshop Elements, you may not know how easy it is to work with textures and overlays using your own photos.It’s also very addictive.

This very short video (you can skip the ad in 5 seconds) by Nicole Young is one of the best I’ve seen. (She uses a Mac, so if you’re using a PC, just replace the “Command” with “Control.”)

So here’s my masterpiece to use as an example. I call it “Morning Desk with Almost-Empty Diet Dr Pepper.” This is the original photo, taken just minutes ago:

Here is is with a texture overlay that I snagged from Free Stock Textures:

You can even use your own photos as textures. Here’s a photo I took when I was dyeing fabric for my Boro Horse:

And here’s what it looks like combined with the amazing Diet Dr Pepper masterpiece:

As I said, working with textures and blending modes is addictive – you have been warned!

A last word – last night I had an email conversation with my Austin-based designer friend Monika Astara about digital art as ART. (She’s doing some wonderful digital collage work and incorporating it into a new line of one-of-a-kind T-Shirts, soon to be available!)

We talked about digital art vs traditional studio-based art. If you ever thought that digital art is not “real” art, read this article for a different perspective.

Facts and Myths about Digital Art

And if you want to see more digital art tutorials by Nicole Young, check out her website!