Workshop Update – Meow

THE MYSTICAL CAT SHAMAN IS BACK!
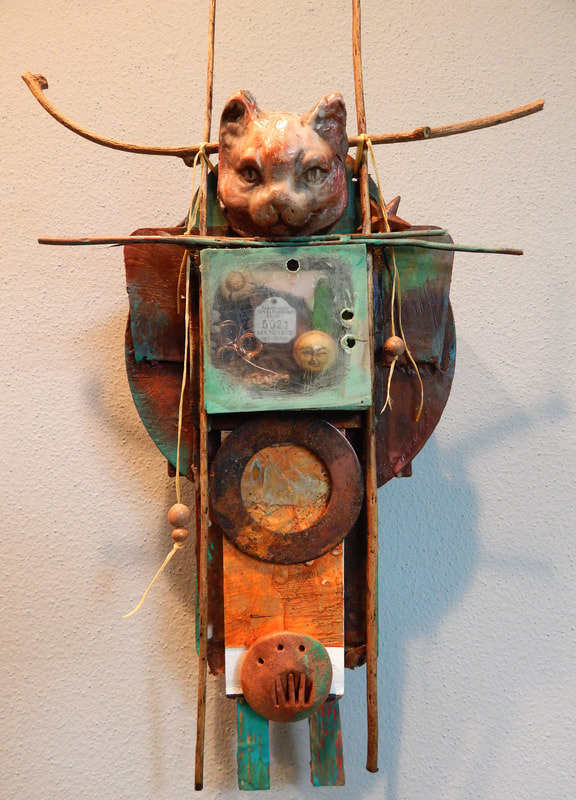
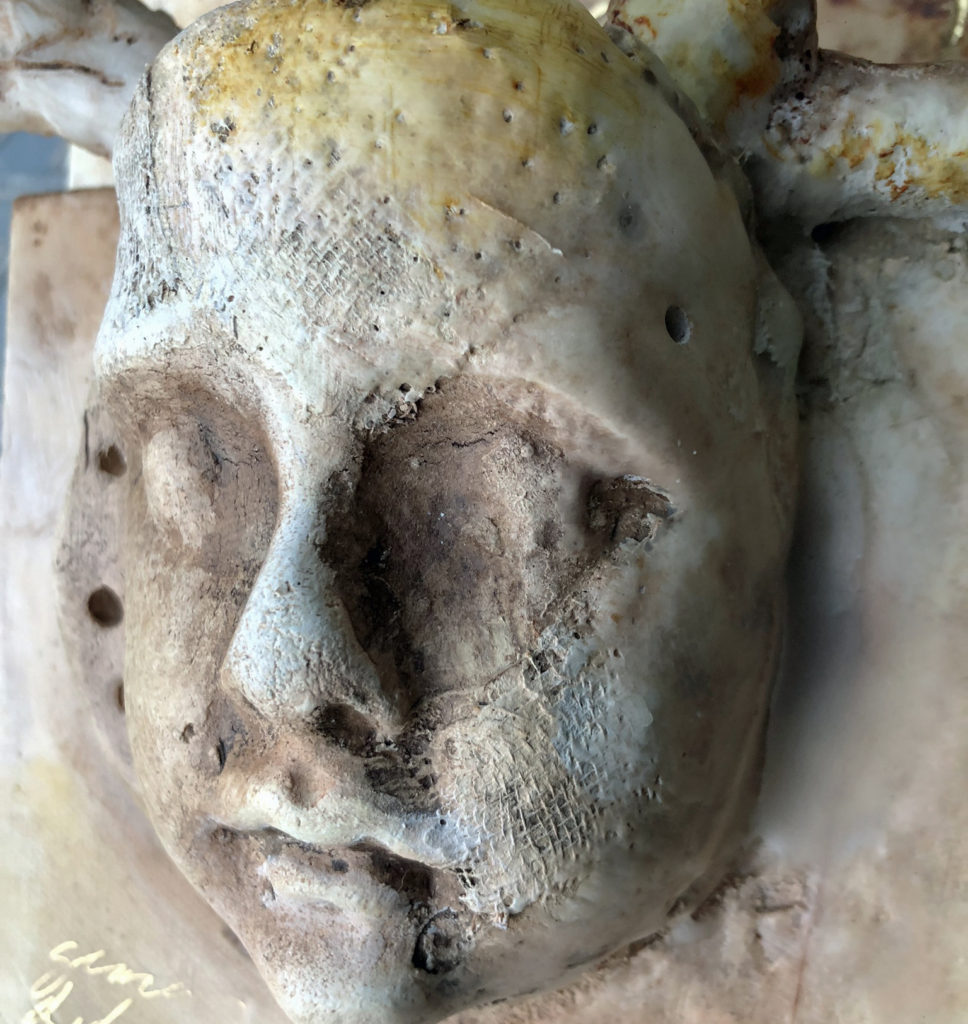
The Mystical Cat Shaman Workshop was first offered in 2016 as part of the Artful Gathering summer class program. When the Artful Gathering group scattered, I decided to bring this popular class back to a new audience.

The NEW Cat Shaman workshop will be available until August 1, 2020 for $39 tuition, which is about half of its previous cost. In this new version, I have updated the handouts and added to them. The videos, for the most part, are the original ones, almost three hours of detailed instruction.

You can read more about it on my website. There is a free lesson from the workshop available that might help you decide if you want to create some feline magic. Ask your cat if she wants to help. Yeah, right 🙂

Click here for the CAT SHAMAN WORKSHOP info.
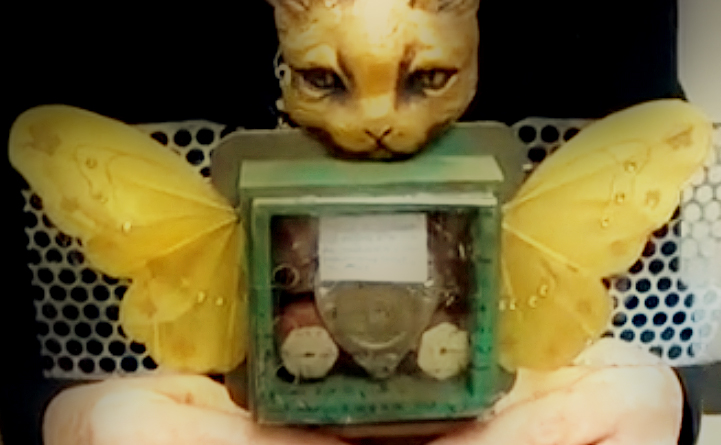
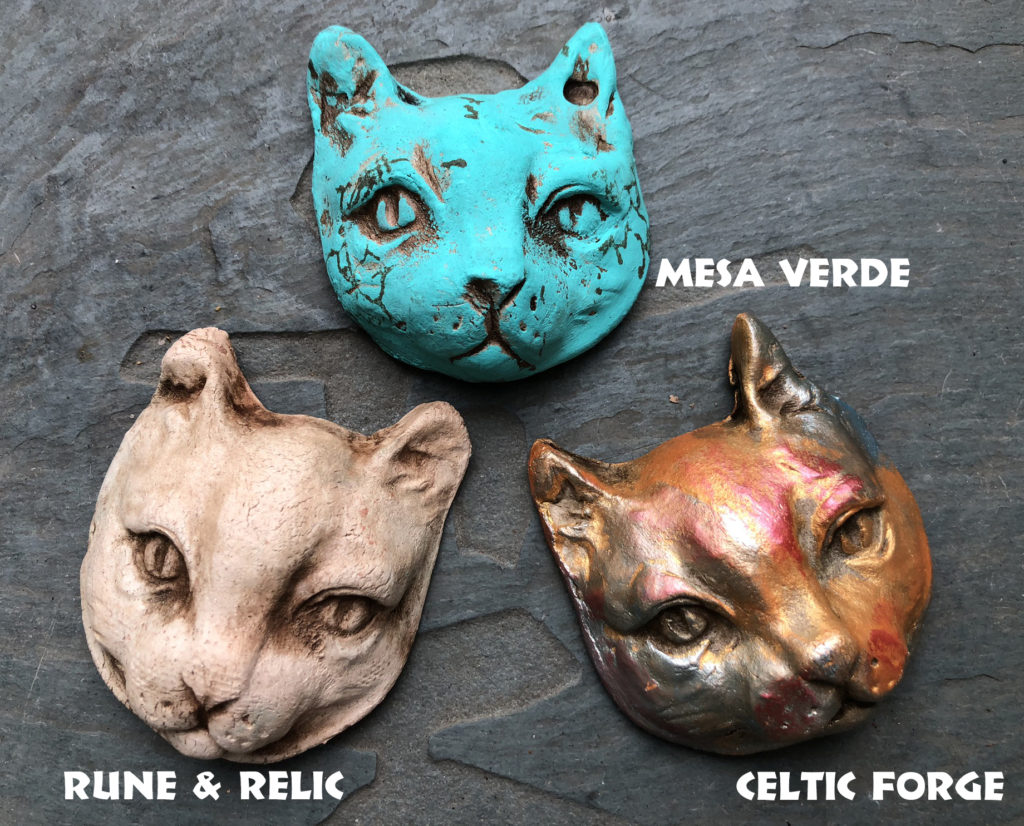
And there are new Cat Face Shards in my Etsy Shop!

If you decide to take the workshop, I will show you how to make your own cat faces, step-by-step, using about four or five different techniques. That’s always the best way to do it, learning for yourself.
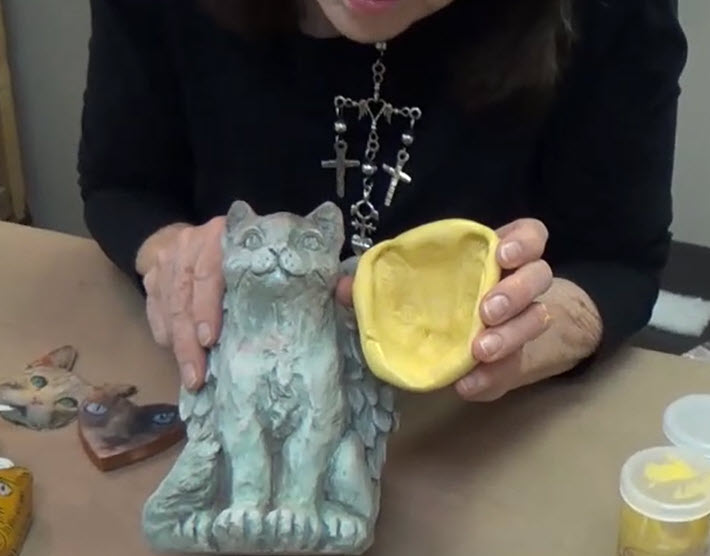
But if you want to purchase some Cat Shaman from my Etsy shop, great!

I’ve added some new cat faces using the mold I made in the the original workshop. They are kiln-fired earthenware and they come in three finishes. They’re $9 each and there is a limit of 2 (I have only 30 right now).

You may find that they are sold out when you go to the Etsy shop. I sent an advance notice to my private email list last night, and the cats are going like hotcakes. 🙂

However, I’m making more earthenware cat faces today and they should be fired and  ready to go by Saturday. I’ll re-list them ASAP. (And if you’d like to be on my email list for previews and updates, you’re welcome to sign up).
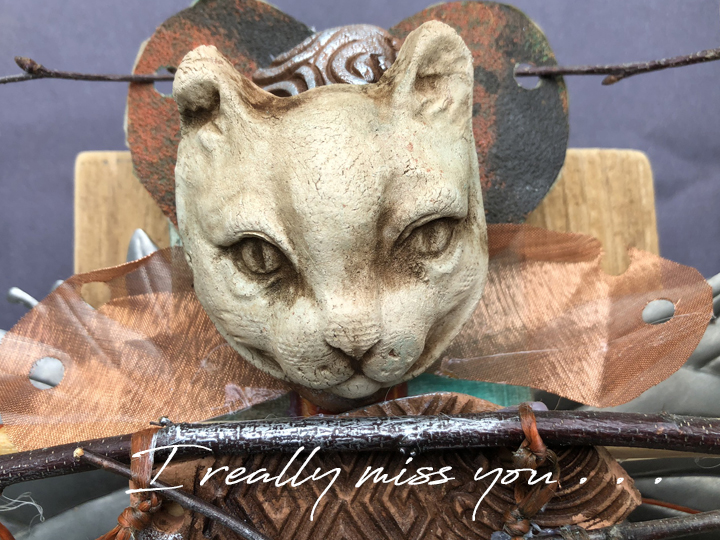
Last note – I’m finally internalizing the reality of these times. Sigh. It’s going to be a long summer and fall without in-person interaction.

As a social creature and an artist who cherishes the company of my circle of friends and co-creators, I miss the times we could really look at each other’s work, touch the textures, laugh and hug in person.

But if there was ever a time to count our blessings, this is it. Be safe, trust yourself and trust the process, and take good care!

Shards and Tesserae

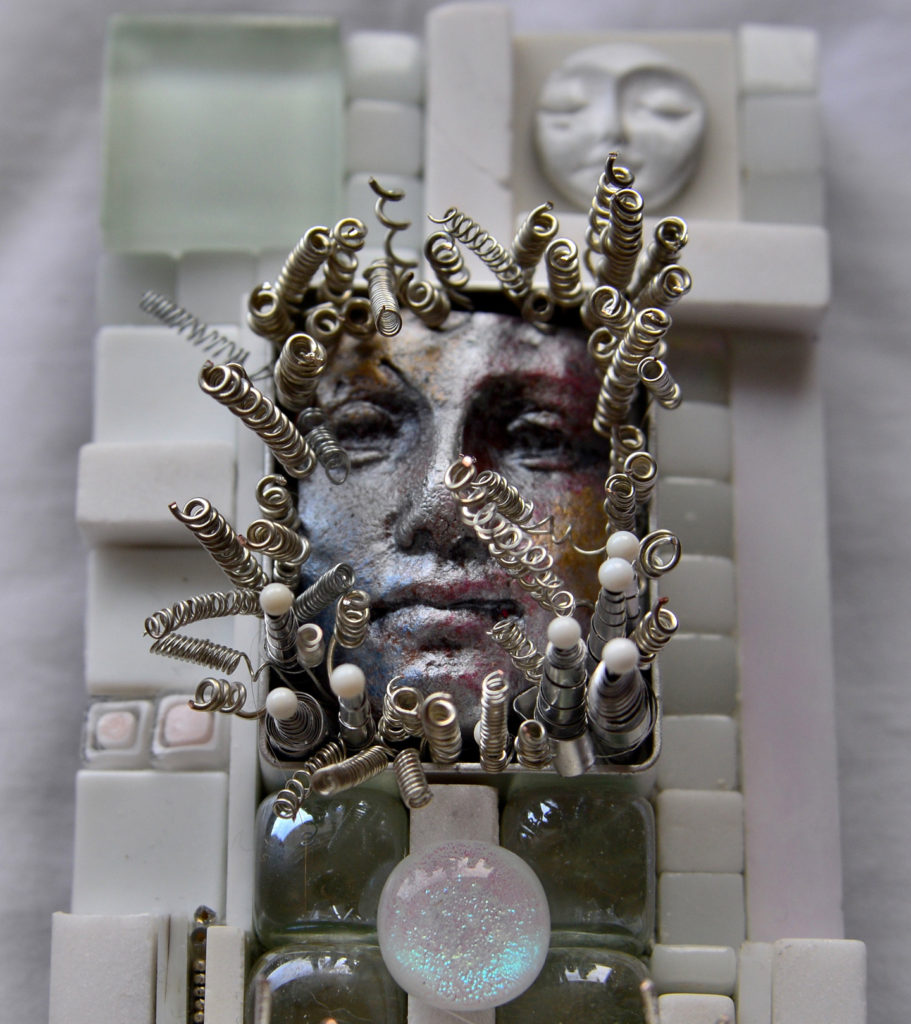
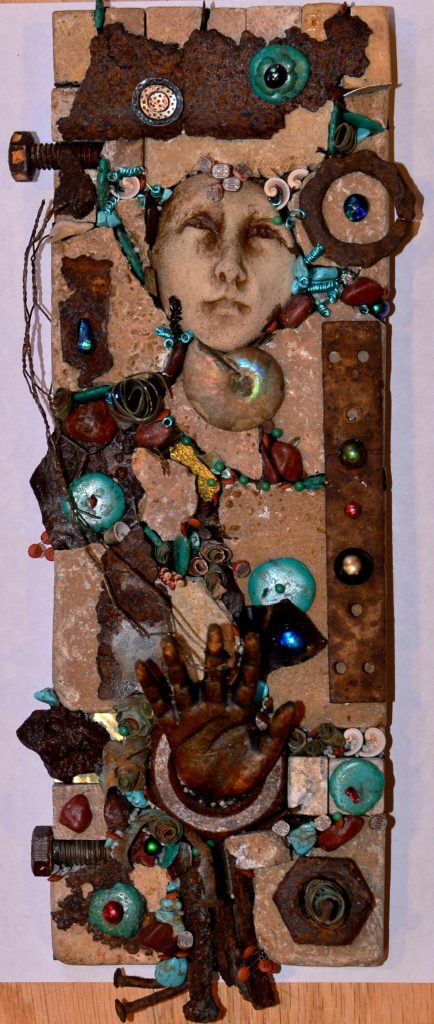
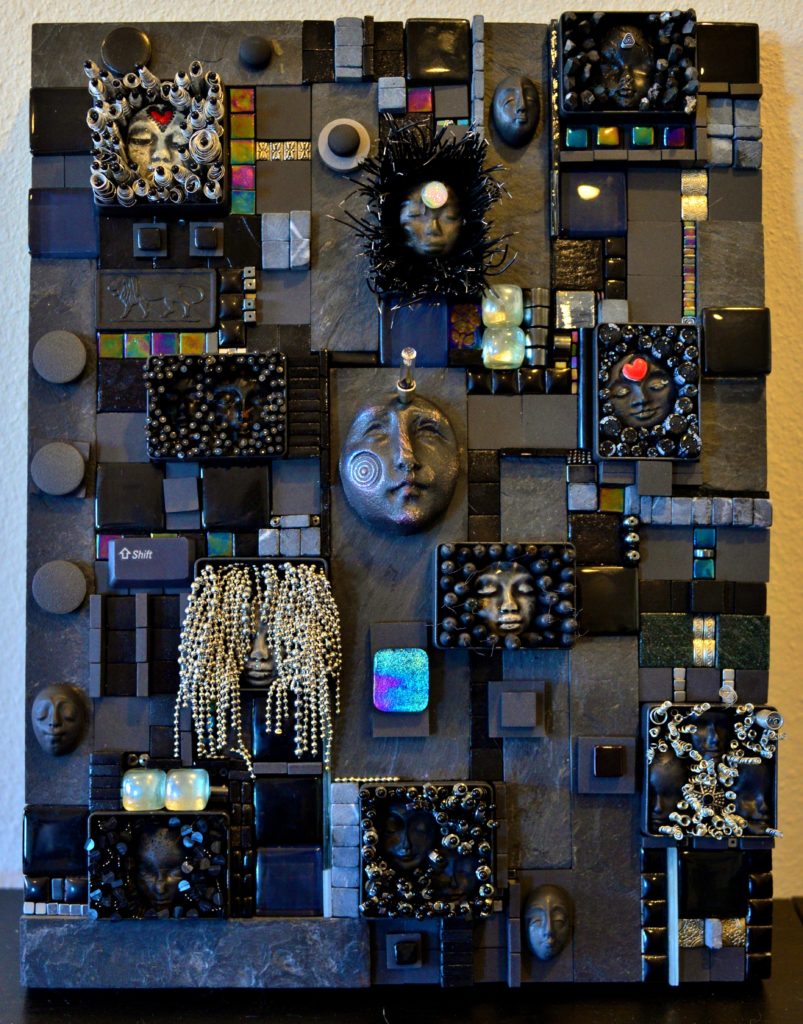
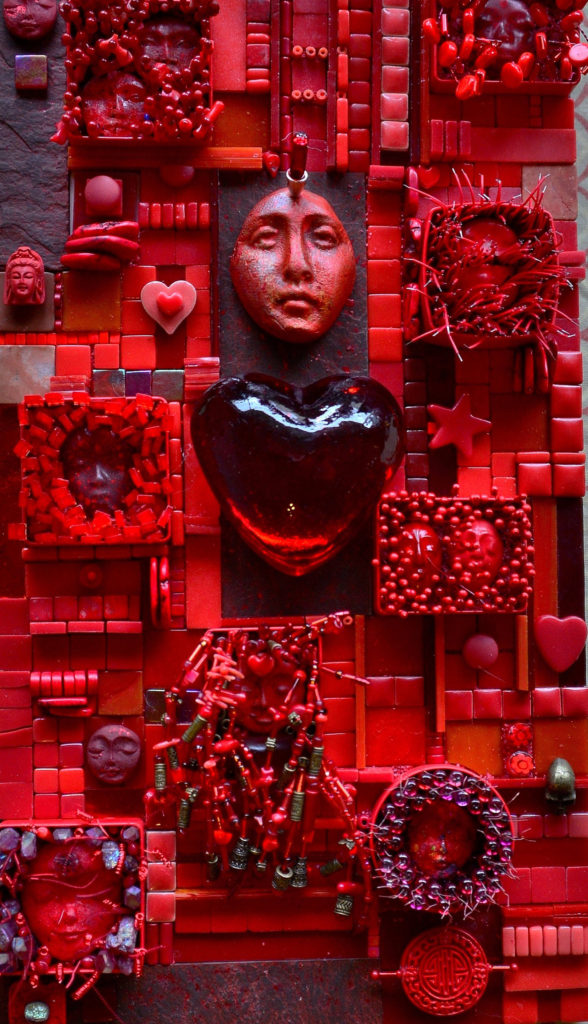
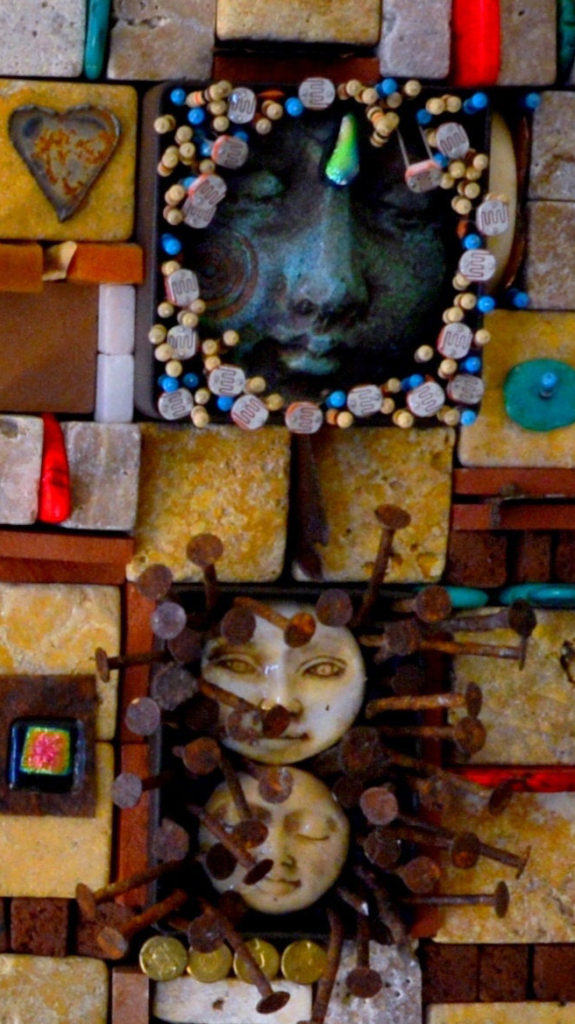
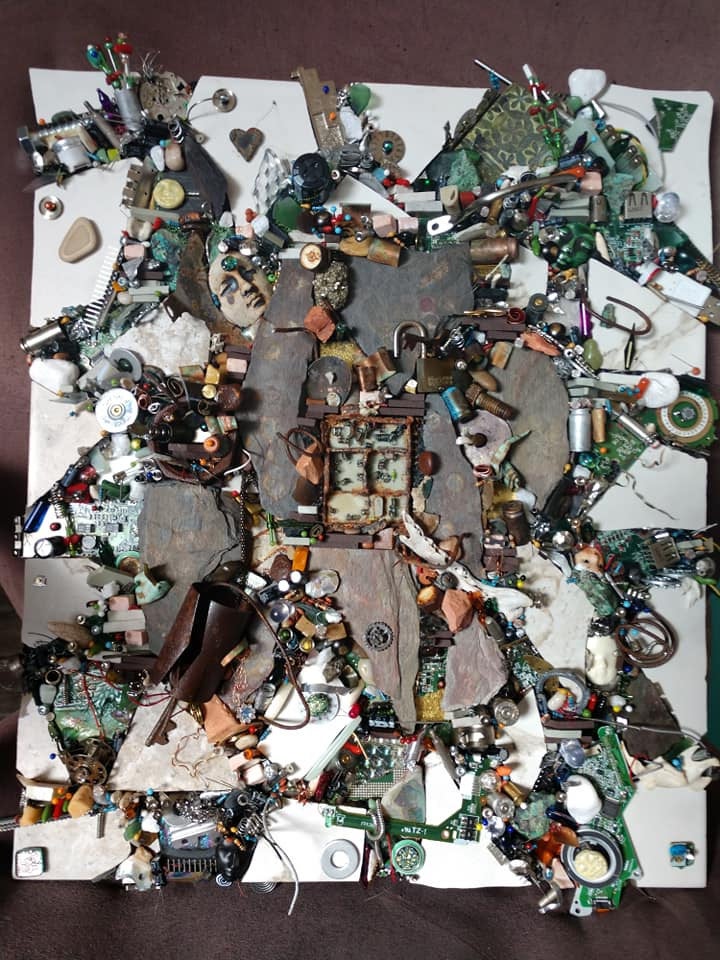
Christa Lamb is a mosaic artist from Cottonwood Heights, Utah, who has ordered small shard faces from my Etsy shop several times. She sent me a message last week saying, “I thought you might be interested in seeing how I use your beautiful faces in my work,” and she attached some photos.

 I was amazed at her work. I often wonder how artists use these faces, but never expected to see them incorporated into such fantastic mosaics!

I asked her if I could share them with SHARDS readers, and she agreed – thanks, Christa!

She sent several more examples, all of which use mixed media materials to create rich panoramas in tiles, glass and found objects. I love these fabulous “storyboards.”

Here are some more of Christa’s mosaics:

The details are endlessly intriguing.

Look at this mysterious mixture, below!

I found more of her work on Flickr – along with some gorgeous photos of Utah.
Thanks, Christa – so grateful for your work and your email ! Do you show your work in a gallery? We’d love to see more!
Keep in touch,
Lyn


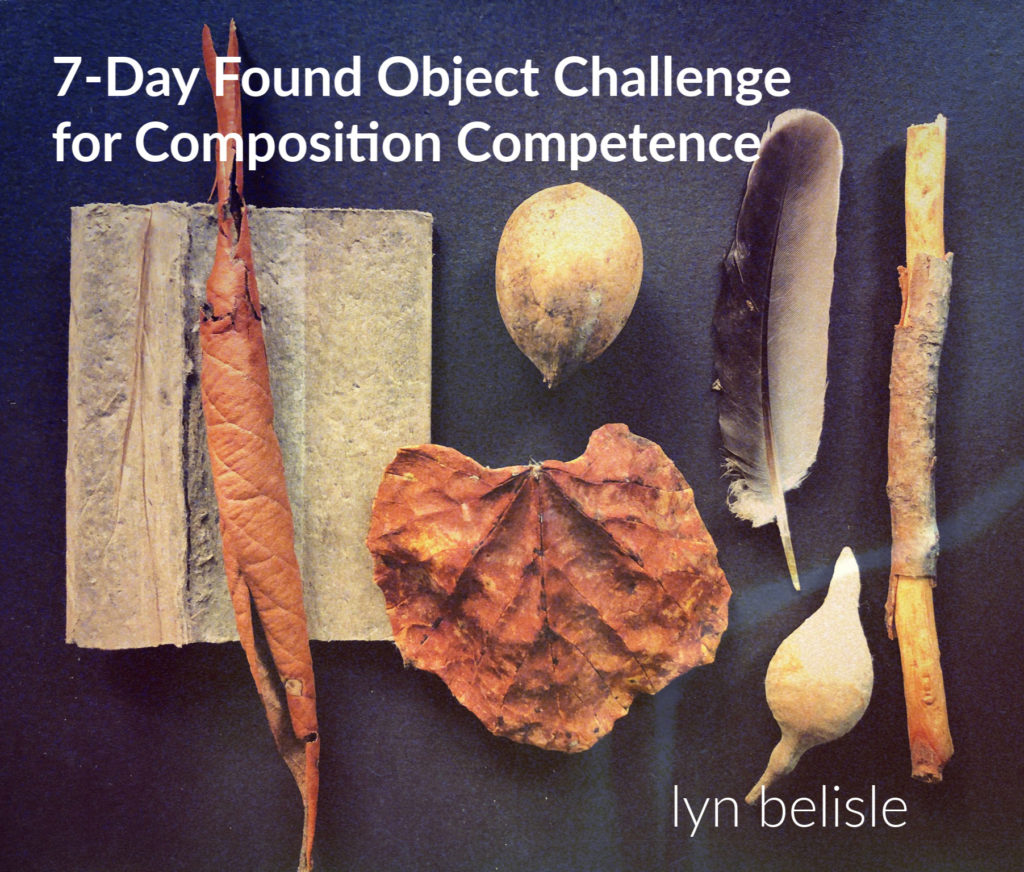
TRY IT! 7-Day Found Object Challenge for Composition Competence

Say THAT three times fast – anyway, this is fun! And it takes practically no time at all each day. It will sharpen your observation skills and boost your composition fluency.

HOW THIS STARTED (you probably do the same sort of thing):

So, I take walks every morning and most afternoons and often find a small object along the way  – like a rock or dried leaf –  that intrigues me. Sometime I put it in my pocket, sometimes I just look at it and leave it.

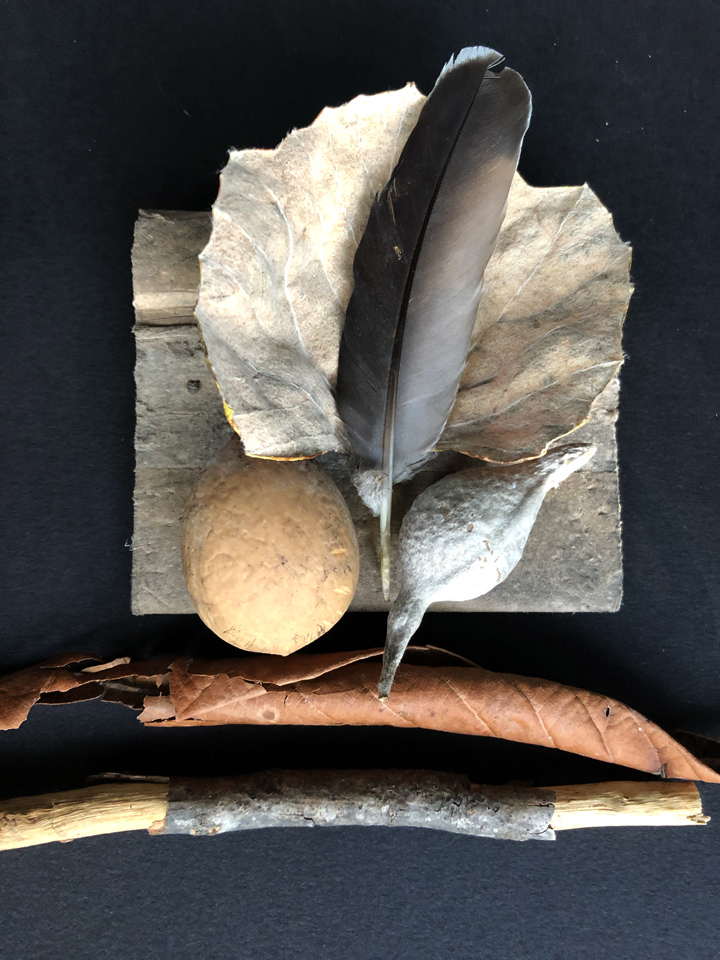
Last week, I challenged myself to choose one found object a day, bring it home, and see how the daily objects might fit together at the end of the week.

There’s a table inside my front door where I often drop stuff, and here was where I put the first object. (You’ll need a designated spot, too, for your daily objects.)

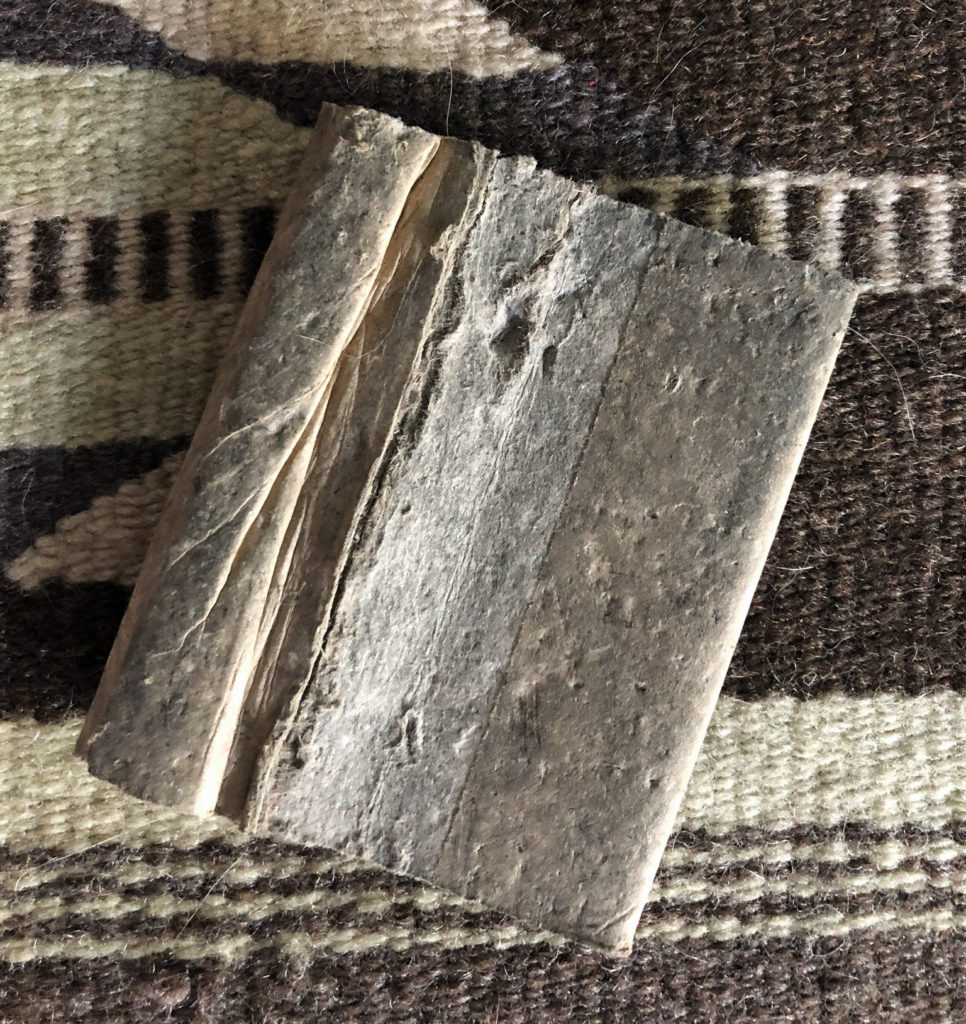
Monday’s object was a piece of thick layered cardboard, which I first thought was a little book. I found it in the street by my sidewalk and it had been run over a few times and flattened nicely.

Monday – flattened cardboard fragment

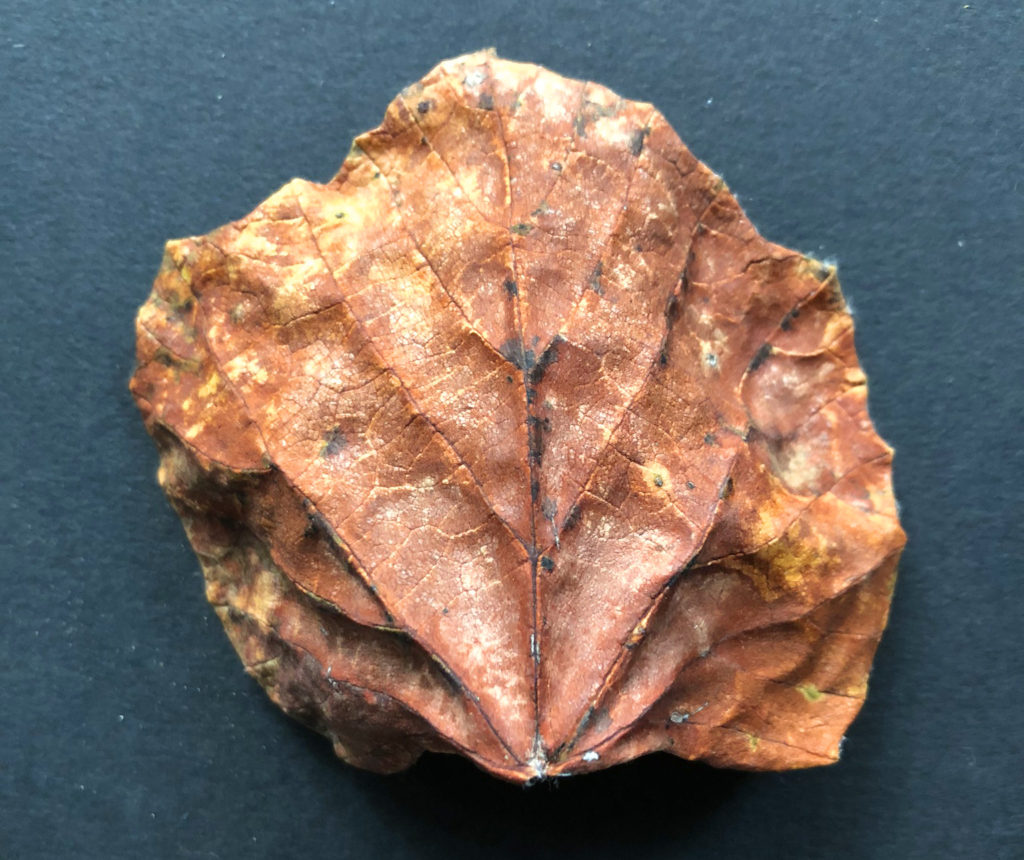
Tuesday’s object was a dried leaf that had the most gorgeous rust-patina colors and was curved like an umbrella.

Tuesday – interesting dried leaf

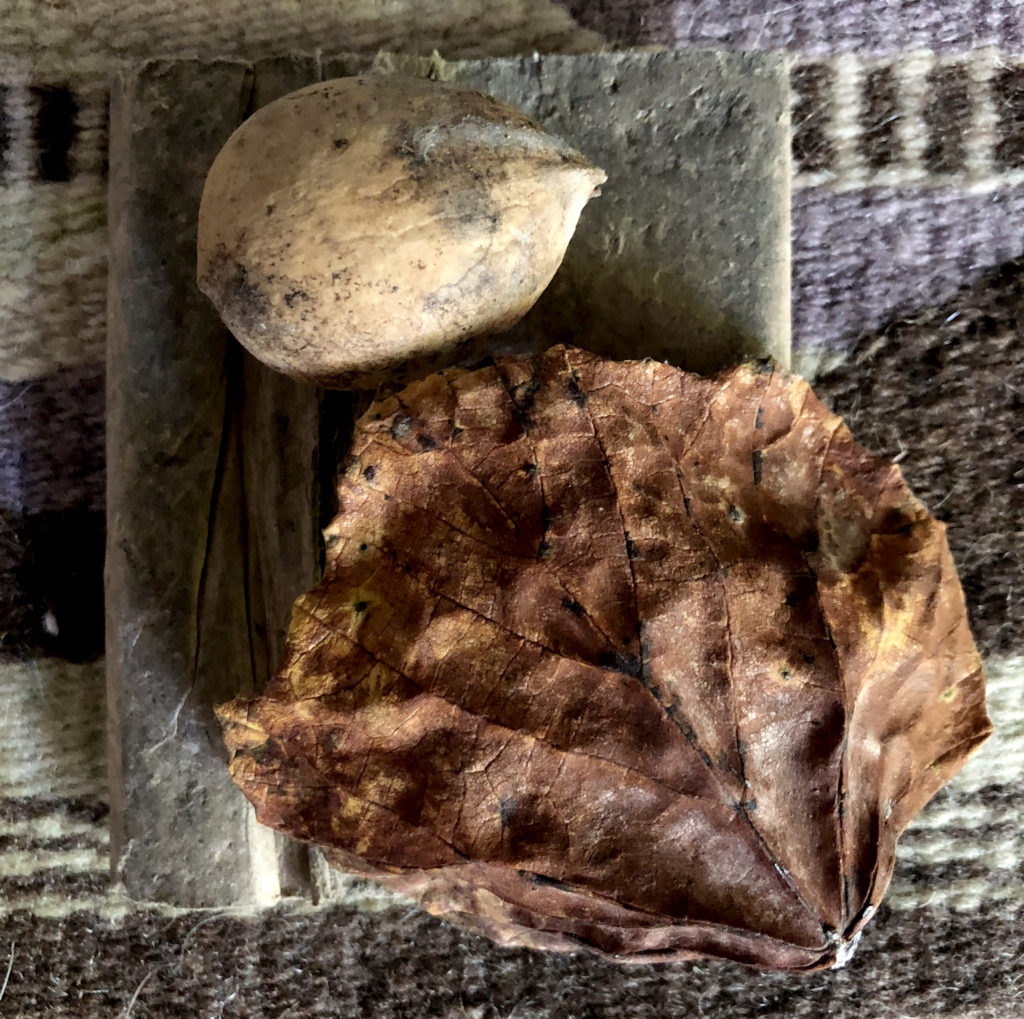
On Wednesday, I thought I had found a bird’s egg by the driveway of a neighbor’s house, but it turned out to be a seed pod of some kind. I brought it home to add to the collection.

Thursday’s find was a slightly grubby bird feather, which is always a nice touch.

Thursday – bird feather, probably a dove?

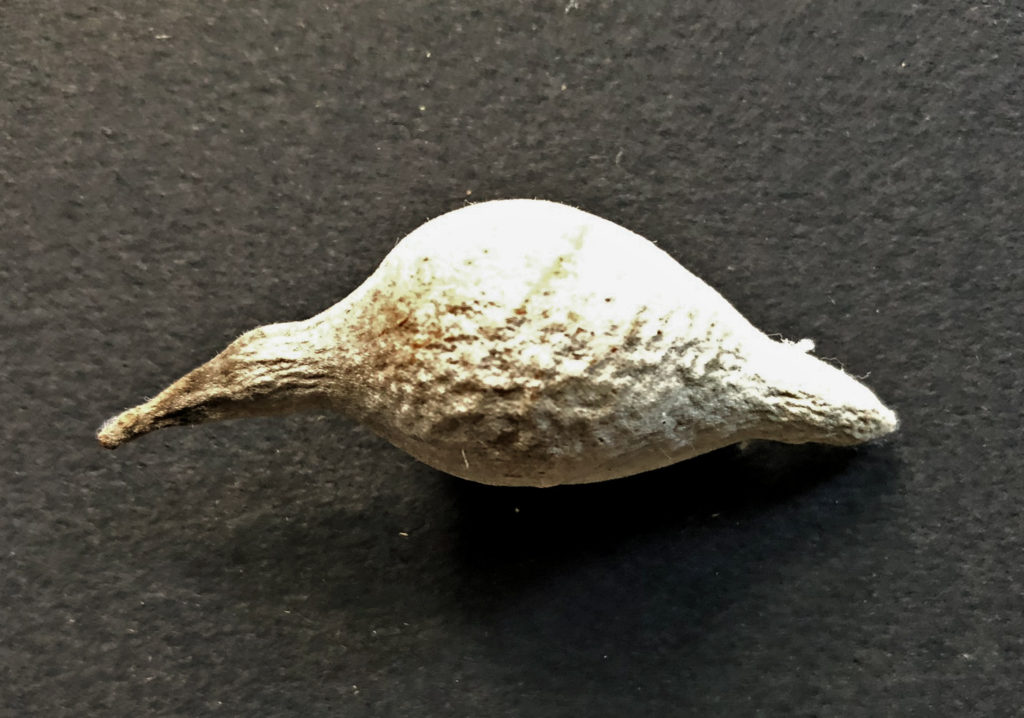
On Friday, I brought home another seed pod thingy – this one look kind of like a bird.

Seed pod, probably Magnolia

Saturday’s and Sunday’s finds were rather similar for no particular reason – a rolled leaf, and a stick with no bark on either end.

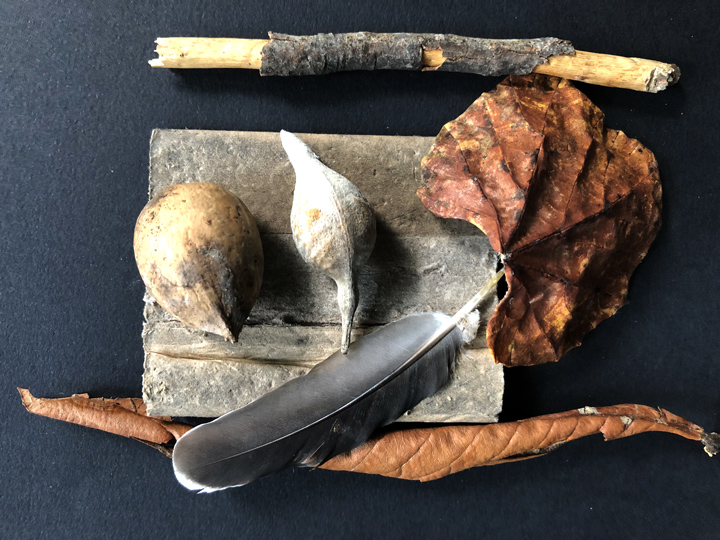
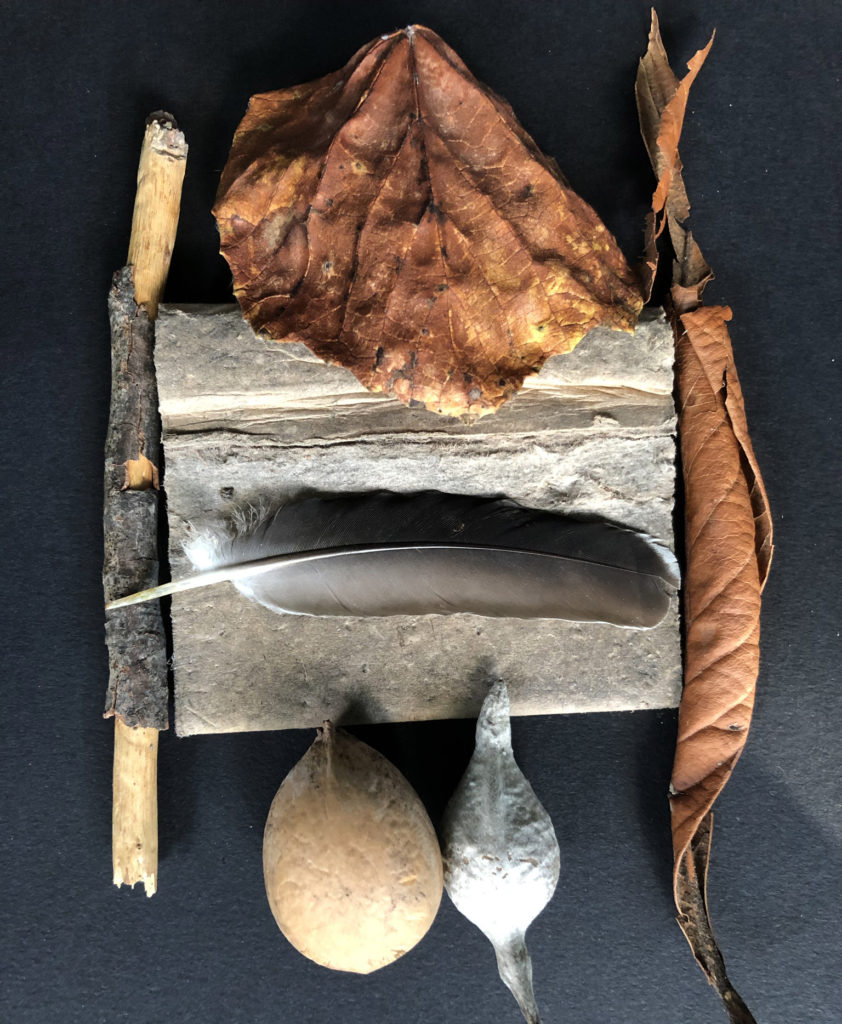
Then came Sunday, which was Composition Practice Day – I  started arranging the seven objects in different configurations on a black piece of paper, then photographing the experimental arrangements with my phone camera.

Important point – there is more than one right answer! This is the great fun of solving art problems versus math problems!

This one may have been my favorite, but that could change depending on how the composition was going to be used:

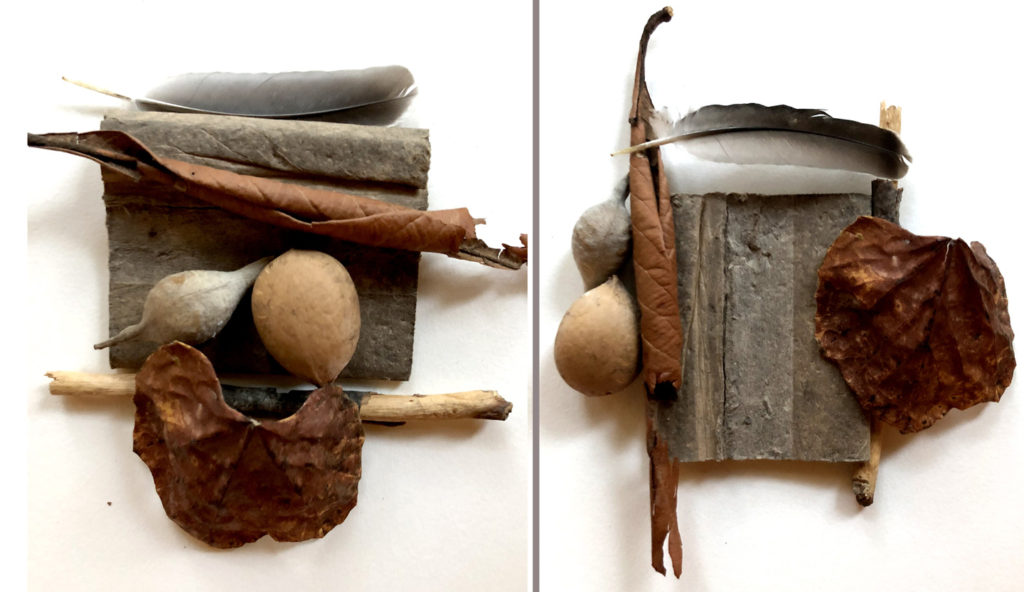
I also tried the objects on a white background.

It’s instructive to note what works for you balance? Scale? Horizontal versus vertical? symmetrical versus asymmetrical? Stacked versus separate?

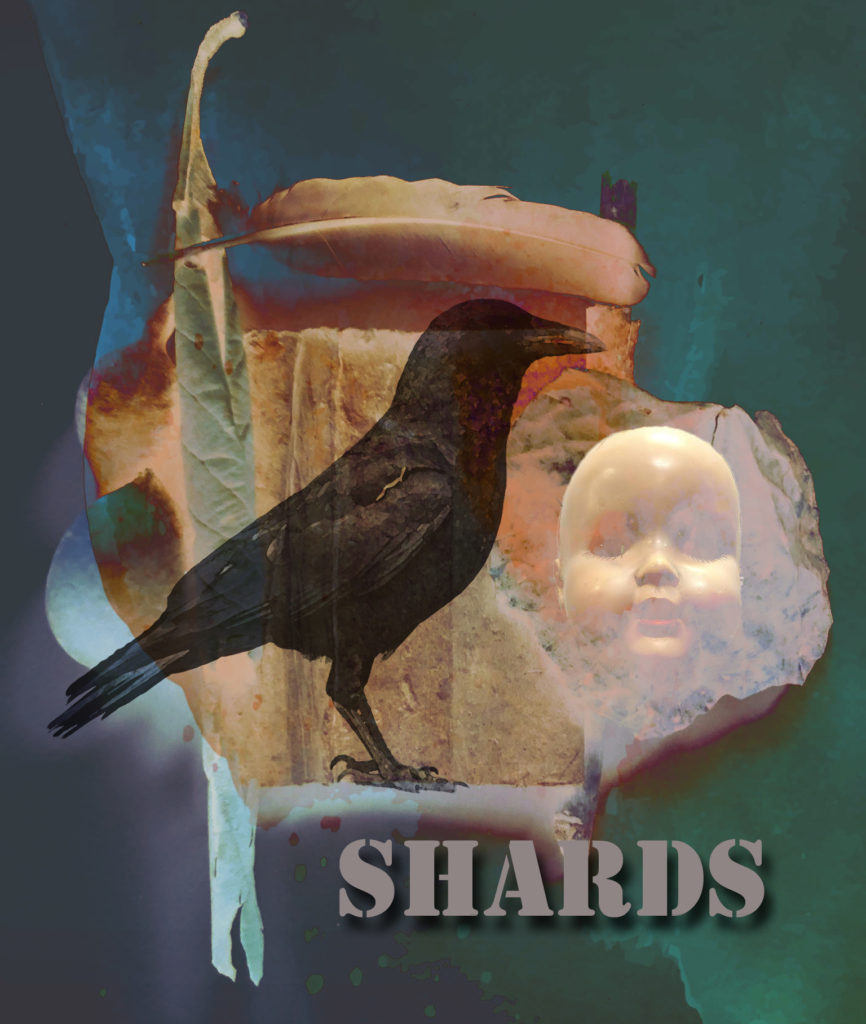
You can save your favorite photographs and use them as inspiration for paintings (you already know that the composition works!) or as backgrounds for digital art – here’s one example that I did from the photo on the right, above.

I would love to see examples from all of you who want to play with this idea.

You don’t have to wait until a Monday to start! You just need to choose one object a day without thinking about how it will go with anything else. Choose it just because you like it. When you start your arrangements, document them with photos, and send your favorites to me.

Go to my website (CLICK BELOW) to submit photos of your own 7-Day Found Object Challenge for Composition Competence. I’ll put together an online gallery on September 1st.

FOUND OBJECTS CHALLENGE LINK

I can’t wait to see what you find!


Wax and Clay play – plus a cool lightbox!

Grace and Deliverance (detail), Lyn Belisle, 2018

Grace and Deliverance (detail), Clay and Encaustic, Lyn Belisle, 2018

I’ve been working with earthenware clay and encaustic medium for a few years now, and really enjoying the combination.

But it occurred to me that not all encaustic artists have a chance to try this combination since they don’t have unlimited access to fired clay like I do.

Then it occurred to me that I have an Etsy shop that sells unglazed clay shards to artists. Hmmmmm. Then it occurred to me that I  just got a notice about a discount deal for advertising in Encaustic Arts Magazine.

Aha – the “Earthenware and Encaustic Exploration Set” was born!

I find that when you get an idea, just go ahead with it as if it were already real! Don’t worry about how it’s all going to work. So I put together an ad for Encaustic Arts Magazine that looks like this using photos that I took especially for this purpose:

To make the pieces look good for the ad, good lighting was necessary for the photographs of the clay pieces. So I’m sharing with you a link to a photo light box that I have found to be extremely useful for all kinds of objects – and it’s cheap (about $40) and has its own light source.

It folds up into a flat package, and it comes with different colored backgrounds. As always, you get what you pay for – it’s not what you’d find in a professional photo studio for sure – but it does give good lighting for items up to about 12″.

This is what an art object looks like inside the light box:

Of course, you crop the photos so the edges of the photo box don’t show!

Here are some of the Encaustic Shard photos taken in the new light box – good detail! By the way, I use my iPhone for taking the photos 99% of the time. You don’t need a fancy camera.

To create the ad for Encaustic Arts Magazine, I wrote a simple description of how an encaustic artist might want to experiment with clay on a small scale. The I added the photos. You’d be surprised at how easy it is to put something like this together. True! Here’s a link to how to make an ad using Microsoft Word.
Anyway, if there is a point to this post, it is to follow up on an idea that you think might work as if it were already a success, using tools that facilitate the process.

It’s important to start with the conviction that the idea it WILL work – and in fleshing out the idea, you learn a lot along the way. If it doesn’t work, the journey itself is worth the price of admission!
I’ll let you know if the “Earthenware and Encaustic Exploration Set” appeals to encaustic artists when the ad comes out in June, but even if it doesn’t, it’s always fun to put together an inspiration!


Screens and shelters as art

archaeological excavation shelter

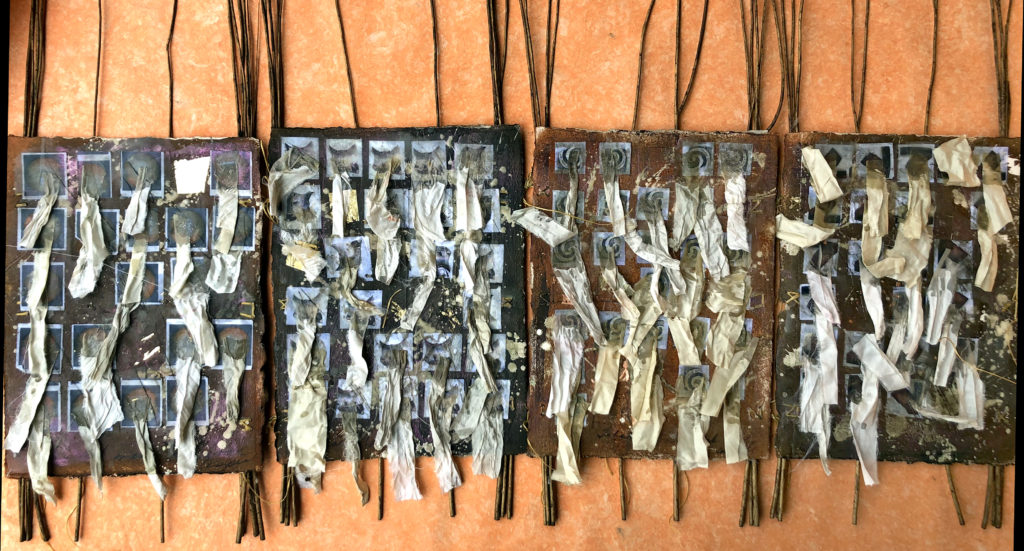
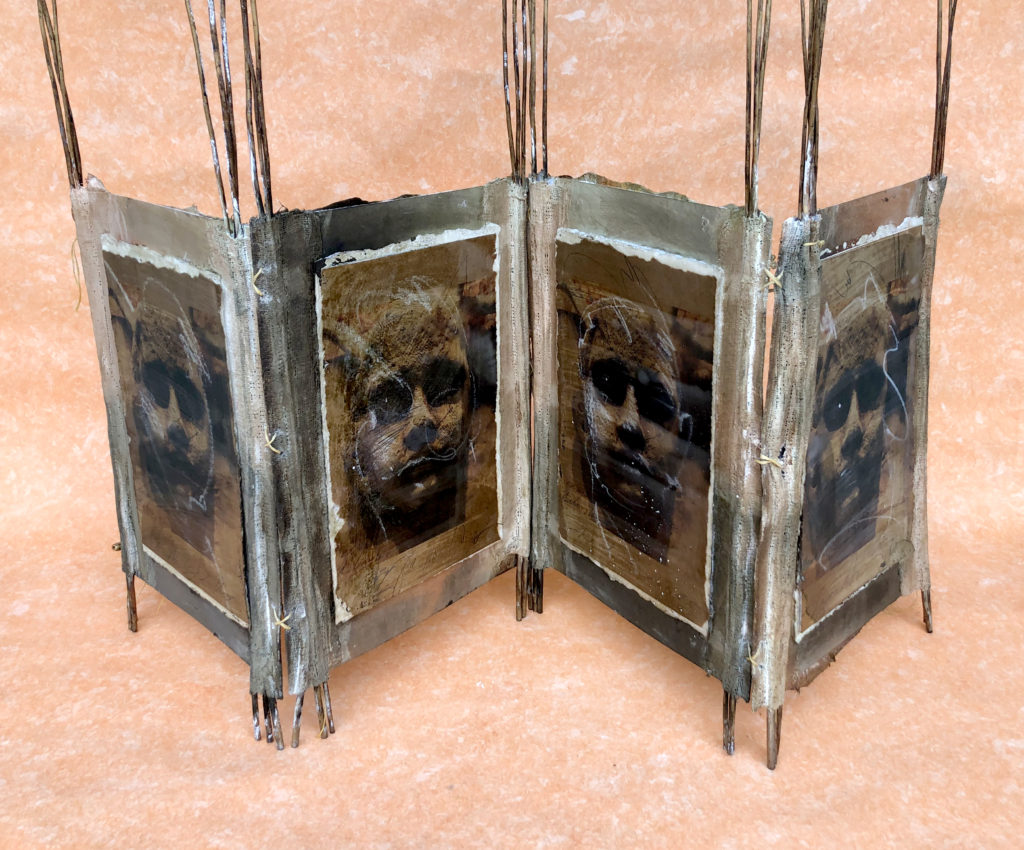
screen panels of heavy paper and sticks

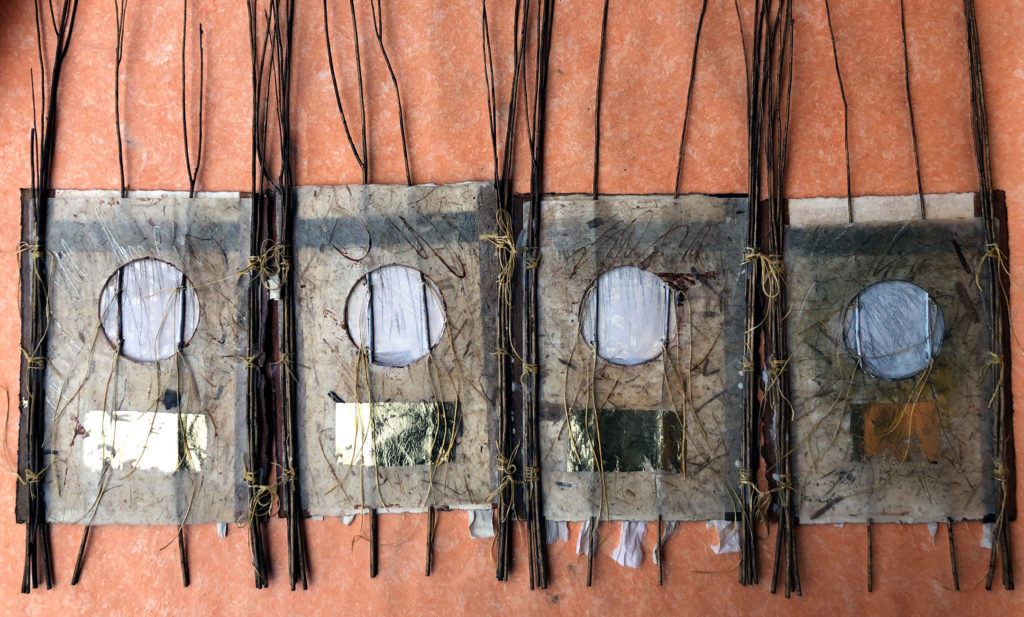
As part of my work with the “Unearthed” series, I’ve been working with panels of paper, wax, sticks and silk to construct three-dimensional sculptural objects that can be configured in different ways.

This has become a very exciting project for me, informed and inspired by shelters and screens for archaeological excavations as well as the idea of versatile art panels that can be viewed from many perspectives to conceal and reveal.

Here’s one that is almost finished. It is large, about four feet long and two feet high.

Lyn Belisle, Shelter Screen #1, 48″ x 36″ Paper, wax, silk, pigment, and sticks

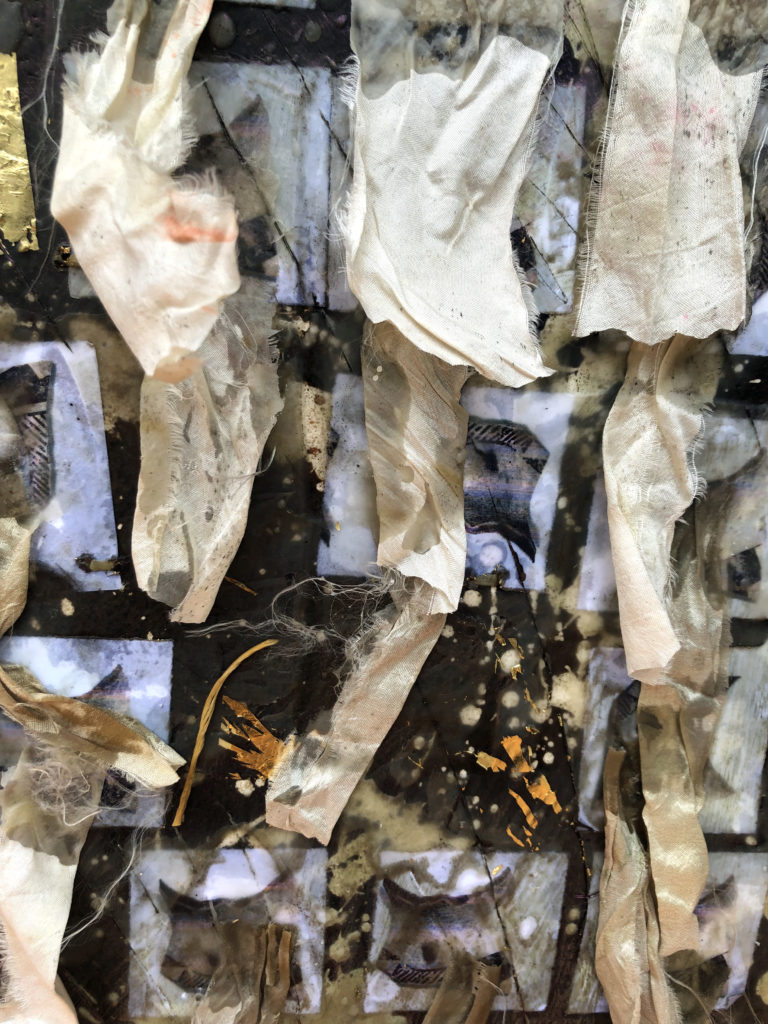
This is a close-up of the surface of one of the panels – torn silk is adhered with beeswax to squares of archeological symbols printed on paper. It’s multilayered and complex. The surface is meant to suggest ancient shards and scraps that have been collected and stuck to experimental surfaces for further study.

Detail, “Shelter Screen #2”

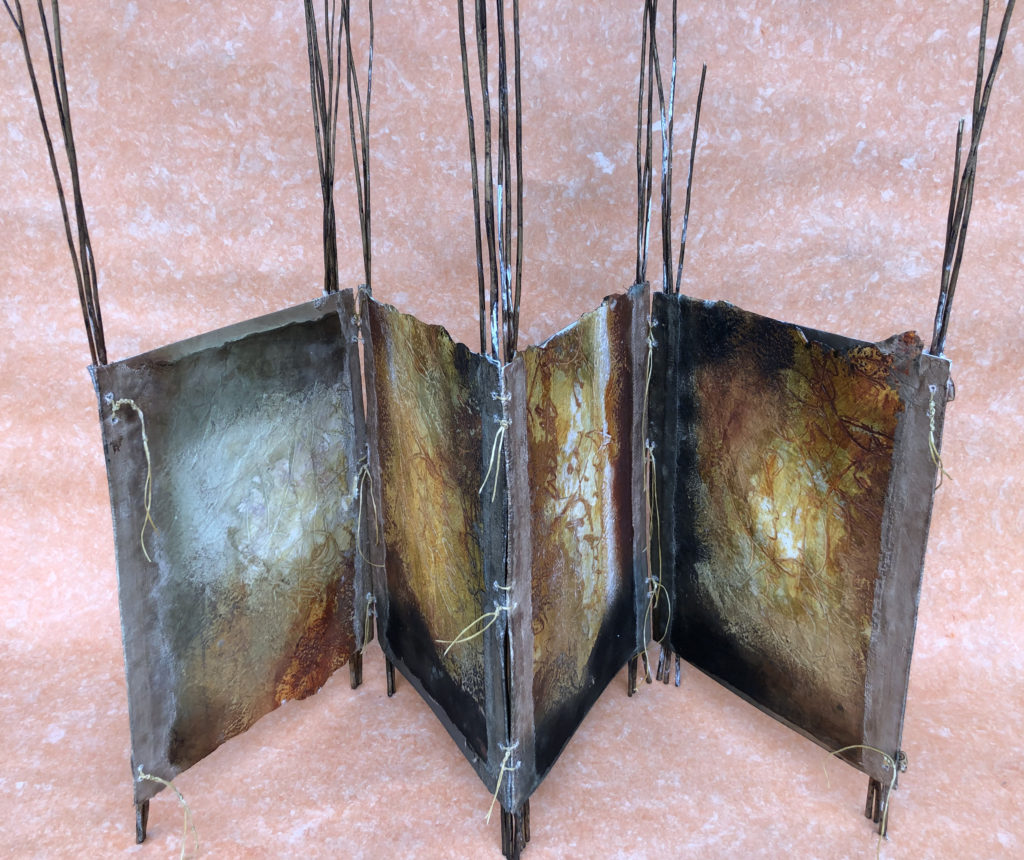
Another great thing about working with these kinds of panels is that each panel has two sides. Here is the reverse side of that piece.

“Shelter Screen #2”, reverse side

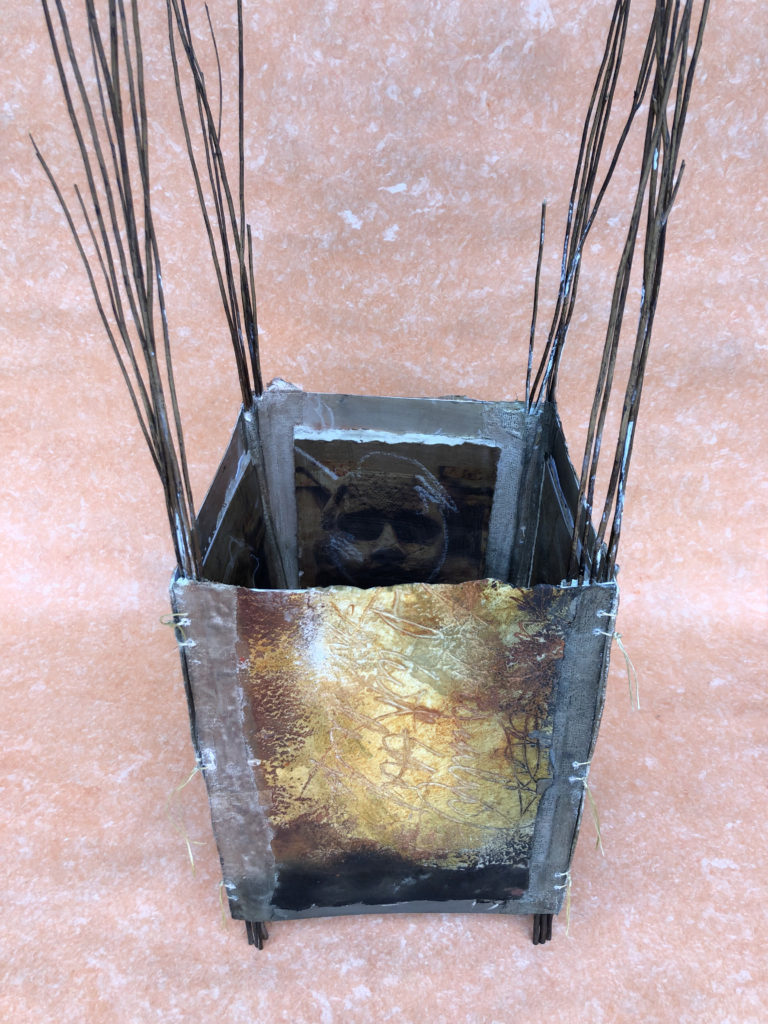
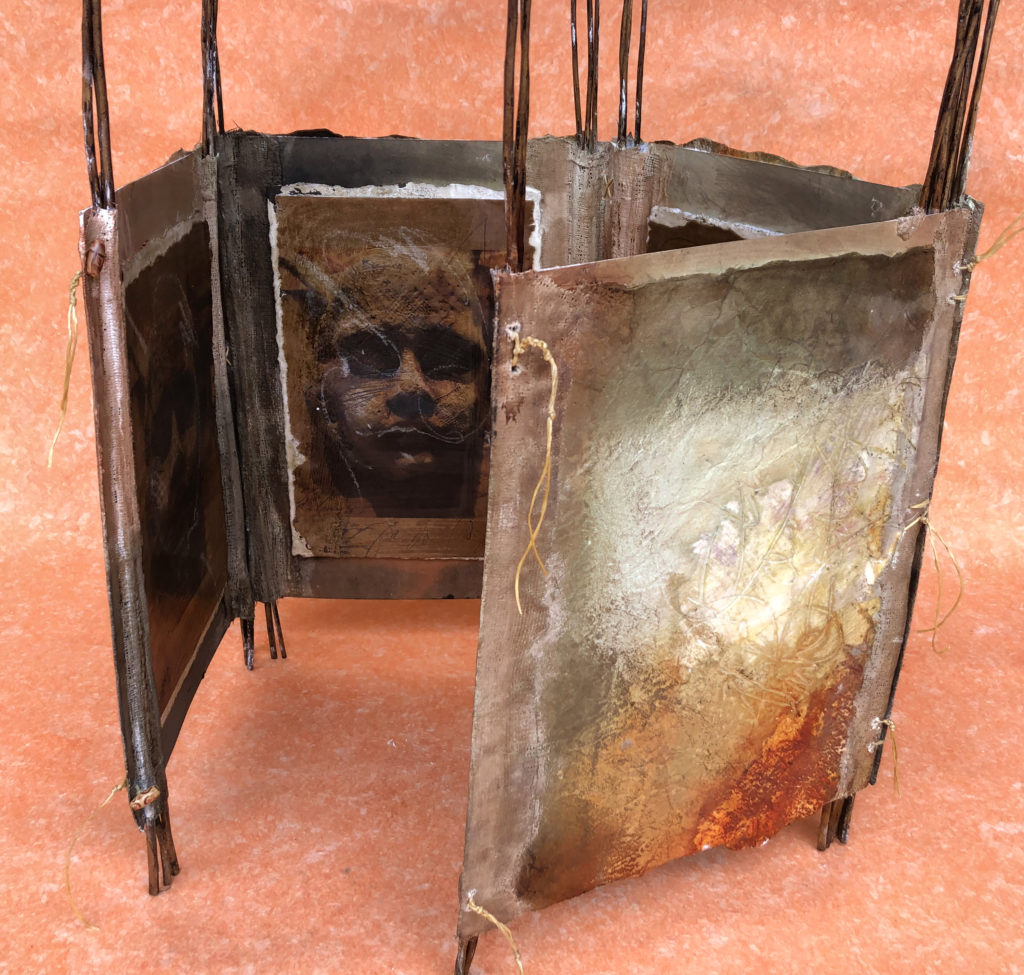
The artwork can be displayed on a wall as a four-panel work, or it can be configured on a pedestal or table as a three-dimensional object.

Here is another Shelter Screen in the series that also has two different-sided surfaces. This one is slightly smaller, about 3.5′ long.

Lyn Belisle, “Shelter Screen #3”, Paper, wax, sticks, acrylic, pigment

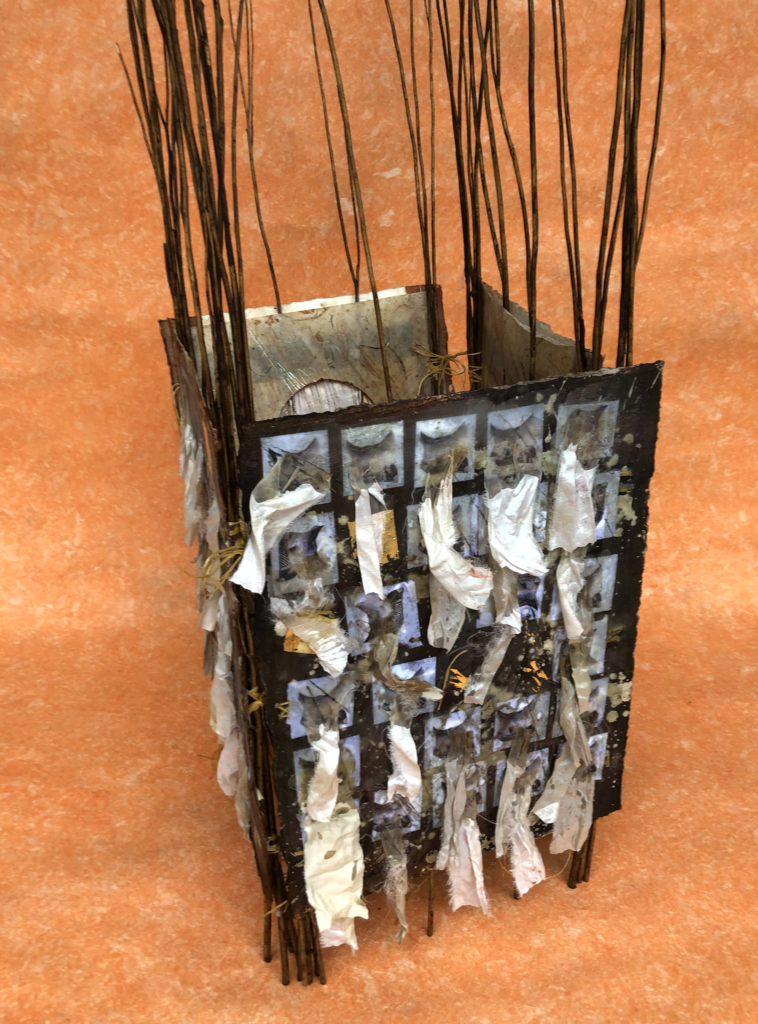
The back of this screen features photos of one of my earthenware face shards in a series of altered photographs.

“Shelter Screen #3”, reverse side

And it can be hung, or folded or tied into a square with either side out!

Because I have very limited studio time these days with all of the Art League duties, I find that working with these shelter panels is like meditation. Each one that I construct is slightly different, and when they are stitched or hinged together, their possibilities are endless.

I love the way this process grounds me back to the basics of building. And the fact that they are inspired by archeological screen and shelters gives them a deeper meaning.

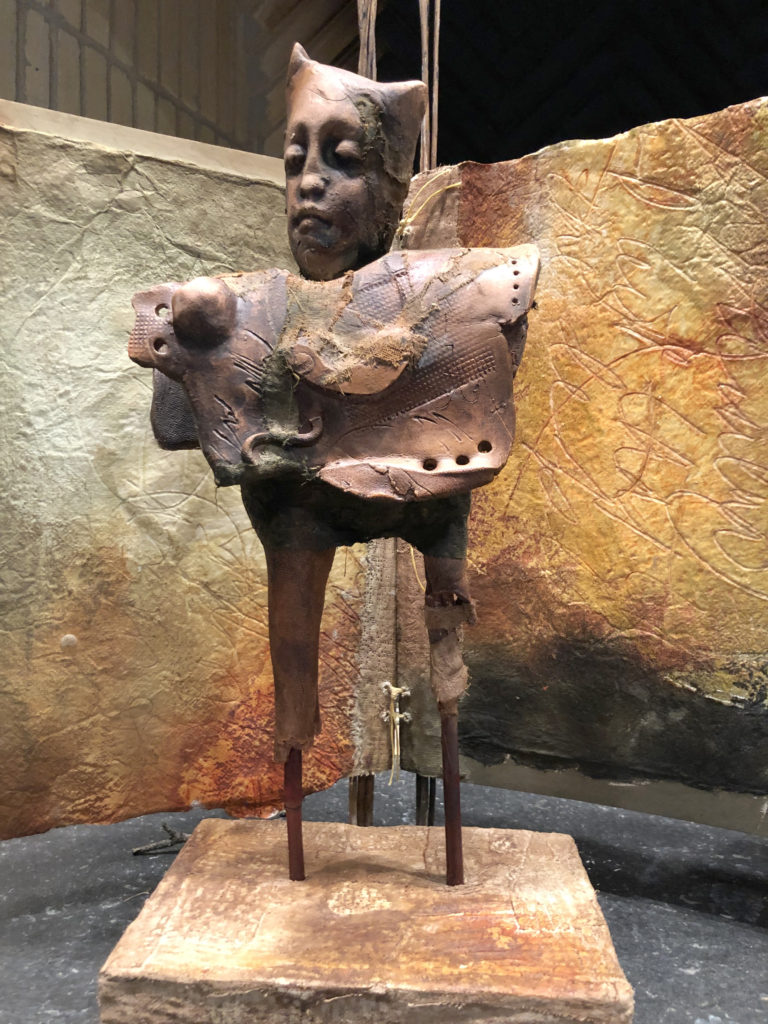
Here is my second “Unearthed” sculpture displayed in front of a Shelter Screen – they were obviously meant to be together!

It’s as if the past is reaching out into the present, giving me guidance. Maybe “Nine Antlers” has a hand in all of this!

“I held my breath as we do sometimes to stop time when something wonderful has touched us…” ~ Mary Oliver

RIP


Nine Antlers

“Nine Antlers” (detail)
Lyn Belisle 2018
Clay, plaster, gauze, fiber, found objects
14×28″

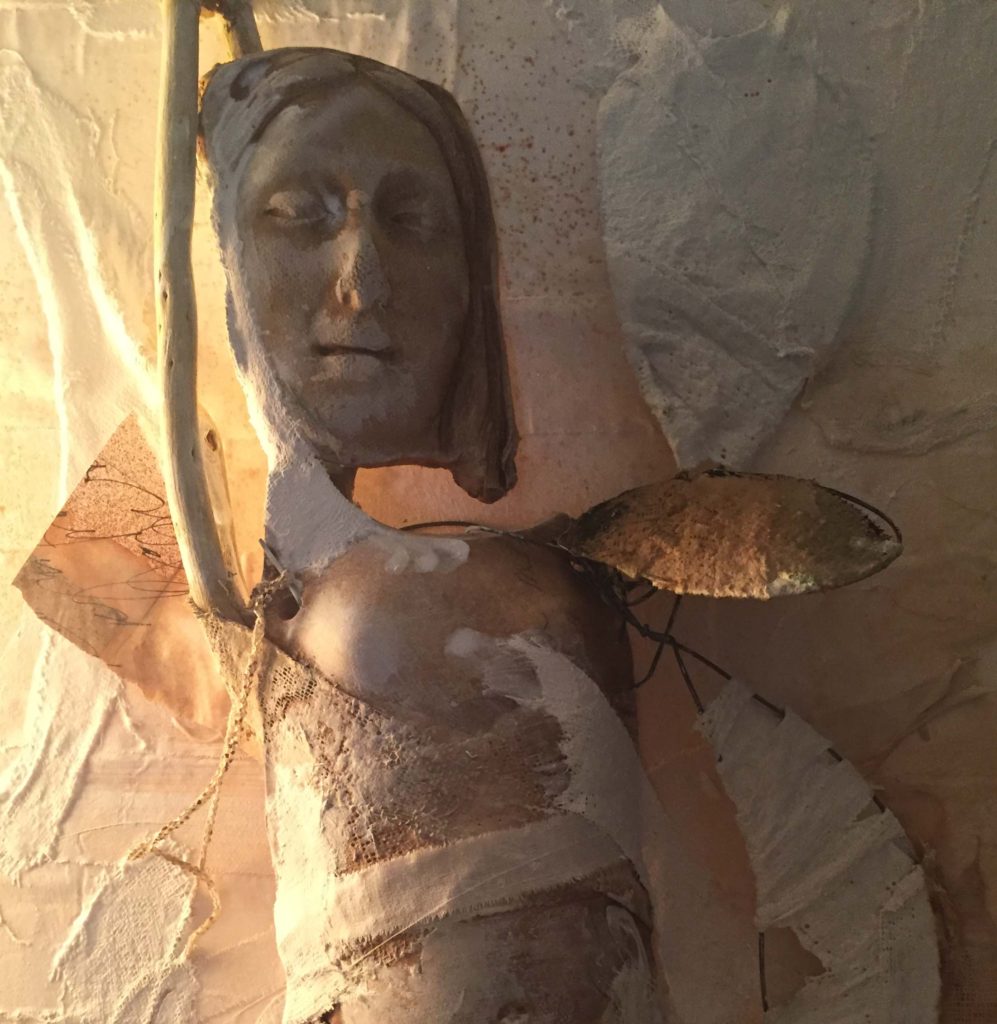
This mixed media work on canvas, titled “Nine Antlers” is my second entry for the Fiber Artists juried show. It has a compelling back story…….

In 1988, a team of archaeologists from the University of Texas in San Antonio excavated a burial site less than half a mile from where I live now. This is from the abstract of the study:

“The burials, identified as a Late Archaic component, were associated with two radiocarbon dates of 1920 B.P. and 2200 B.P. The burial practices of this time period as documented at this site include flexed burials of adults and children interred with a variety of grave offerings, including deer antlers, deer skull fragments, marine and freshwater shell ornaments, worked bone, ocher, a ground stone slab, and unaltered cobbles.”

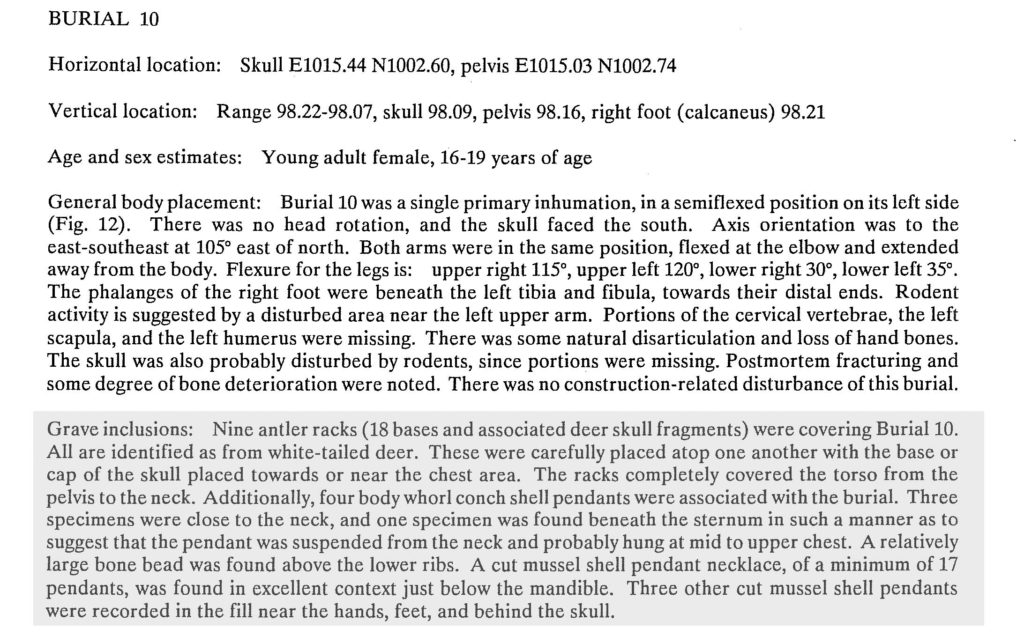
One of the bodies was a young woman – here is her description:

It’s impossible not to wonder what kind of life this young woman had in prehistoric Texas, just north of the Olmos Dam. I wanted to honor her by putting together clay shards with pieces of fiber and found objects that represented both her burial and her discovery. I named her “Nine Antlers” because of this description:

“Nine antler racks (18 bases and associated deer skull fragments) were covering Burial 10. All are identified as from white-tailed deer. These were carefully placed atop one another with the base or cap of the skull placed towards or near the chest area.”

Someone must have loved her a great deal to adorn her body with these ritually placed antlers.

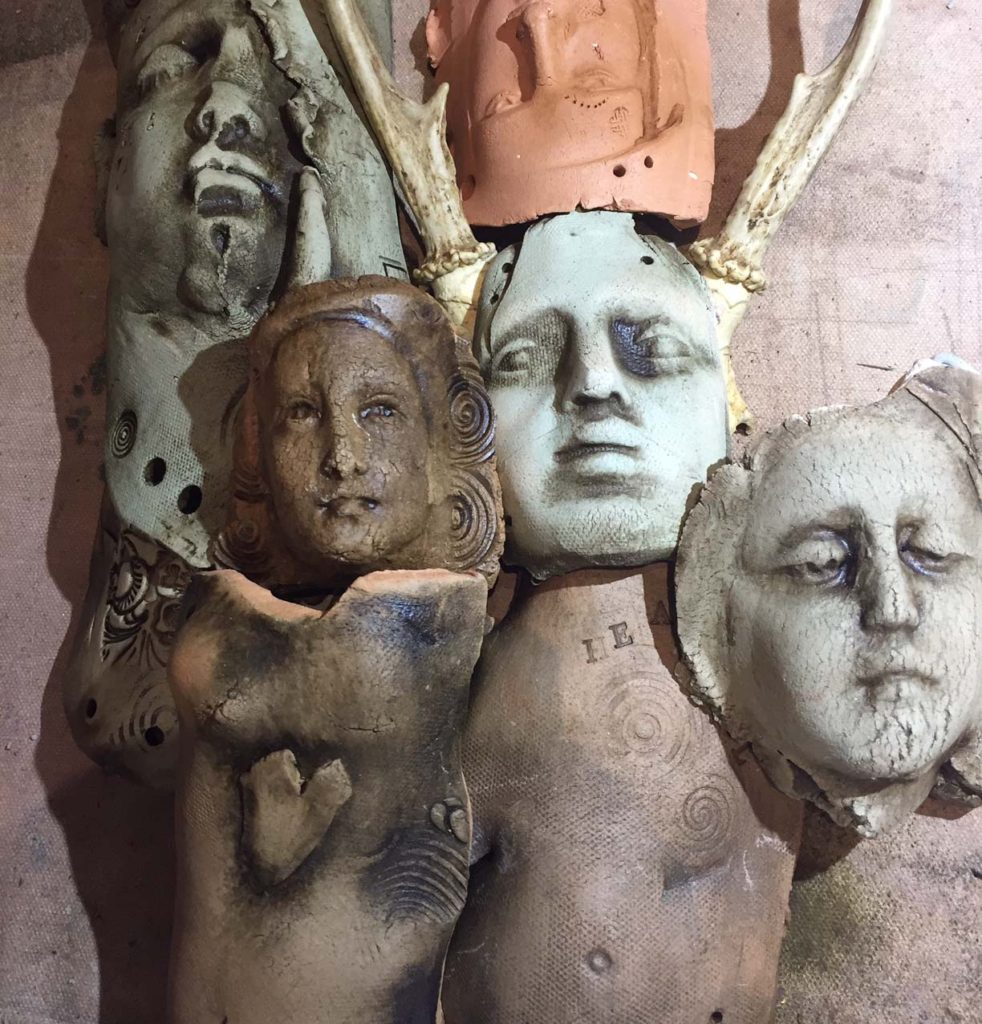
I stared by looking through my clay components for a good match – not too pretty or defined. And actual antlers would be out-of-scale, so I did not choose them.

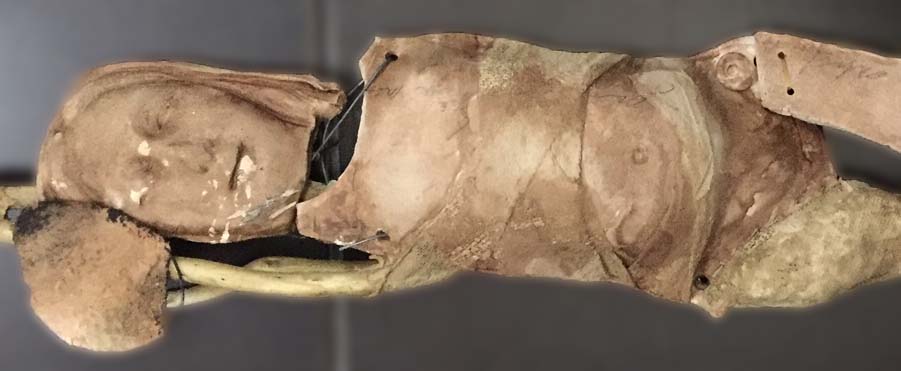
These terra cotta pieces, below, almost worked, but they were not “deconstructed” enough to fit the concept.

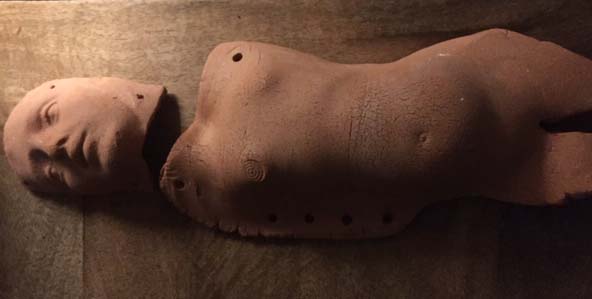
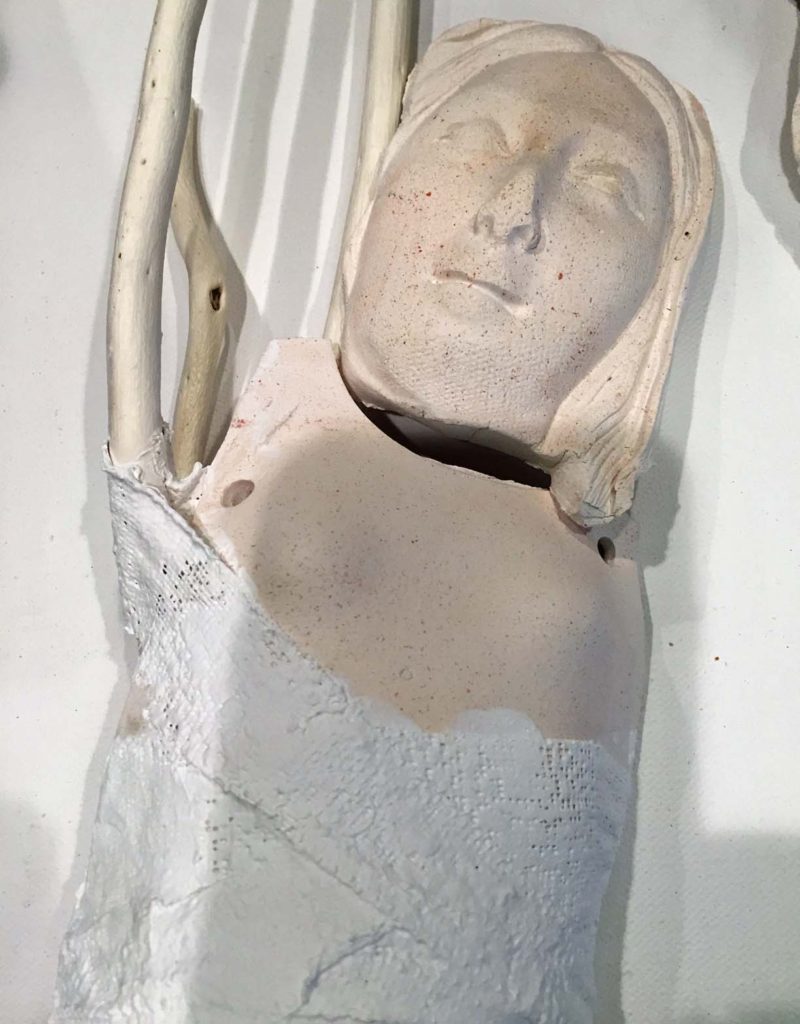
I settled on white clay for the head and body and added bone-white branches. I wrapped them together with plaster and gauze, rather like a bindings of a mummy.

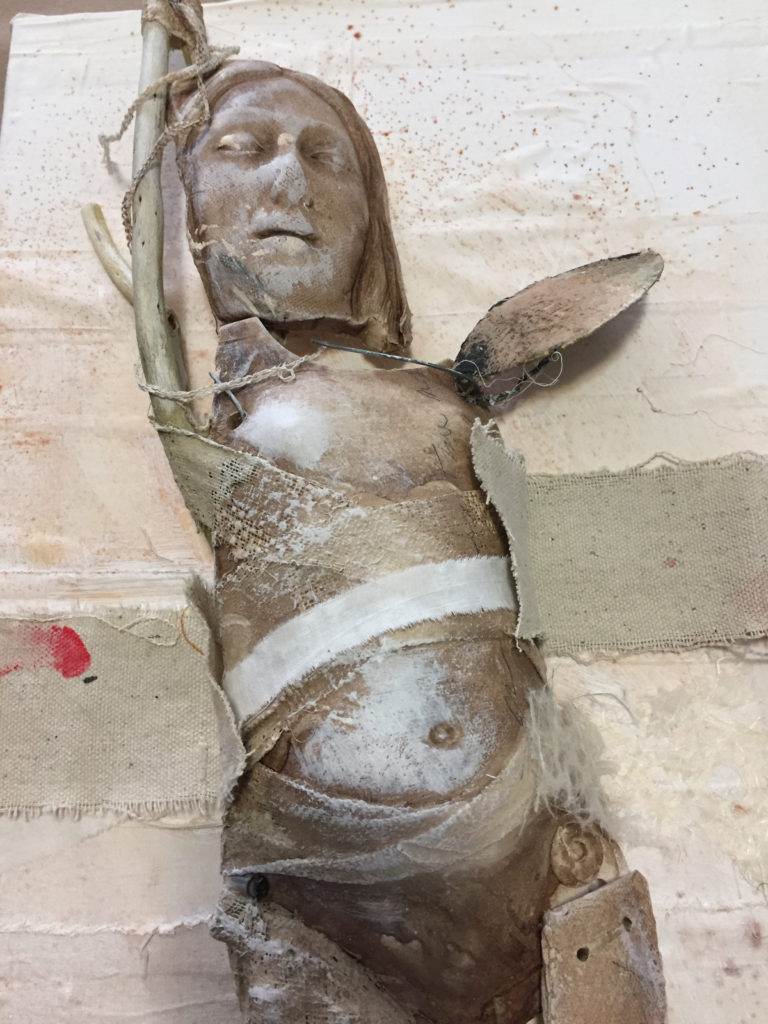
This is the first stage, below, with wire, wax and walnut ink added to the mix.

I covered a stretched canvas with linen drop-cloth strips, laid the figure on it, then partially covered the side with the fabric.

I kept adding linen strips and gauze, wire and plaster, wanting to both conceal and reveal the figure. The mixture of clay and sticks and fiber worked well.

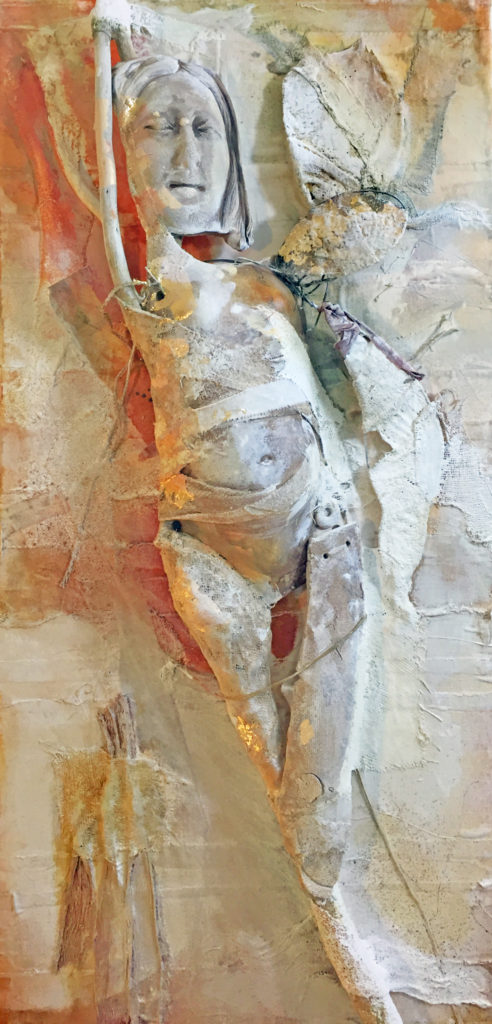
Here is the finished piece:

“Nine Antlers” Lyn Belisle 2018 Clay, plaster, gauze, fiber, found objects 14×28″

“Nine Antlers” may be finished, but I want to continue working with this scientific narrative and perhaps do a series honoring the thirteen people who were buried and discovered here so close to my home. The materials I love – clay, fiber, bone, wax and pigment – lend themselves to this exploration.

I invite you to read this archaeological study, especially the details about adornments, traces of ochre pigments, and all of the other small gestures that connect us as humans across time. You can read the entire 1988 report about Nine Antlers and her people here.


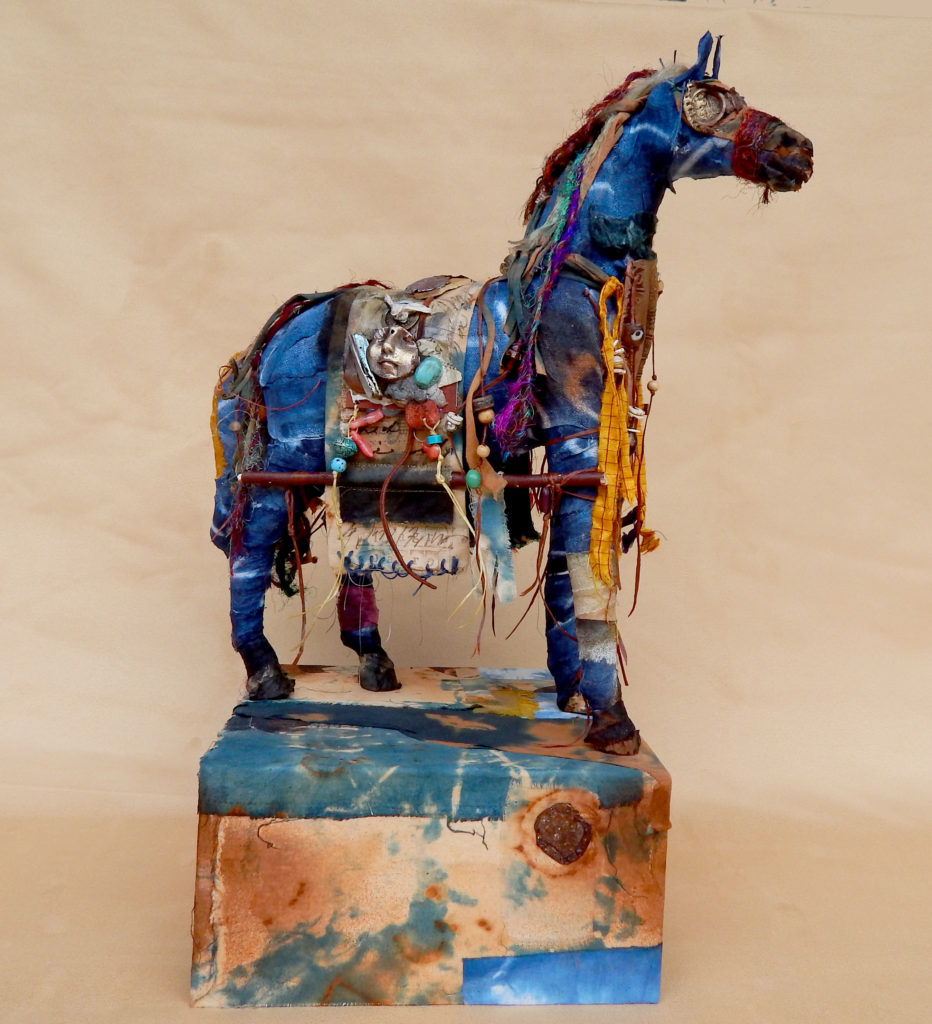
Boro-Horse – meant to be!

Boro Horse
Lyn Belisle 2018
24″ high with stand
Mixed media fiber, clay and paper

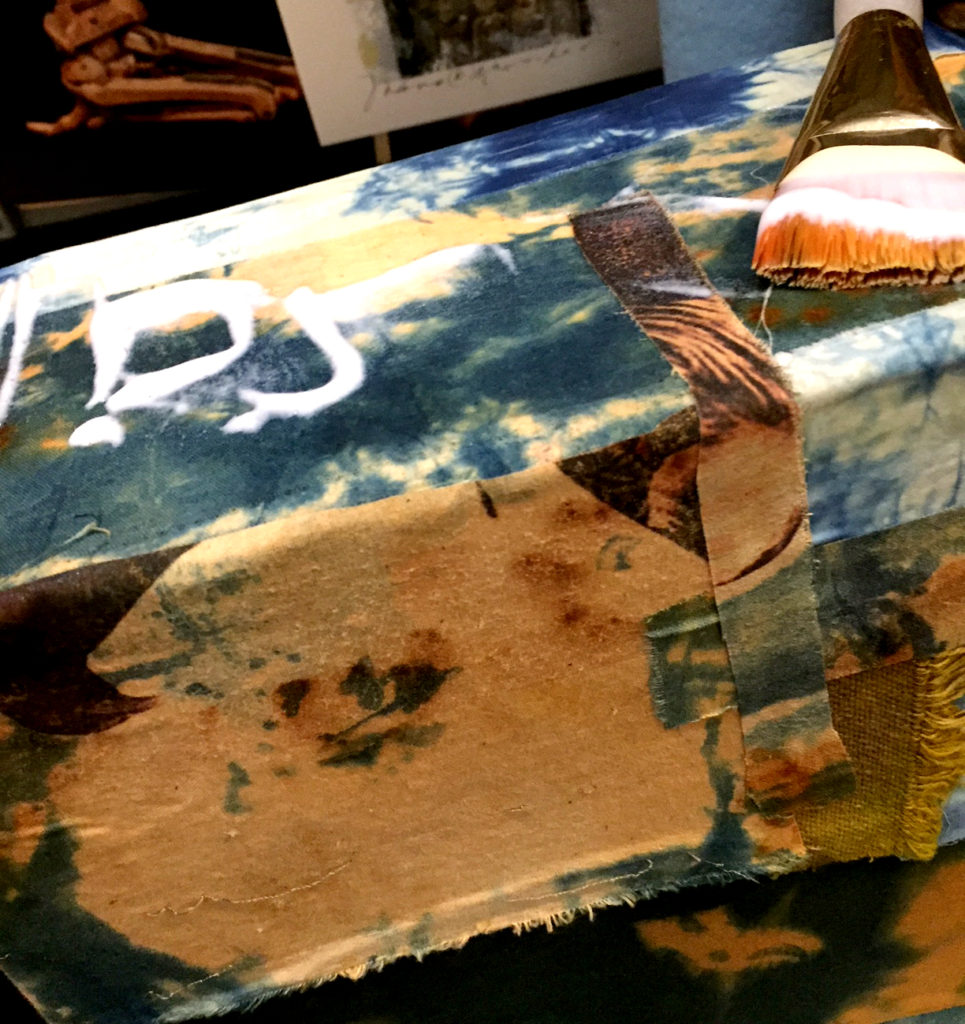
This magical horse insisted on being created while I was in the middle of getting another piece ready for the Fiber Artists juried show. I had some scraps of indigo linen on the table when I spied a beat-up papier-mache horse figure that had come from my old studio and was much the worse for wear, with one leg broken.

On impulse, I wrapped the strip of indigo linen around his broken leghe liked it! So I kept going, patching in the tradition of the Boro textiles of old Japan.

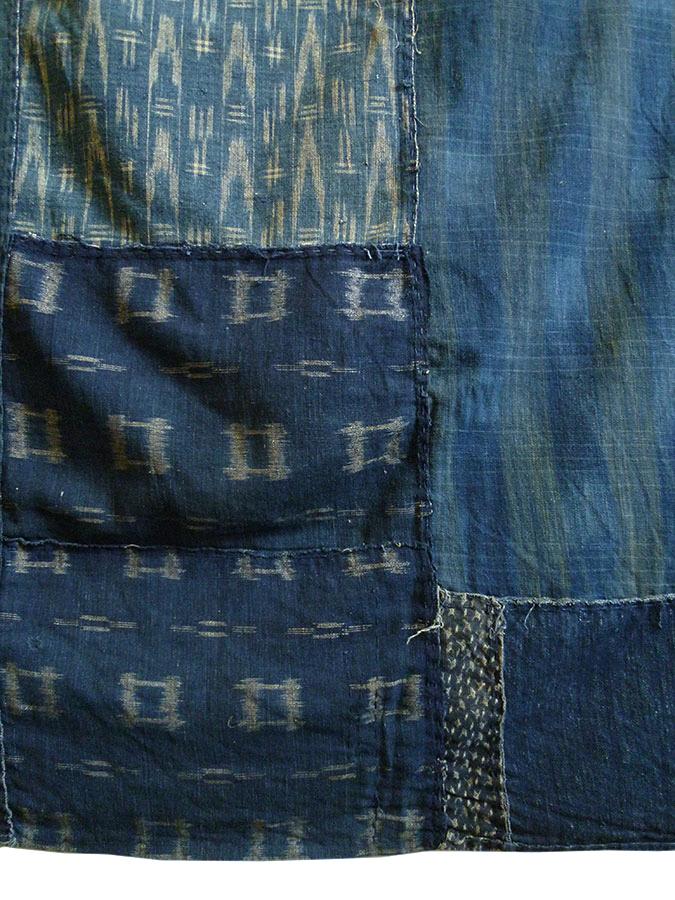
Example of patched indigo Boro cloth

Boro textiles are usually sewn from nineteenth and early twentieth century rags and patches of indigo dyed cotton.  The diversity of patches on any given piece is a veritable encyclopedia of hand loomed cotton indigo from historic Japan.

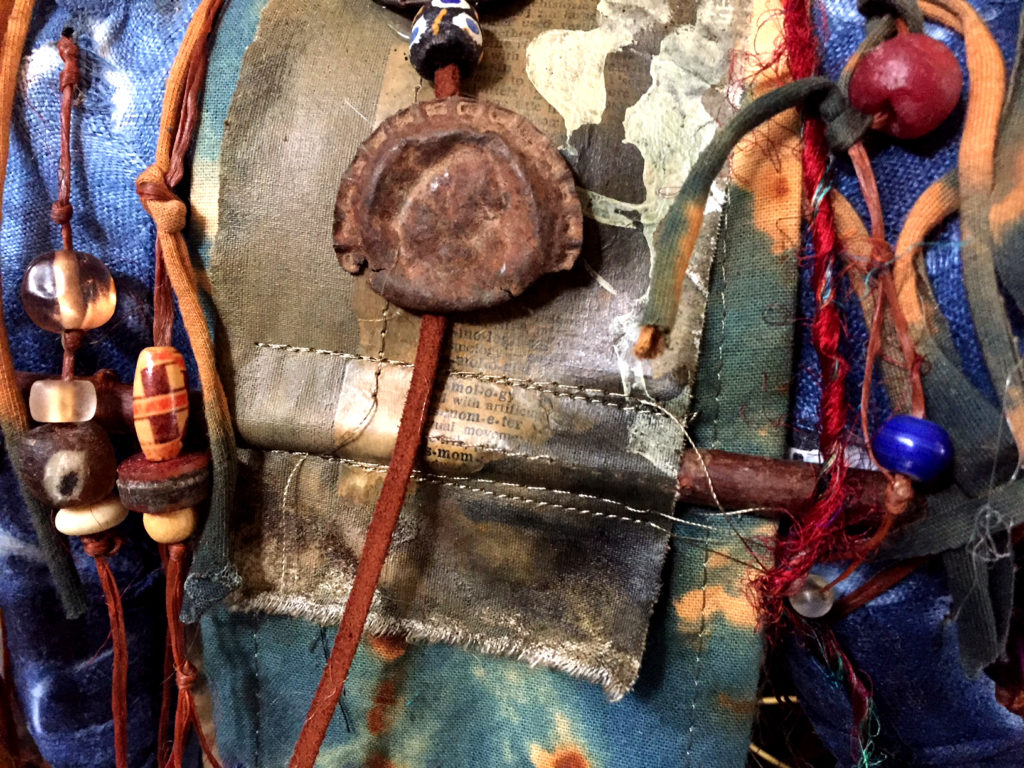
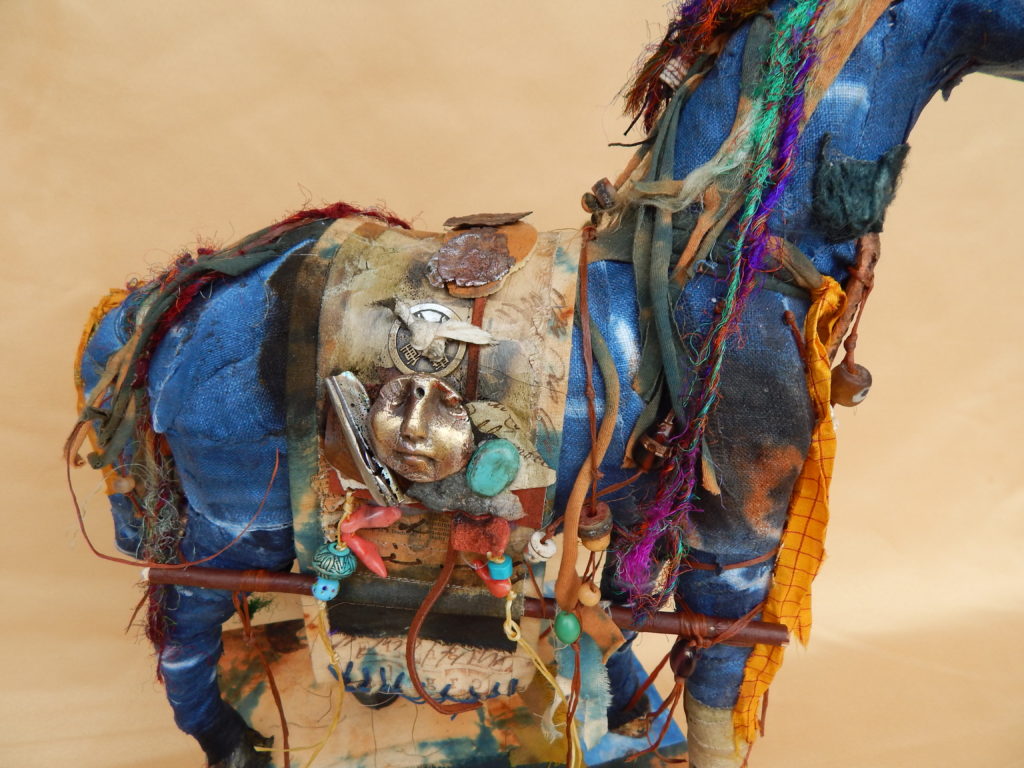
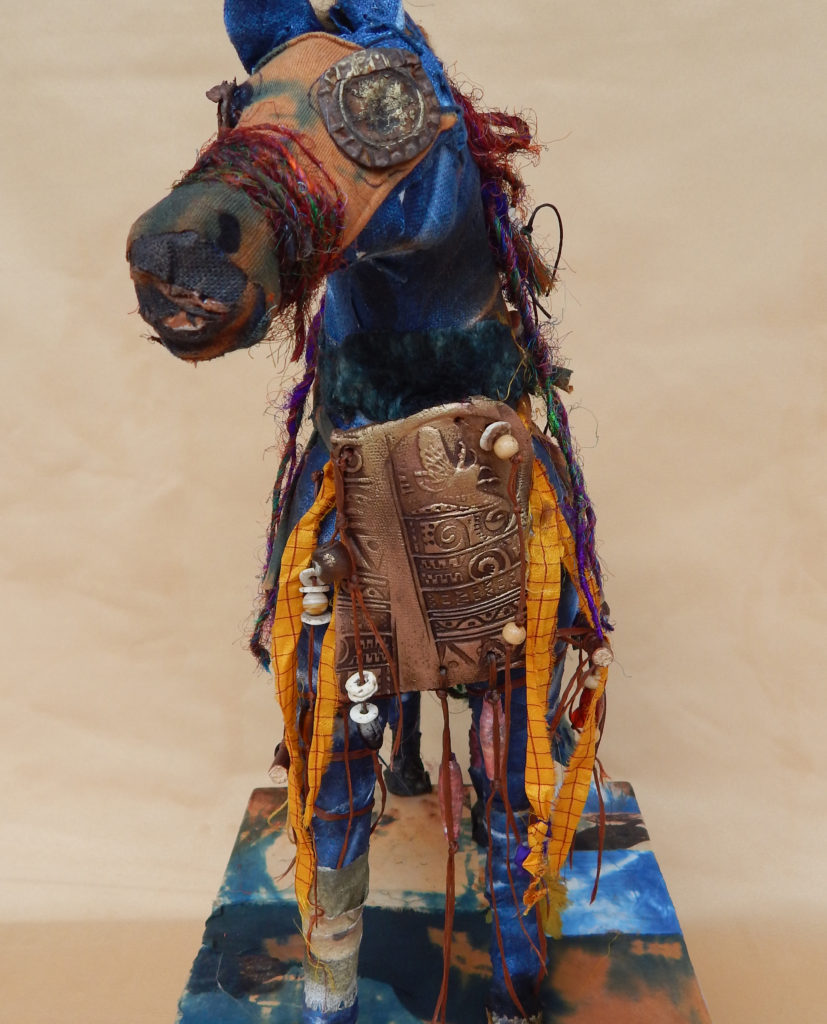
Once he was covered with indigo scraps, Boro-style, I began adding strips of sari ribbon. I sewed a saddle-blanket for him and added sticks and beads and fund objects.

Detail of saddle blanket on Boro-Hourse

This weekend, I decided that Boro-Horse needed a stand to elevate him to his proper status as a very cool animal.

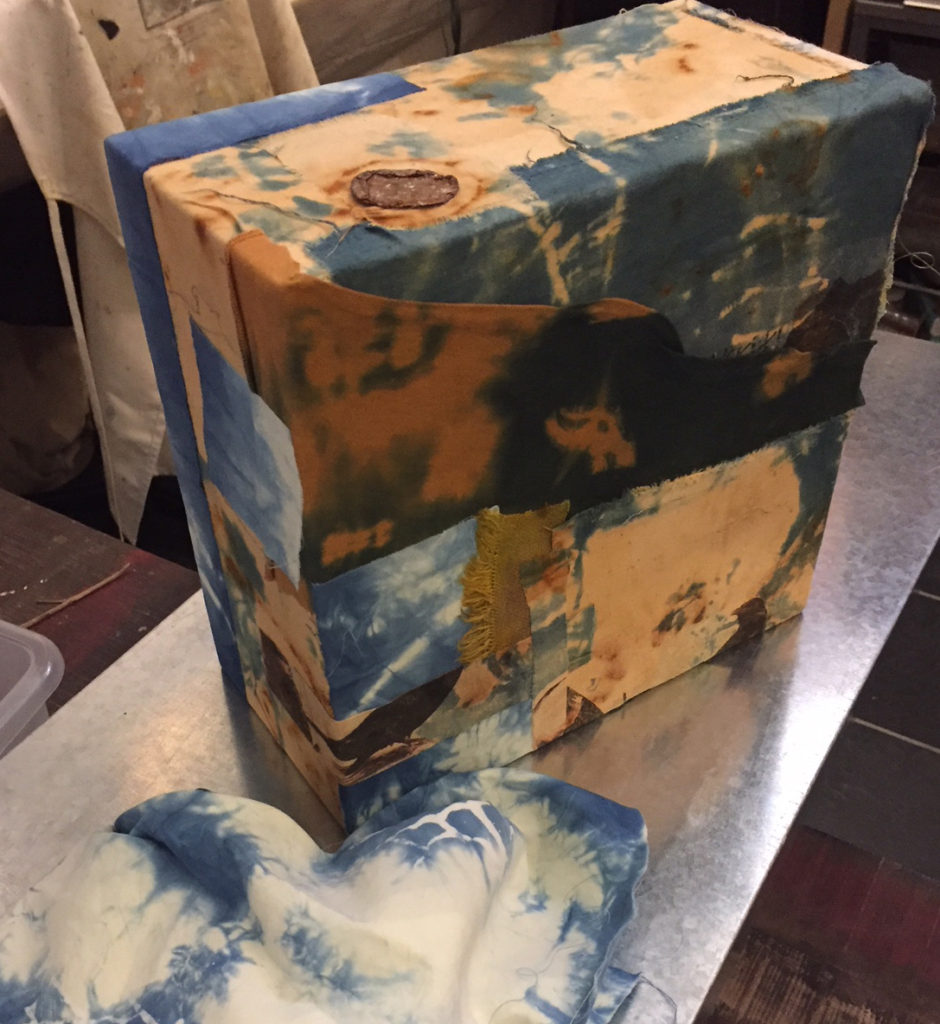
I used more scraps from old indigo and rust projects to cover his platform, the sealed it all with acrylic matte medium.

Boro-Horse will have little Velcro dots on the bottom of his hooves and matching ones on the stand so he will be able to be secured but still be removable. With his stand, he’s about 24″ high.

He’ll be one of my entries in the San Antonio Fiber Arts Juried Show. I encourage all of you to enter as well. If you work in fiber of any kind (including paper, which is a fiber), you are eligible to enter your artwork in the upcoming 44th Annual Juried Fiber Art Exhibit!!

When and Where: Say Si Art Gallery, located at 1518 S. Alamo St., San Antonio, TX 78204. Art will hang December 7, 2018 to January 25, 2019.

You might just see Boro-Horse there!!


Thank goodness it’s over – NOW what??

I have been working on writing a major grant request for the San Antonio Art League for two weeks – and that means no art for TOO LONG! But it’s finished and submitted and fingers are crossed. Hopefully, this will all be worth it, but I’m feeling rusty and stale and need some inspiration, a kick in the creative backside.

Coincidentally, an email just came in from Stampington publications about their upcoming challenges. My friends Lesta Frank and Lisa Stamper Meyer are often published in those magazines, and I am so proud of them! But I don’t want to jump back in to work too fast by trying to come up with an article. This challenge, however, caught my eye:

  • Miscellany
    Sometimes, an image of something lovely is all we need to feel inspired. Have you taken a photo of something that makes you feel inspired? Perhaps it is a photo of your collection of vintage handkerchiefs. Or an old stack of books. Or your treasured stash of ribbons. Please submit your favorite digital images (5″ x 7″ @ 300 dpi) to be considered for Somerset Life’s special Miscellany department to the Editor-in-Chief at somersetlife@stampington.com.
    Deadline: Ongoing.

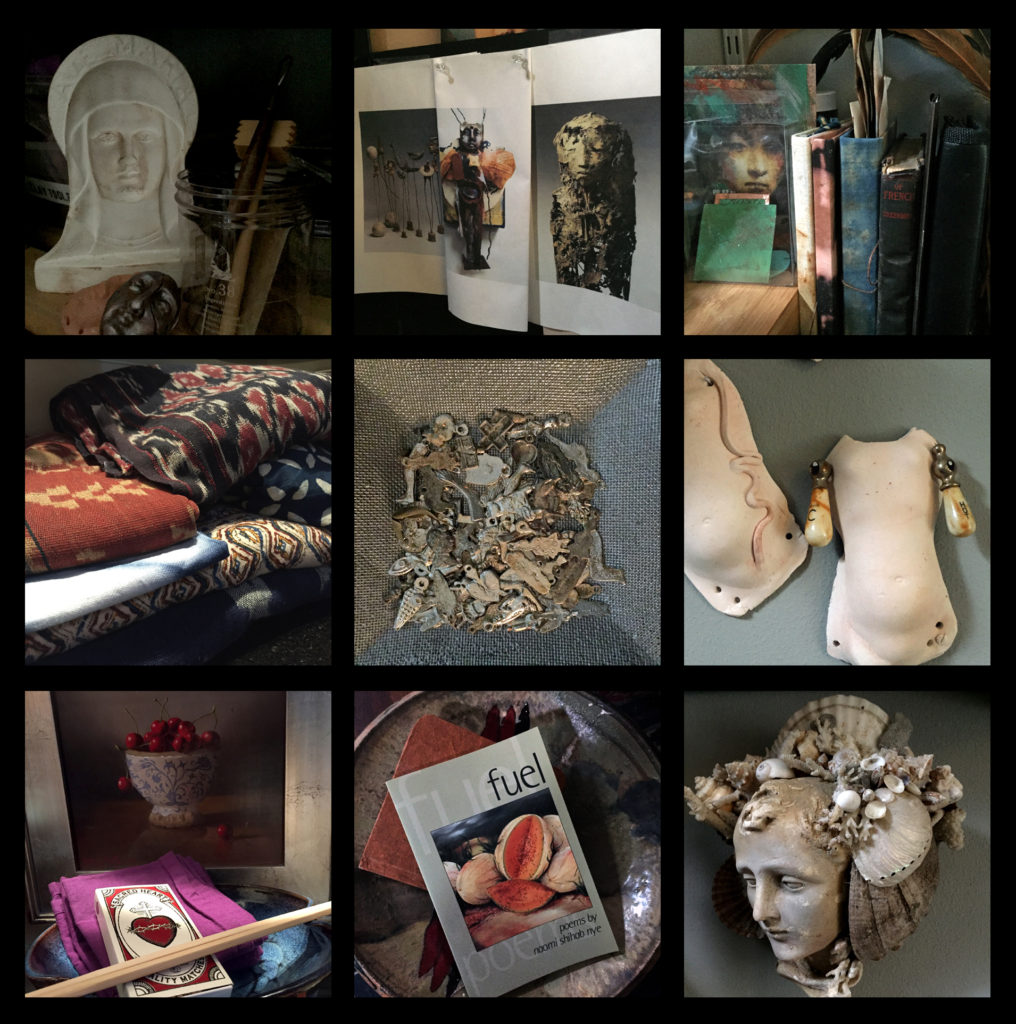
So this morning on my first day of freedom from grant writing, I took my phone and went around the house finding little shards of collections, tools, ideas – well, “miscellany.” Not sure whether I’ll submit any of these photos to Somerset, but it sure was fun reaffirming the things that make me feel creative. Here’s a photocollage of nine of the pictures I took while wandering around my spaces.

Little shards of stuff around my house and studio

I found this to be a really good exercise for several reasons:

  • It makes you really look at stuff you walk by every day and take for granted
  • It makes you think about what you like – and why
  • It helps you revisit old ideas that have new potential
  • You don’t actually have to make something – you’re curating what you have with a fresh eye.
  • You can think of it as homework, and you feel like you’re accomplishing something –  plus, it’s fun

I encourage you (especially if something has kept you away from your creative self for a while) to try this. Heck, go ahead and submit those photos to Somerset – what’s to lose?! A kick in the creative backside is a good thing.

Some other challenges from Somerset:

Somerset Life aims to demonstrate how easy it is to add a touch of beauty to our daily lives, whether it is through a simple craft project, or an inspiring essay that shares how to find the beauty that already exists. Our mission is simple: make the ordinary extraordinary. For those looking to be a part of this bestselling publication, we have a number of ways to do so. We are currently looking for artwork submissions in the following categories:

  • Life Creative Spaces
    Where do you create? Whether it’s a small table or breakfast nook, cleared-out closet, or an actual room dedicated as your creative studio, we want to peek inside. If you think your creative space is something that Somerset Life readers would like to learn more about, please submit digital images of your space with a brief written query to the Editor-in-Chief at somersetlife@stampington.com. If the submission is accepted, you will be asked to furnish professional hi-resolution images (300 dpi at 8″ x 10″).
    Deadline: Ongoing.
  • Artful Kits
    We all love to collect papers, ribbons, embellishments, and other bits and bobs. More fun than collecting specific elements is finding creative ways to juxtapose the pieces together to create unique kits. Whether you create them to give away or to sell or offer to students in a workshop setting, we’d like to see your favorite kits. Please send in kit samples directly to the Editor-in-Chief as outlined in the Submission Guidelines.
    Deadline: Ongoing.
  • Creative Living Ideas
    In each issue of Somerset Life we share 10 Creative Living Ideas, and we show quick and easy ways to add a touch of beauty or creativity to your life, or perhaps someone else’s. Maybe you have a clever way of packing a sack lunch, or you have a developed a creative way of saying “Thank You” to a friend. Please send in samples directly to the Editor-in-Chief as outlined in the Submission Guidelines.
    Deadline: Ongoing.

Click here to download our guide for submitting photographs. It will also show you how to convert images to the correct size and resolution for this publication.


Another road trip – Hill Country spirit dolls with orchid-cousin hair

The Hill country Arts Foundation in Ingram, Texas is a magical place. Located at the  crossroads where Johnson Creek merges with the Guadalupe River, it’s a venue for the education of the arts, visual art exhibitions and  theatrical performances.

On Saturday, I went to HCAF to teach a Spirit Doll workshop. My friend Lynn Luukinen who lives in nearby Kerrville, helped me set up by gathering sticks and twigs from the riverbank – and also ball moss (which almost became the star of the show).

Choosing and assembling spirit doll body parts 🙂

Ball moss has a bad rep, but in fact, it’s not a parasite. It’s an an epiphyte (non-parasitic plant living on other plants) and is a cousin to bromeliads and orchids.

A spirit doll in her underwear with a ball moss hairdo

Besides using the native branches and moss, participating artists brought their own stash of great materials to add to their mystical spirit dolls, and they wrote a purposeful intention to wrap inside each one.

Here are some of our spirit dolls – we had a whole day to play and create at HCAF!

Some people call ball moss, which is rampant everywhere in South Texas, a &%$$%##!! nuisance and pay a fortune to get rid of it. We call it “Spirit Doll Hair” 🙂

If you want to create your own Hill Country spirit doll, here’s a link to the materials list we used. Don’t forget the ball moss!

The amazing Shannon Weber: an authentic life in art

Shannon Weber

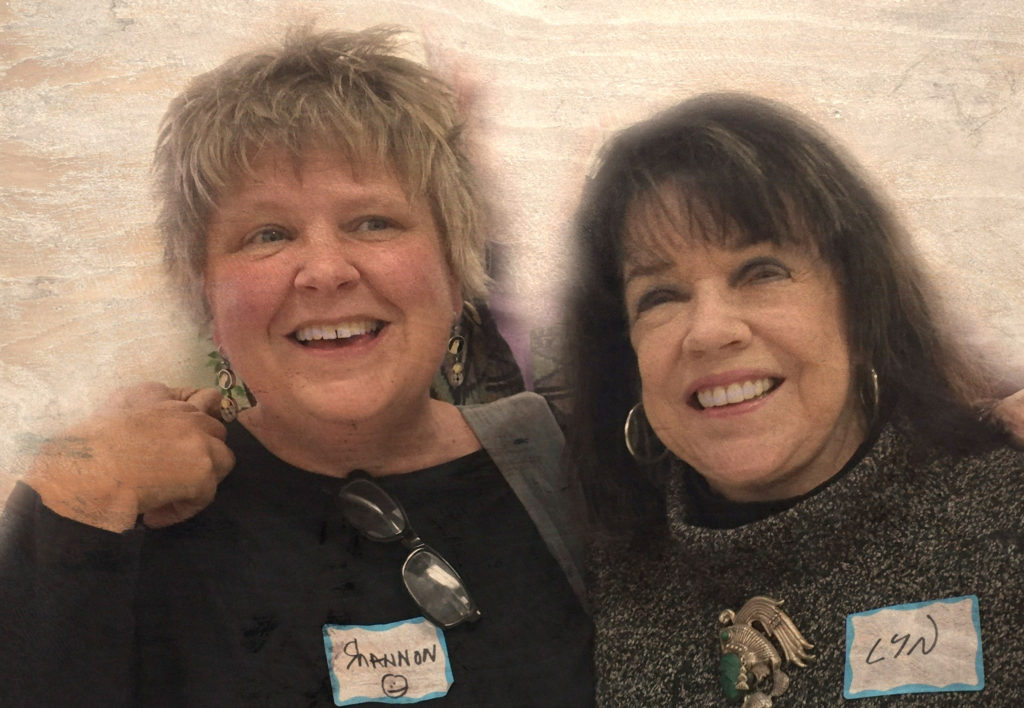
When I met Shannon Weber in Santa Fe last fall, I gushed shamelessly,proclaiming that I was her biggest fan and that images of her work had been on my computer desktop for a decade. I said that her three-dimensional assemblages resonated so deeply within my artistic soul that it was almost scary. Poor Shannon, she probably thought I was slightly nuts.

After spending five days with her, I am even more in awe of her work and her process. Shannon was invited by the Fiber Artists of San Antonio to come to San Antonio for a workshop and a presentation. And she stayed with me for the five-day visit! We had a really good time taking about art and creativity. Here’s a wonderful quote about her relationship with her materials:

“Intellectually, humans own this genetic history, “we are makers”, and are known to use what we have.  My choice in materials would be Pacific sea kelps, and coastal debris of which I have a long lasting affair and bring their own mythologies of place. The benefits of working with raw organic materials, is that they provide a rich dialog to every design.”

Shannon Weber

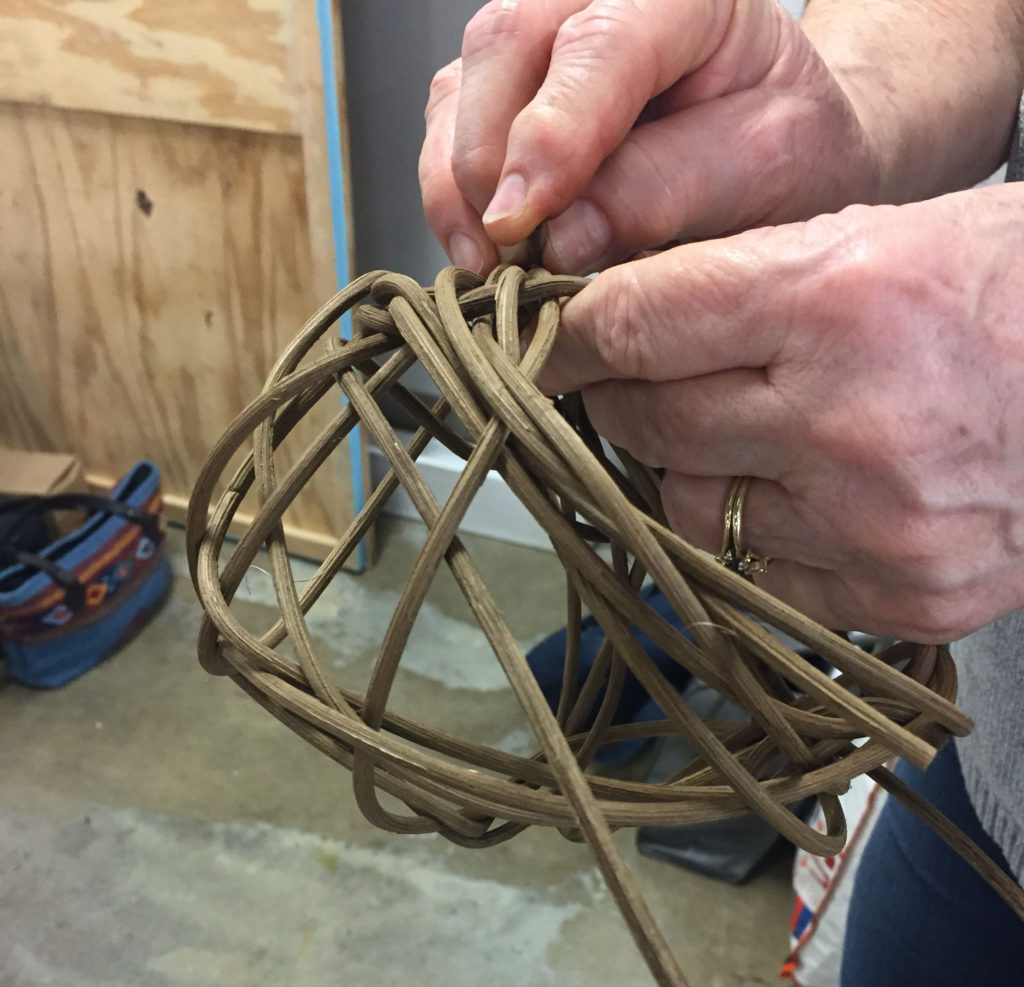
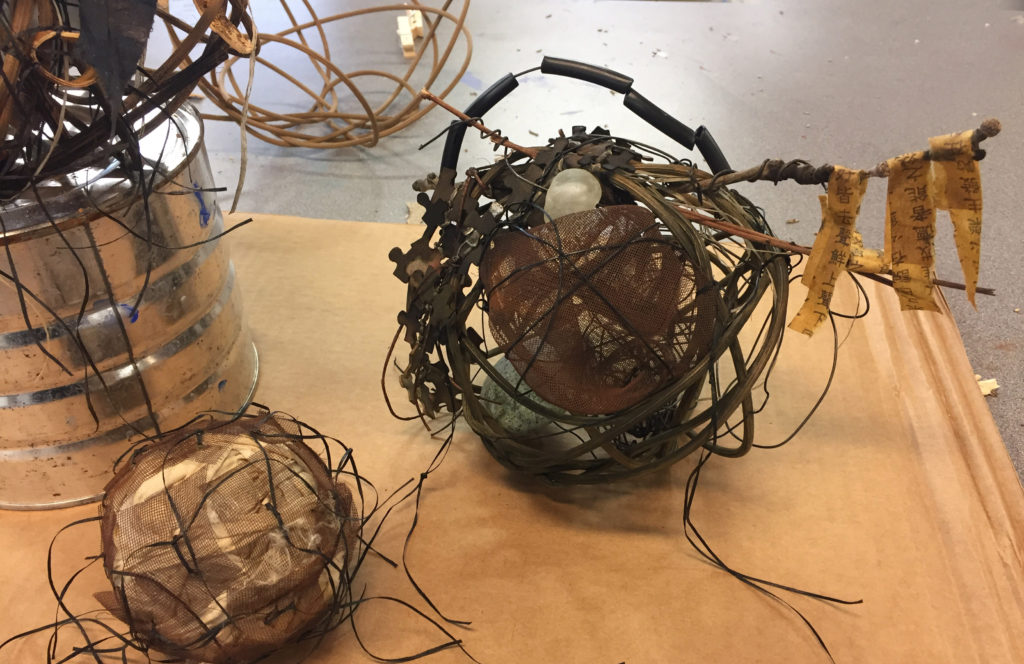
For our two-day workshop, Shannon shipped three huge boxes of found materials and dried sea kelp to San Antonio for us to experience in our pieces. She is a tireless teacher, and we all worked without downtime for two days.

I was so frustrated at first because I could not random-weave a long piece of reed into a structure that would hold together. Shannon patiently went over the process again and again until I finally got it.

This was one of my structures – actually, both of the main ones I completed looked remarkably like teapots!

Please watch the workshop video, below – it is an amazing thing to see the variety of structures that emerged from essentially the same materials over a two-day period. Shannon encouraged us to go our own way.

SHANNON WEBER Workshop for the Fiber Artists of San Antonio from Lyn Belisle on Vimeo.

Shannon lives in an isolated region near the coast of Oregon without television or technology. She and her husband ran a fishing lodge for many years when she was first beginning to make things for found materials. Her stories are priceless. She is astonishingly down-to-earth for an artist whose works are found in museums and galleries from California to New York and beyond.

The last afternoon that she stayed with me, she went for a walk in the woods near my house and came back with a gift – three beautifully arranged found objects – twine and rusty bits, just what I love – I now have my very own Shannon Weber work!

Found object altar – Shannon Weber

Shannon says, “It’s all the in magic and mystery of talking to rocks, rusty bits, and piles of gathered sticks that keeps me inspired.” And the magic and mystery in her work keeps us ALL inspired.