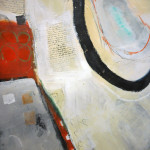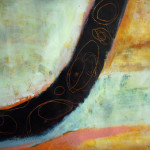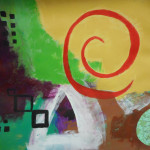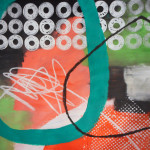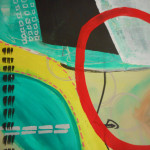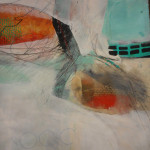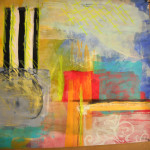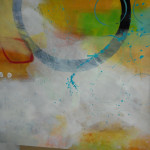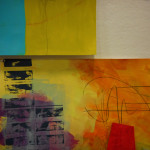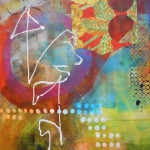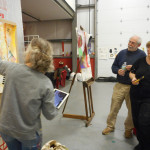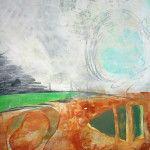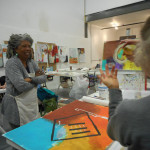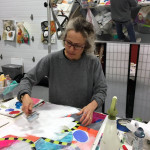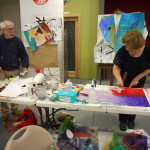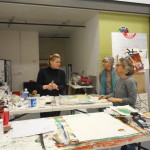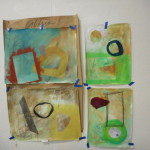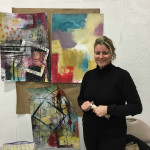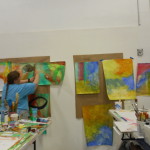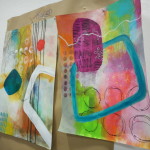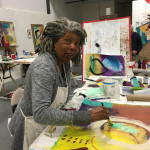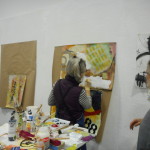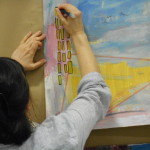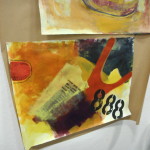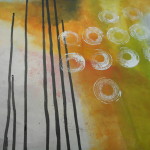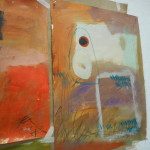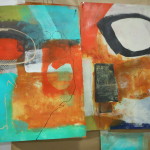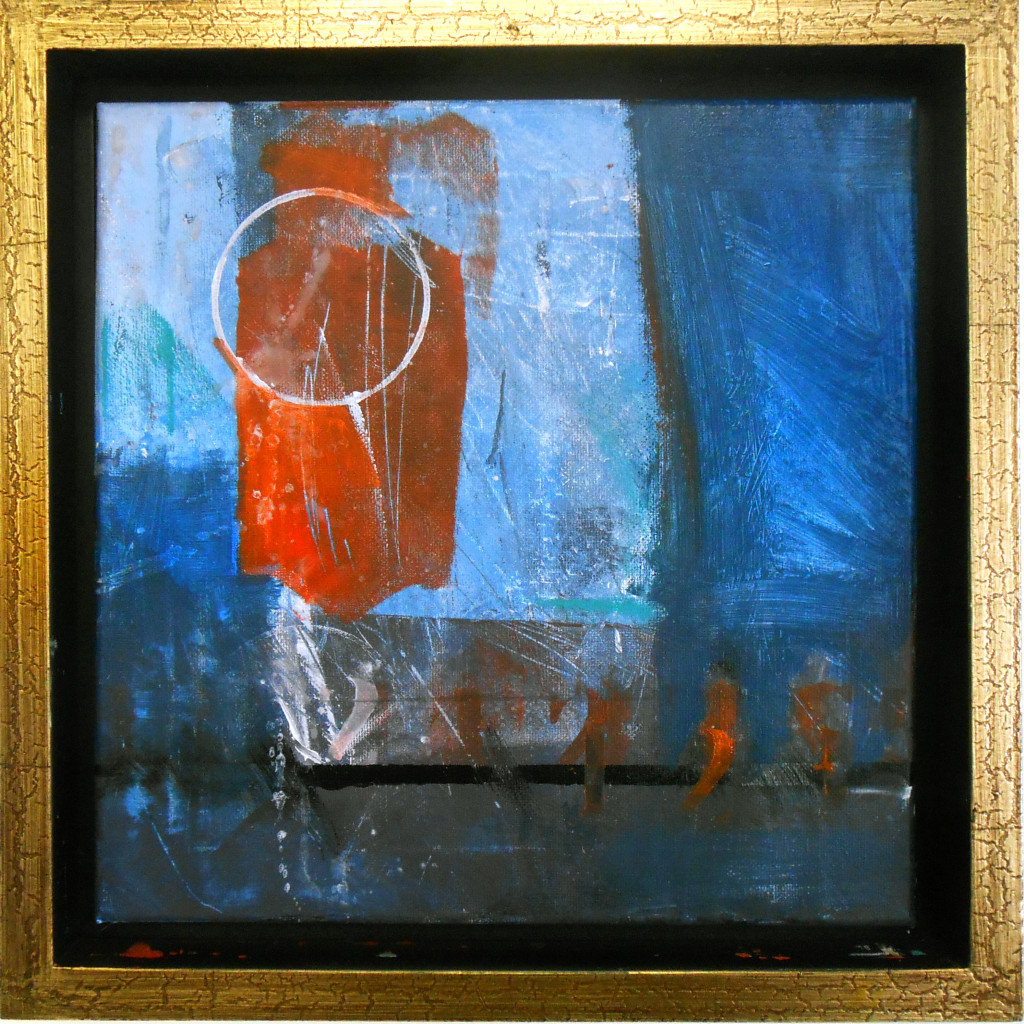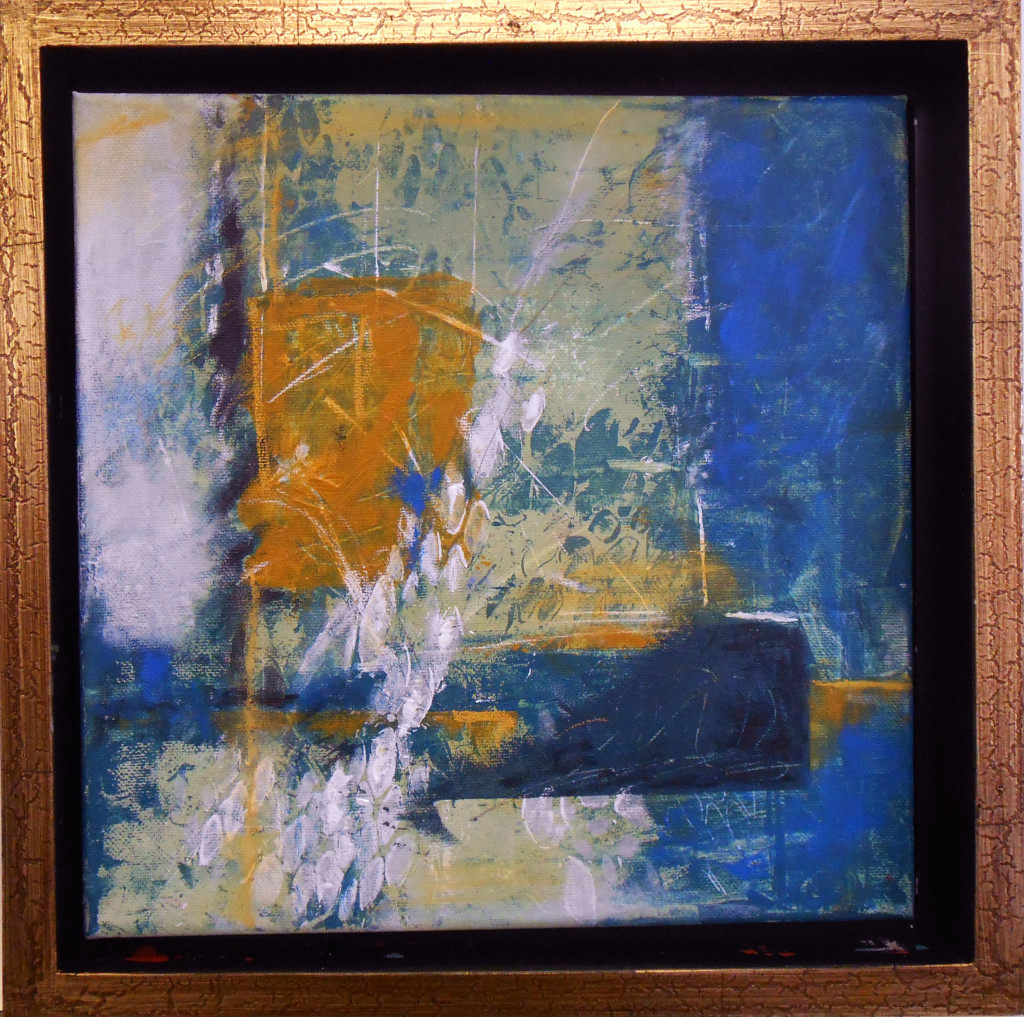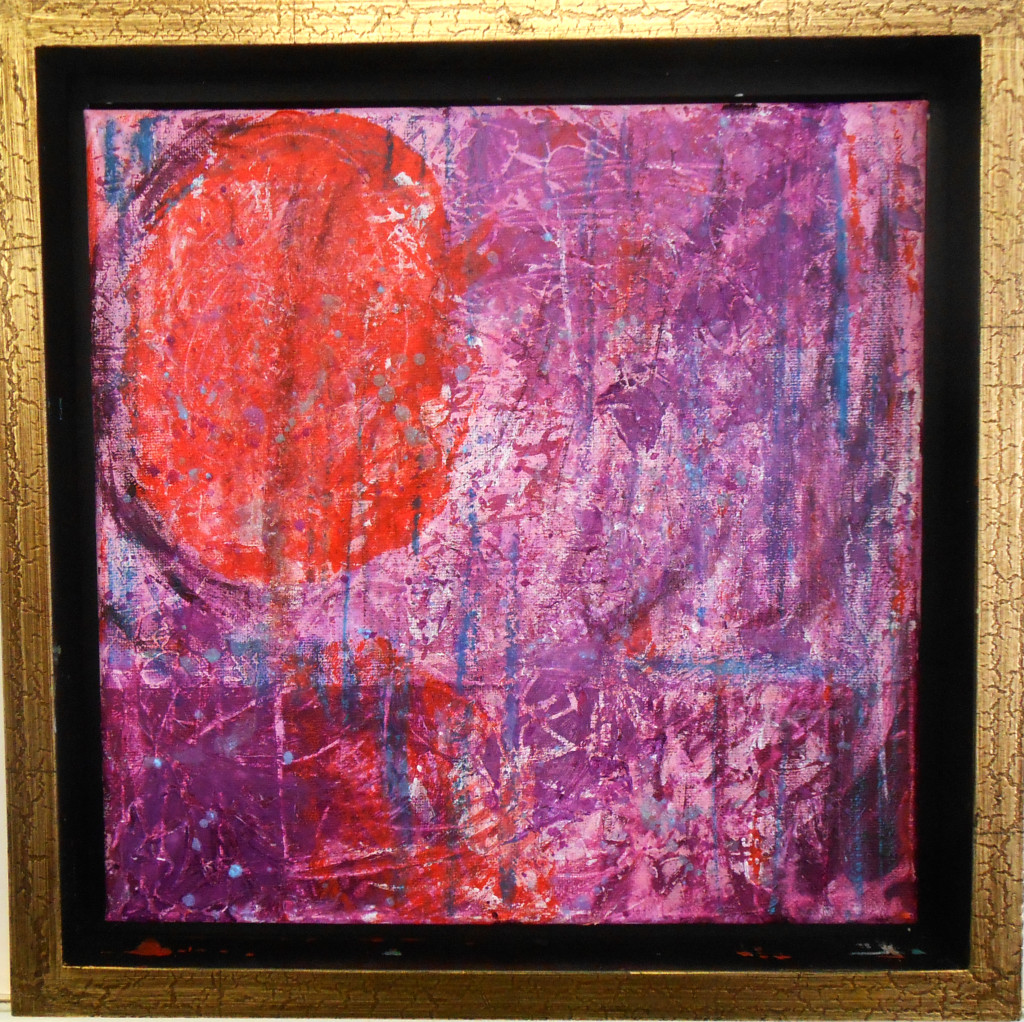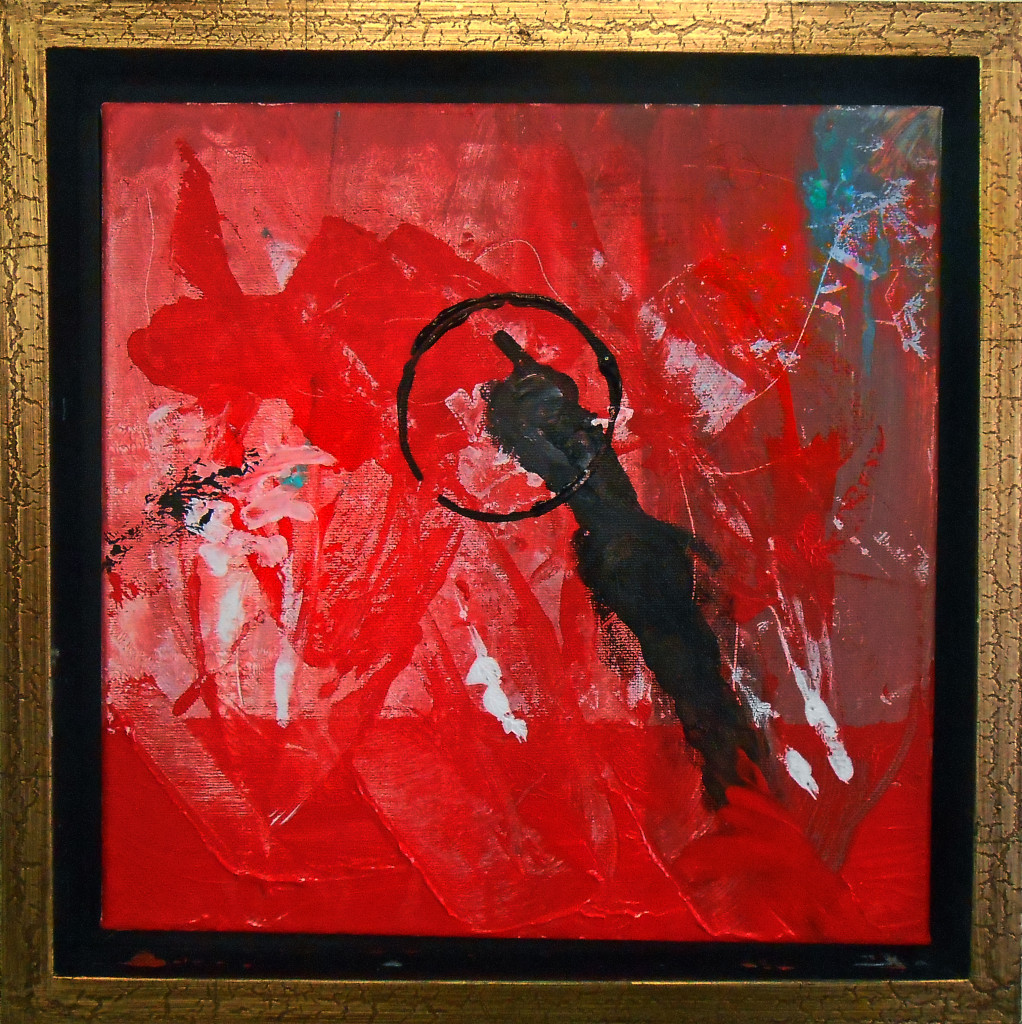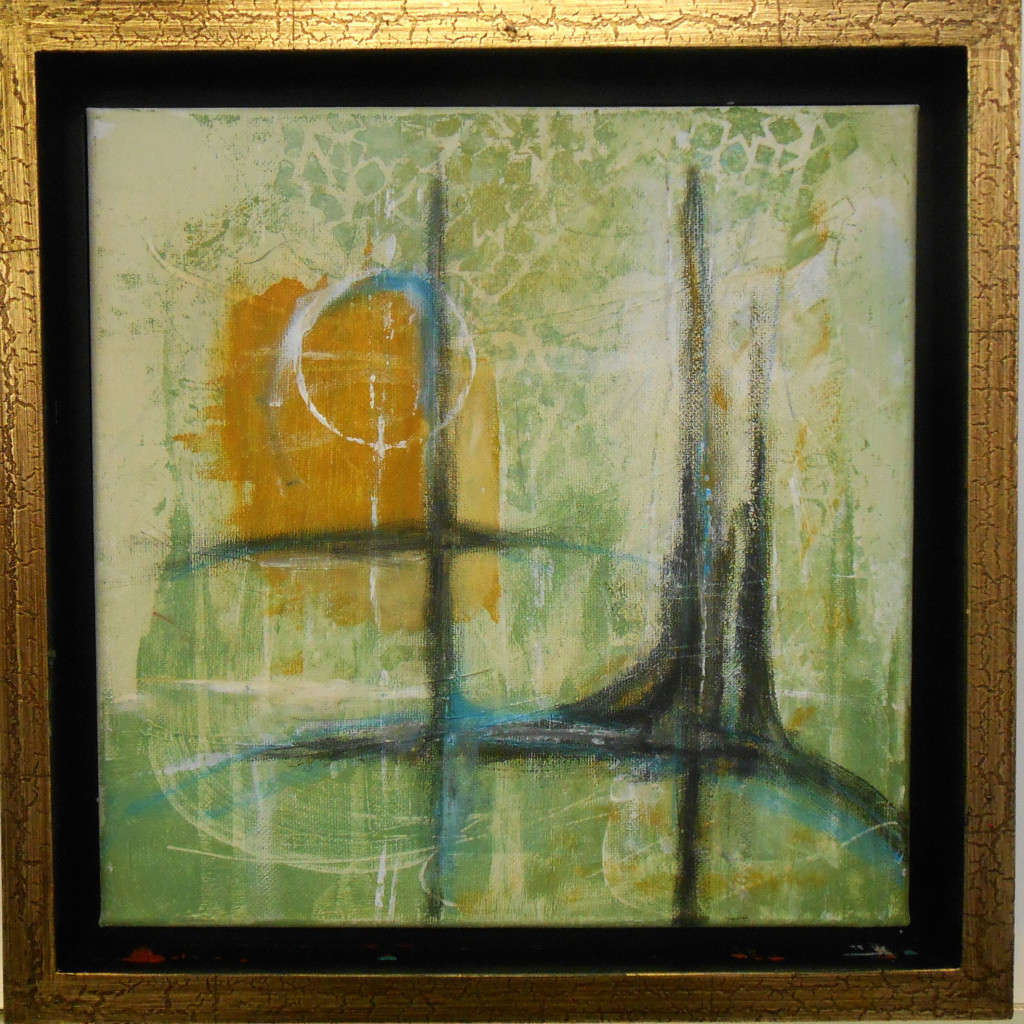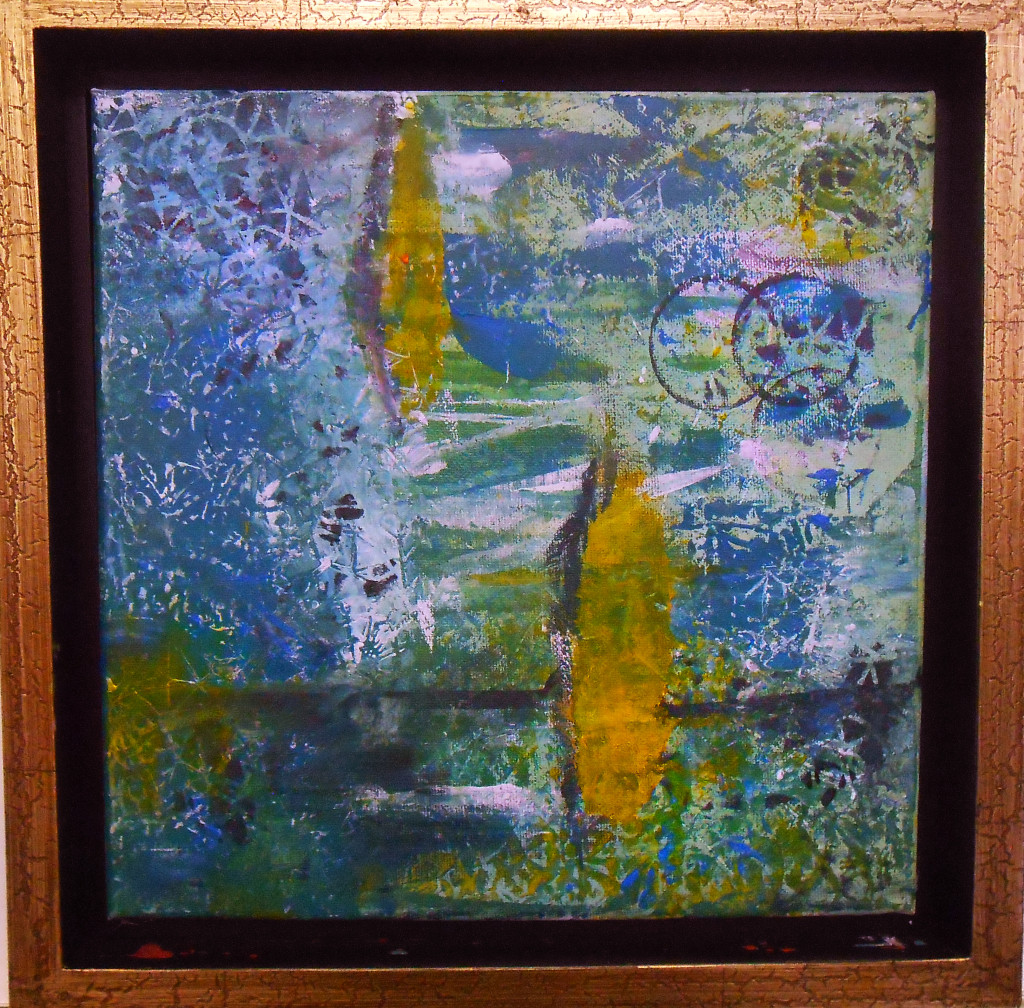
Jane Davies workshop, Day Two

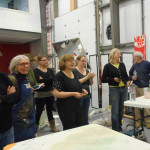
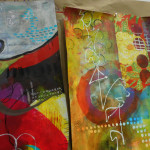
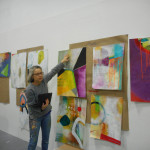
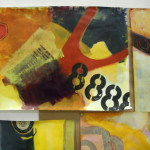
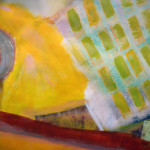
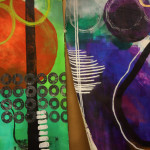
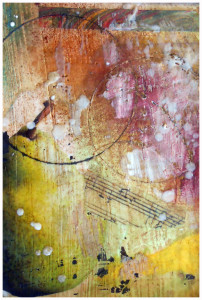
Today’s workshop was as intense and enjoyable as yesterday’s, and we all worked just as hard. Jane had us build on yesterday’s foundation paintings, adding more shapes, lines, veils and pattern. She focused on contrasts of scale, value and hue. It was tough to paint over our previous hard work, but it resulted in growth and options – and a bit of good-natured grumbling.

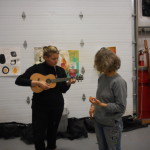
Jane strongly suggests beginning with a list of elements to explore and use that to get into the piece until the process itself takes over. She has many techniques to help move the painting forward, and a lot of those can be found right here on her website, but working with her in person is amazing. She also plays a mean ukulele – we painted to “Somewhere Over the Rainbow.”

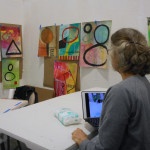
Take a look at some of today’s photos to see how we are progressing. As to where we’ll end up . . .it’s a mystery – but tomorrow is our last day! Stay tuned, y’all.


Dale Jenssen Workshop at the Studio

mirror

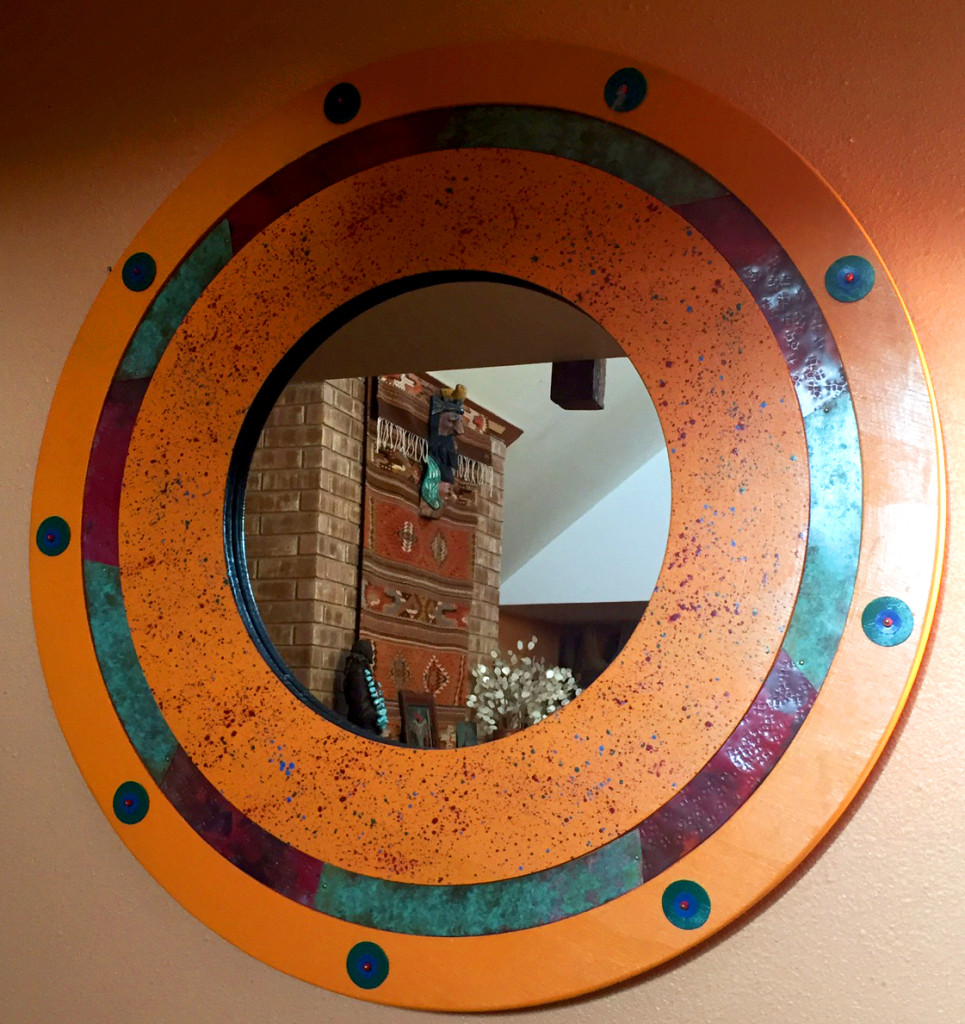
Contemporary mirror by Dale Jenssen, 2015 – owned by me! Yay!

Dale Jenssen is a multi-talented artist whose work I love. I have one of her iconic mirrors and several pieces of her jewelry. Whenever I wear the earrings she created, other artist friends always admire them and say, “Dale, right?”

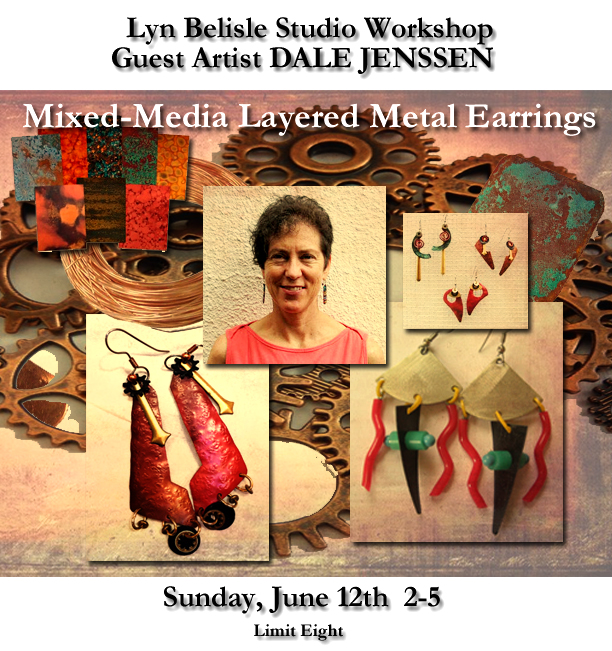
Exciting news – Dale is coming to Lyn Belisle Studio in June for a one-time afternoon workshop to show you how to create these wonderful earrings from metal, beads and small found objects. You will NOT want to miss this. You can find the details here.

dalesm

I met Dale several years ago through the Fiber Artists of San Antonio – yep, she’s an amazing fiber artist as well as metals sculptor. Check out two of her creations for FASA, below, and don’t miss the chance to work with Dale at my Studio on June 12th. I’m so excited!! Thanks, Dale, and TGIF, Y’all.

Artful Gathering, Artful Abstraction

180 wingsAs you might guess, I’m excited to be teaching at Artful Gathering Online Art Retreats 2016, June 6 – July 17 and July 16 – August 26. The preseason kick-off includes the Artful Gathering annual Hop Contest.  I’m one of the featured  instructors this week! Just follow this link

These are the two uber-nifty classes I’m teaching for Artful Gathering – both designed by yours truly
A Story Within a Story: Narrative Collage Covers for your Personal Technology & Journals and The Mystical Cat Shaman. Be very afraid of that cat one – Meow!

This slideshow requires JavaScript.

What’s in it for you, you ask?  When you join the class for just $85 each session, you get almost three hours of video instruction right from my studio, plus “live” feedback in our online classroom. And these workshops are never “sold out.”

This is my third year with Artful Gathering, and I wasn’t sure how it all worked when I first started. But it’s very cool! And you can come to class in your PJs! Registration opens on May 1st. Hope to see you at Artful Gathering!

smNow – –  on to ARTFUL ABSTRACTION.
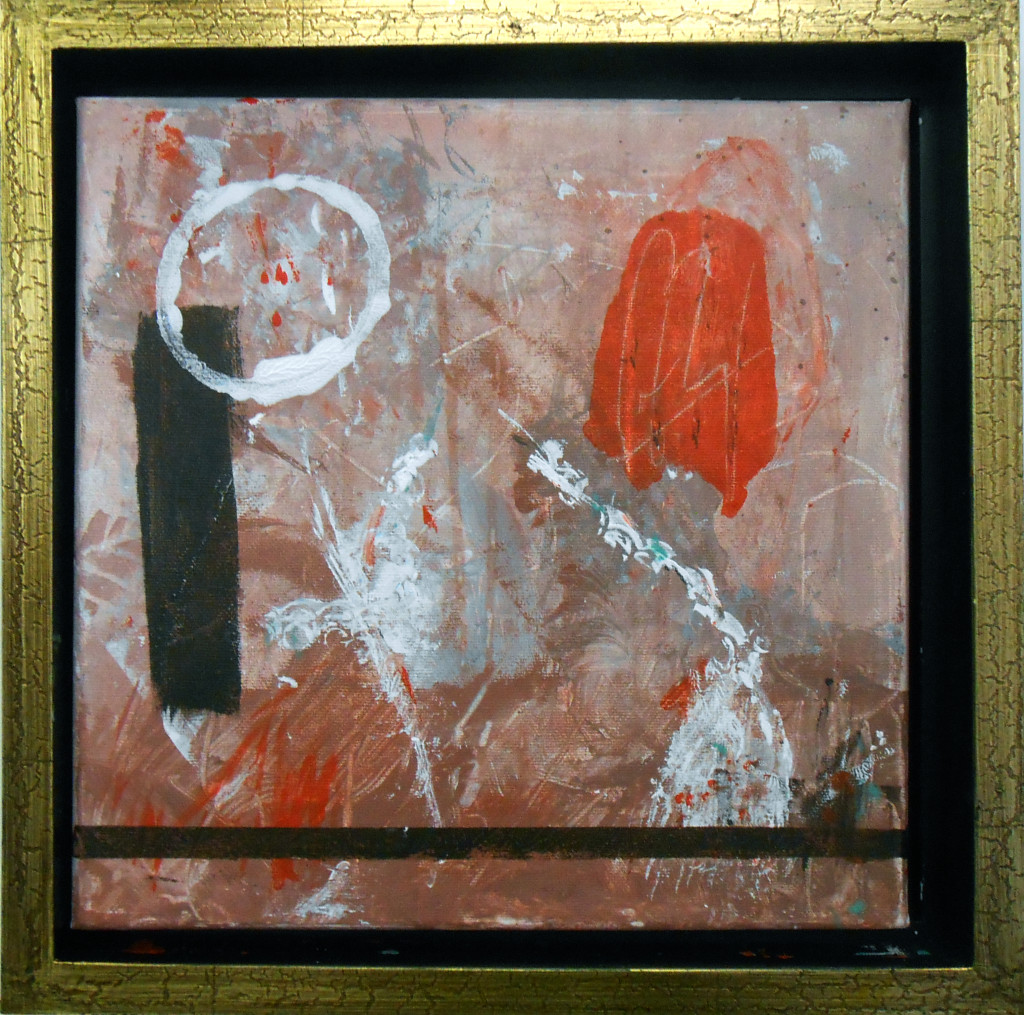
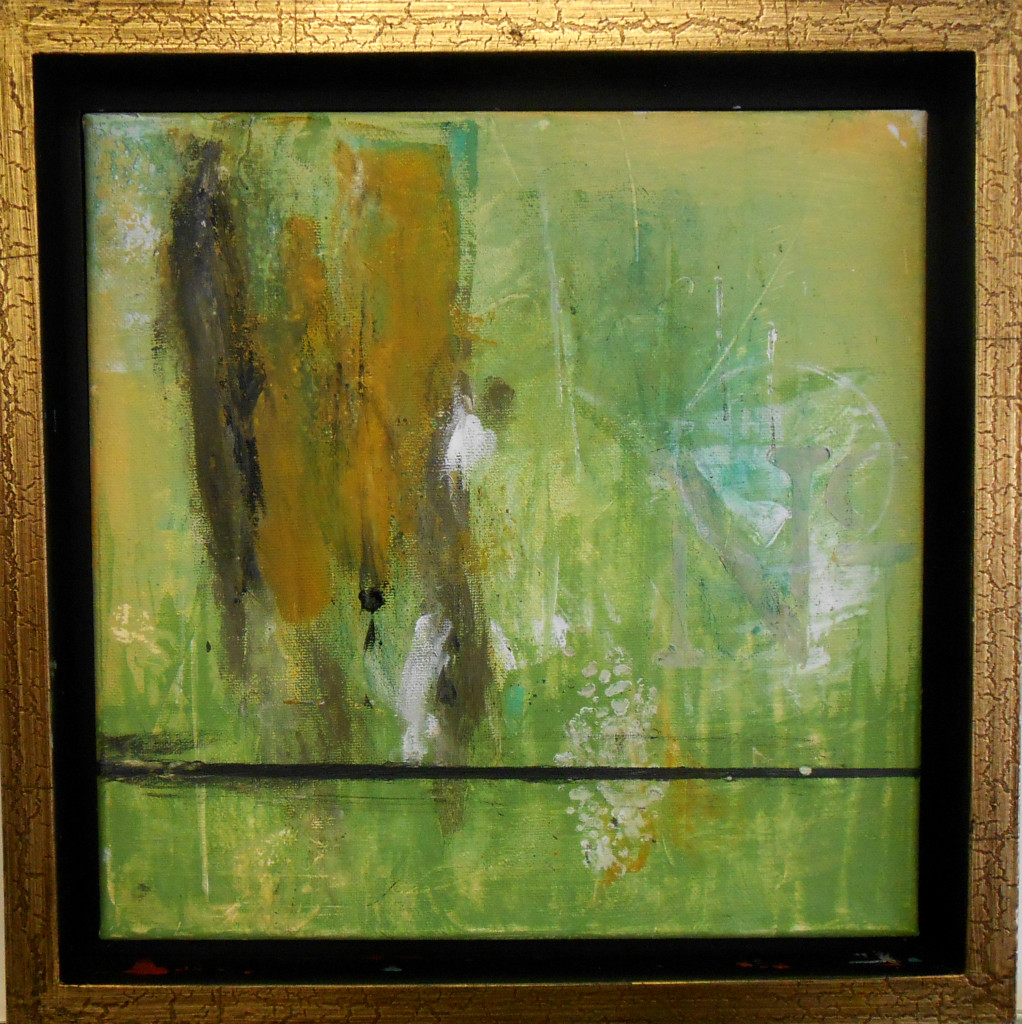
Wednesday’s workshop, Abstract Acrylic Exploration, was hard work – just ask any of the participants! Painting from an abstract perspective is like walking a tightrope without a net – there are no representational objects to look at. You are on your own, trusting the process and making decisions every moment while trying not to over-think. It’s tough.

I am so proud of their results! Each of the students had the same guidelines (layers, textures, limited palette with just two colors on a 12×12″ canvas) but individuality ruled! Take a look at these amazing abstracts – intricate, passionate, personal – nice work, everyone!

5    3 7 4 1


2

8

6

Indigo Blue, Take Two

33

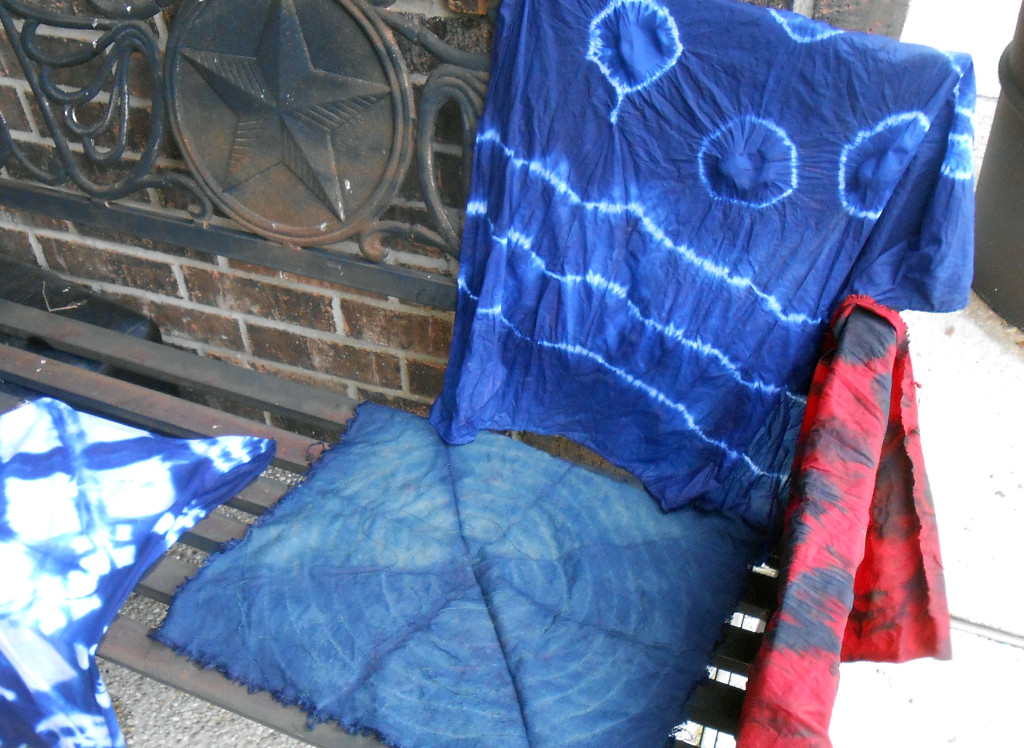
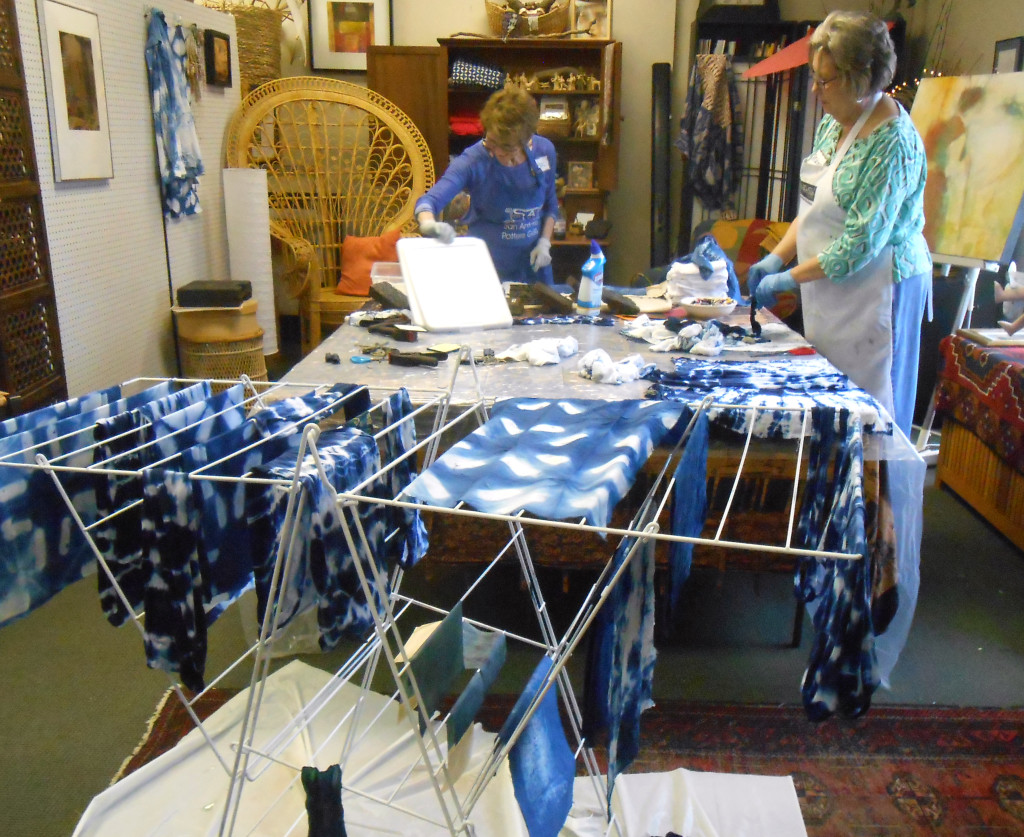
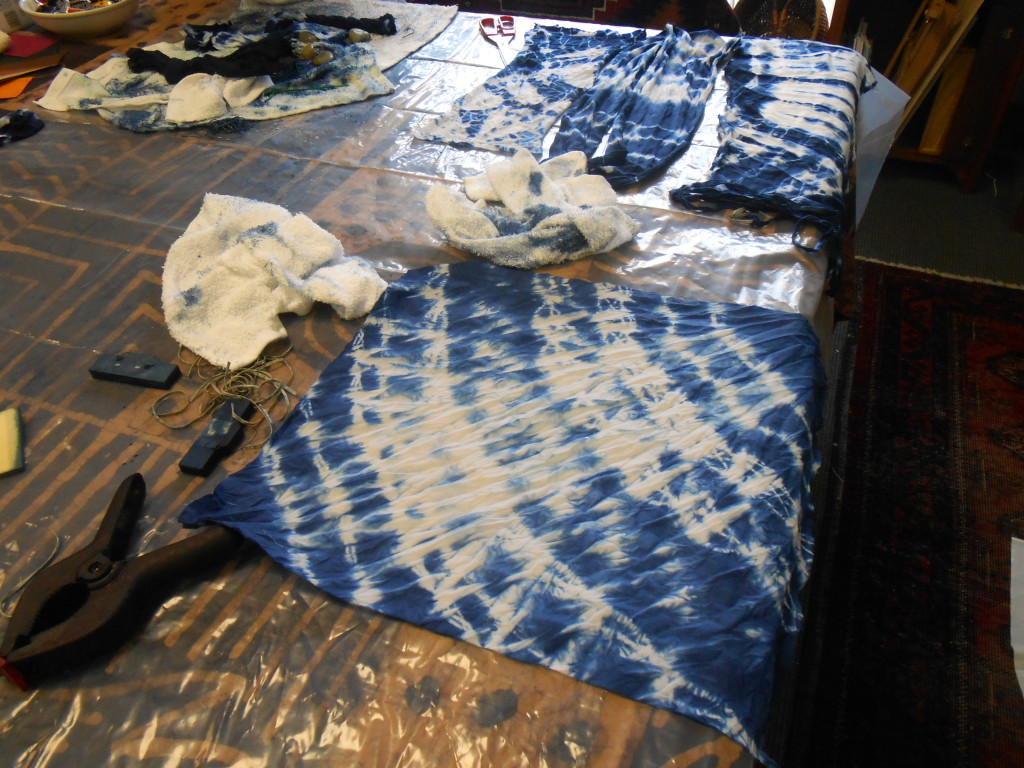
The magic of indigo never gets old, even to novice fiber artists like me. Sunday’s workshop was flat-out fun – many thanks go to Mary Ann Johnson, whose expertise in shibori and dyeing greatly enhanced our experience. The weather was perfect – our fabric dried quickly in the breeze and the sunshine on our makeshift clothesline.

Here are the basics of how we did it:
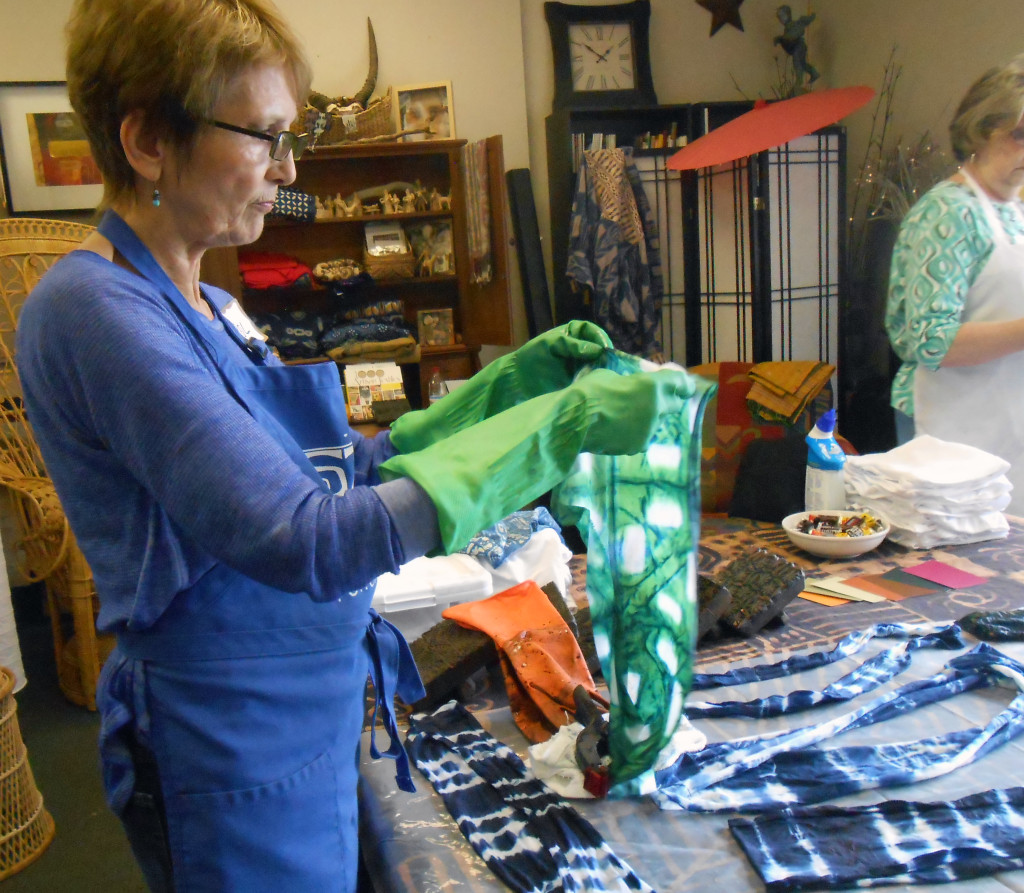
The fabric is tied, clamped, rusted stitched, crumpled – any or all. Then it is submerged slowly into the indigo vat for about a minute. The bound fabric is gently removed from the dye bath, avoiding  splashing or dripping into the vat, as this introduces oxygen back into the dye. The fabric looks green when you first take it out of the bucket. This is when the magic happens (or to be more precise, chemistry). Indigo develops its color when it is exposed to oxygen. Once the fabric is in contact with the air, it starts changing color and turns from green to blue. You can see some of this happening in the video, below.

If you are new to this process, I highly recommend that you start with the Jacquard Indigo Kit. It has everything you need to make true indigo plant-based dye. The video below, from Jacquard, shows how to do it.

Things to watch out for – holes in rubber gloves!  The biggest danger, though, is addiction to indigo dyeing, particularly when you realize it can also dye paper and yarn.

I can’t wait to cover some journals with my indigo fabric, and perhaps combine indigo-dyed paper with encaustic. It’s true blue indigo love!


Indigo Wednesday

blue

I’ve scheduled a few Wednesday afternoon workshops this spring at the Studio  and it’s working out well. Yesterday’s Indigo session was kind of a “test drive” of the three hour format – the second Indigo workshop is on Sunday, and there is another special request group on Monday, so the Studio will be blue for almost a week.

Wednesday’s participants had some excellent suggestions about how to keep the dyeing process flowing during the short three hours. It was a rainy day, so our drying was done inside or on the bench under the awning. Everything clicked, the indigo did its magic, and we had a fantastic time.

I’ll be wrapping up the indigo experiences next week and will give you some tips and resources on how you can do this at home or in your own studio. One of the most-repeated comments from yesterday’s students was , “This is sooooo much easier than I thought it would be!” And it is!

6 2 3 1


Sunday’s workshop rocked

GET IT? It was a Pebble Mosaic workshop! Well, the pun may be bad, but the workshop was great – David Chidgey, Master Mosaicist, did a splendid job of teaching us how to turn pebbles into art. We learned new terms, such as “Interstice” (pronounced inter-STEE-cee) and “scratch coat.” We delighted in picking through bins of tiny multi-colored pebbles looking for just the right one to fit our designs. There wasn’t (much) rock throwing. Honest.

Free free to admire our results in the video (below). Not bad for beginners – high fives to everyone, especially David!

I was afraid for a while that I’d never make it home in time for the workshop. My plane out of Boston was delayed and I missed a connection in Minneapolis and had to stay there overnight. Unfortunately, that caused me to miss the opening of the HotWax/Cold Wax show in Kerrville. Bummer. But I’ll get there soon.

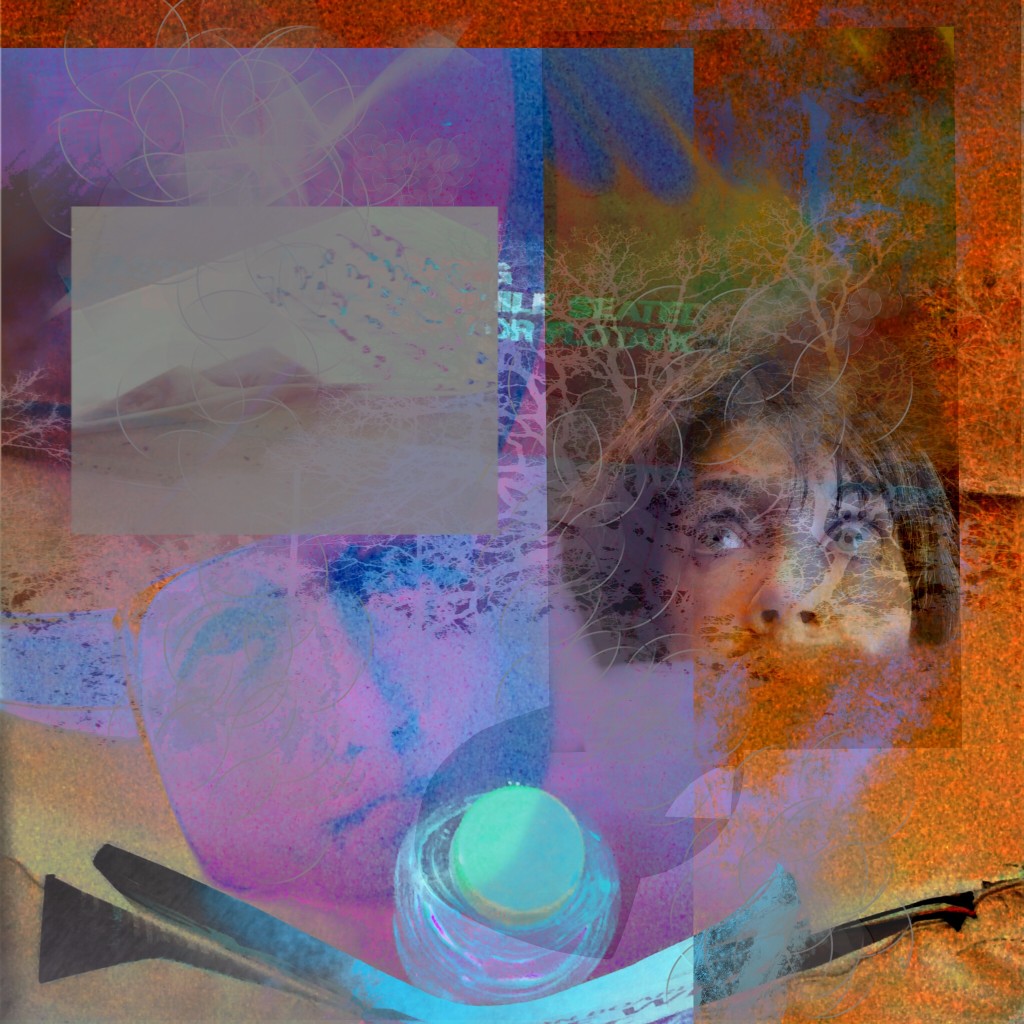
One good thing the trip delay provided was extra time to play with some iPad art. I’m trying to learn ProCreate, a really cool digital art program that I had mentioned in an earlier blog post. The experimental work below is a photo of my water bottle in the seat-back pocket on the plane, combined with a selfie and some other stuff, including some filters and special effects. (You can see a warning about keeping your seat-belt fastened while seated if you look closely.)

01c6f9327dcd31c529f9ff12b4b2ee03df7ff1ece5

So, see – you can make art anywhere, even on a plane (especially if you have an iPad), and out of anything, even plain old pebbles (especially if you have David Chidgey). Artists are never at a loss for fodder.

Hope you all have a great week – it sure is nice to be back in Texas.

PS – Registration for most of the summer workshops at the Studio is now open at this link – yay!

Composition Camp – transferring ideas

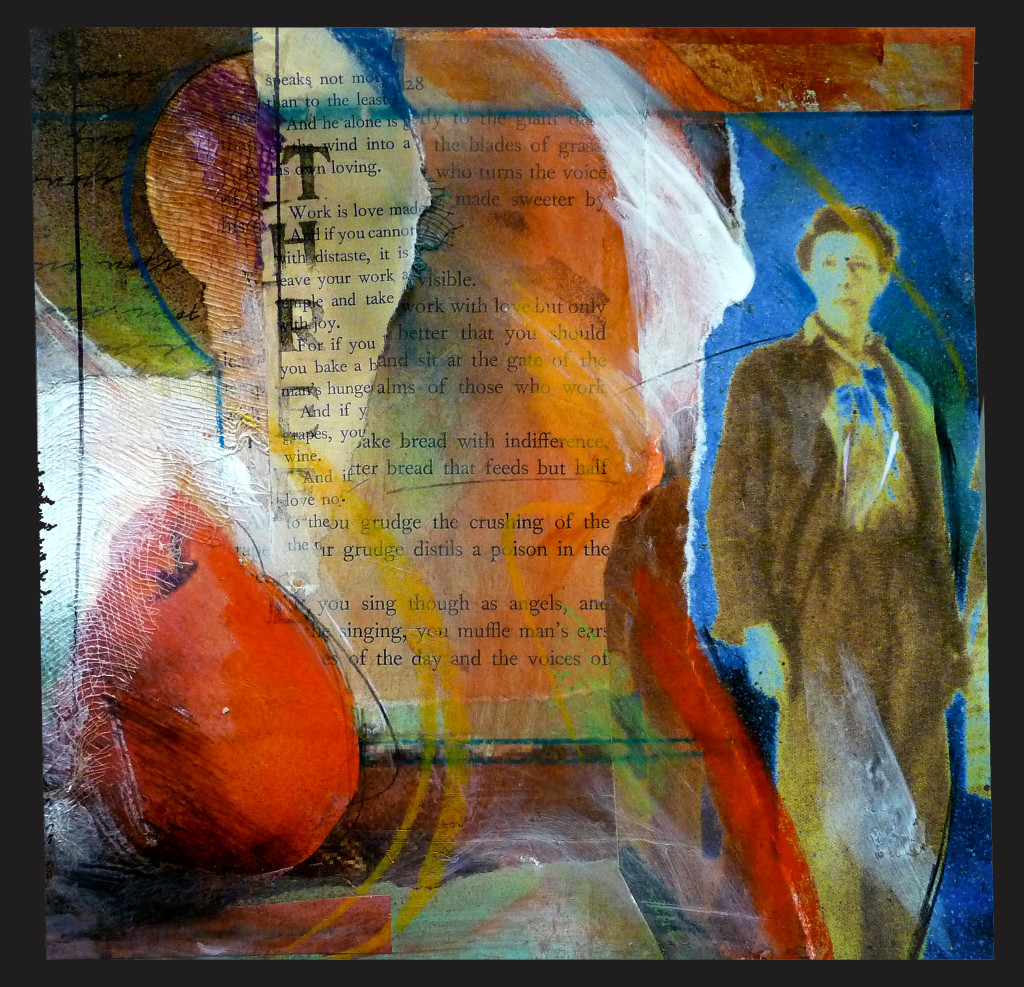
In yesterday’s workshop at the Studio, we explored composition through a mixed-media collage process using Ebony pencils, watercolor pencils, stencils, graphite transfer paper, white tempera paint, TAP heat transfers and digitally altered images. This non-traditional combination of tools led to some pretty spectacular results!

Image transfer, whether done with graphite sheets, TAP paper, gel mediums or any other method is simply another way of selectively inputting and arranging images on a substrate. It’s neither “cheating” or “tracing.” Even if drawing is not your forte, you can use graphite media to produce striking lights and darks in a classic drafting  style. Look at some of the work by iconic painter Larry Rivers to see how a master uses this technique.

We had some poets and prose writers in yesterday’s group – always a good sign for cross-genre inspiration! And our post-workshop critique was one of the best I can remember. There were lots of dream images and personal insights floating around. Fascinating stuff! Here are a few photos from a very rich and productive afternoon! Thanks, All!

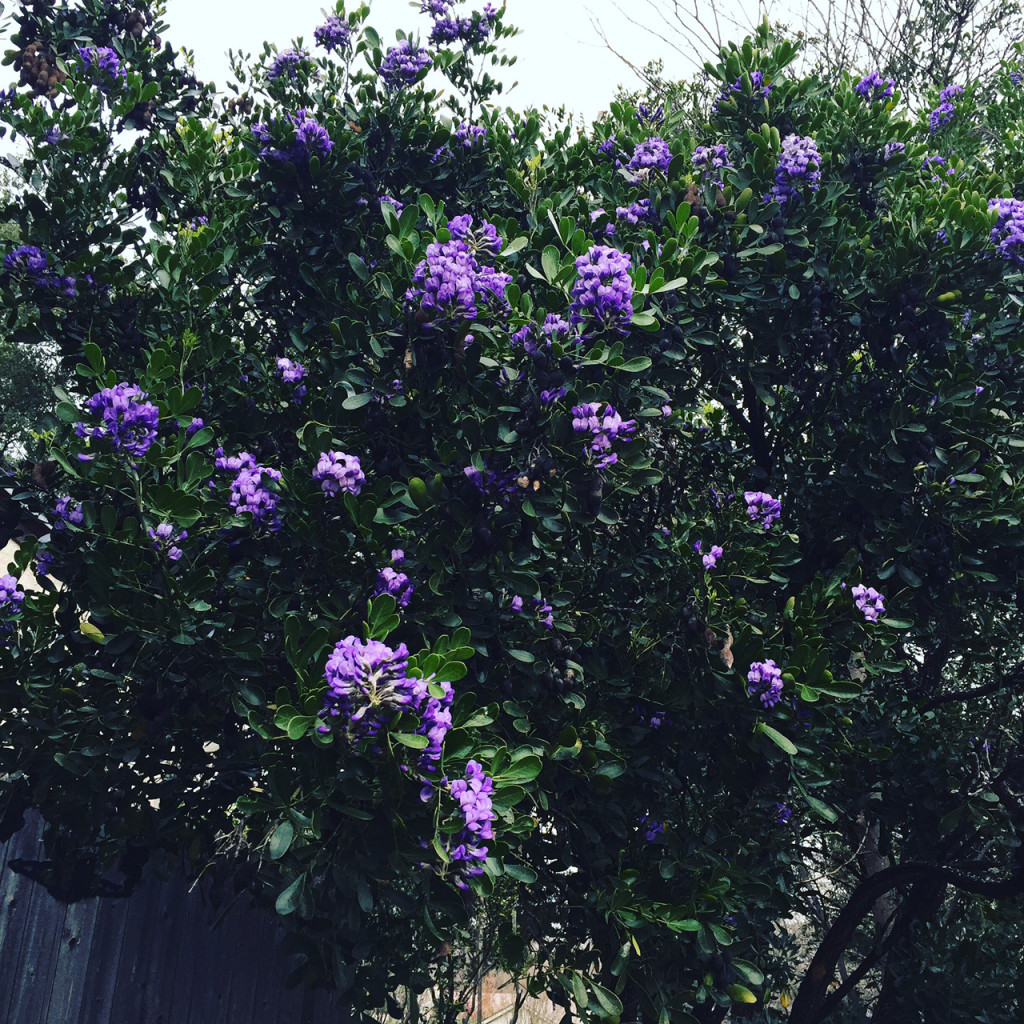
I’m headed to Boston tomorrow for a few days so I can see the family and come home with a renewed appreciation of South Texas temperatures (it’s supposed to be 17F while I’m there – yikes). Now, y’all go outside, smell the Mountain Laurel, and bask in this lovely weather!

Texas Mountain Laurel - scratch and sniff :)

Texas Mountain Laurel – scratch and sniff 🙂


I screen, you screen . . .

lisa

Lisa Stamper Meyer, “Mysterious Miasmas” Acrylic on Paper

What a treat to have the multi-talented Lisa Stamper Meyer at my Studio yesterday teaching a workshop on Silk Screening for Mixed Media Artists! Lisa is amazing – You can see her work at The Gallery at Gruene Lake Village. She’s a patient teacher, generous in her expertise.

I have to admit that I wasn’t ready to add one more thing to my repertoire, but – wrong! This process has so many possibilities. Everyone who participated said the same thing. The inspirations for using this idea on fiber, on handmade paper, with encaustic are unllimited – I’m sold!

Take a look at the video, and then do some exploring on the EZscreen process with the links I’ve listed at the end of this post – many thanks to Lisa for an amazing afternoon.

ezscreenprint.com

ikonicsimaging.com

speedballart.com

Composition Campers win merit badges for bravery in collage!

The Composition Camp workshop yesterday was very, very cool – every single participant found a “right answer” to the assignment, and each answer was both unique and excellent.

First, we reviewed a slide show of composition examples like the one below based on my AB3 system  – the AB3s are Alignment, Breathing room , and Threes or thirds.:

"Three" Lyn Belisle, mixed media collage

“Three” Lyn Belisle, mixed media collage

pear


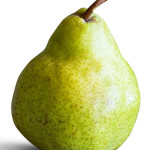
Then, the first assignment started with a pear – everyone got a 5×7″ substrate of watercolor paper  and a printed inkjet photograph of a green pear.

Instructions were to demonstrate great composition while building  a collage that started with identical images  – and they did!

25

For their second assignment, students were encouraged to choose their own images from a National Geographic magazine, and that went just as well as the first challenge.

Both projects started with water media and images and ended with layers of textured beeswax.

Everyone shared ideas and inspired each other, but no two finished works were remotely the same. Some went completely toward abstraction and some retained the imagery. Take a look at the video – what amazing surface design and variety!

This session of Composition Camp was a huge success – yay!

Oh, and before I say goodbye for now, we have TWO Friday Freebie winners of the two Paper Pocket Purses – one winner is Quinn Jennings of Washington DC and the other  is d.price@satx.rr.com ! Y’all email me your mailing addresses, and your freebies will be on their way to you!

Thanks to everyone for subscribing to SHARDS.

Calligraphy Guild, a project for YOU, and a Friday Freebie – or two . . .

10Last night, I visited the San Antonio Calligraphy Guild to show them how to make a pretty paper pocket purse/pendant project (say that three times fast) and a folding votive screen card. Calligraphers are nice people! I can’t wait to see how they take these projects and adapt them to their own many talents.

Here are some photos – there were 30+ participants, all cutting and gluing and having fun and following the directions (mostly!)

ppppI thought that YOU might like to have the directions for the pretty paper pocket purse, so as the first Friday Freebie, I’m giving you a link to the downloadable Pocket Pattern handout that I gave the calligraphers last night. All you need is 9×12″ construction paper and 8.5×11″ decorative paper, plus some ribbon and such. Easy!

And to sweeten the deal (after all, it’s getting close to Valentine’s Day), I’ll give away TWO Friday Freebies, the little purses pictured below, one to each of two lucky SHARDS subscribers. Just be a subscriber by Sunday at midnight – winners announced Monday morning. Good luck, and happy weekend!!

Dragonfly

Dragonfly

Gaisha

geisha