“This whole experience has brought a whole new consciousness to the meaning of creativity. My awareness is that it is not a gift that was arbitrarily handed out to some lucky people. It is an inherent quality, which for good or ill, is constantly manifesting in every moment for everyone. ” ~ Cecelia Britton
On Sunday, the rain fell steadily on Beacon Hill, and artists were scrambling to find sheltered spaces in old fire stations and community centers for the annual Art Walk. The crowds were sparse, spirits were damp. Why the heck were we doing this? Why work many hours doing our best work for so little reward? Grumble.
When the show was over and I was back in my little Boston home-away-from-home, I discovered this astonishing essay in my email from friend Celelia Britton, beloved therapist and intuitive artist. She prefaced it with, “Dedicated to you, sweet friend.”
I love what you wrote, Cecelia, because it’s dedicated to ALL of us who are searching for (and finding) meaning through artistic creativity. After reading this, I resolve never to grumble again about being an artist and a teacher. Cecelia, thanks for giving me permission to share this personal and inspiring account.
Being an Artist
Cecelia Britton
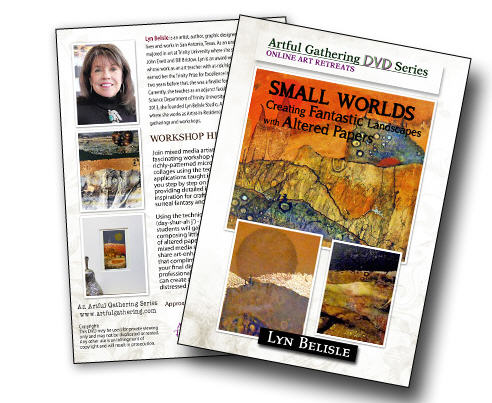
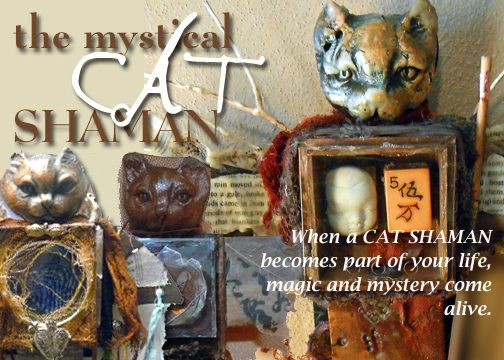
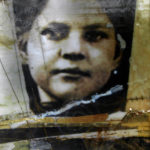
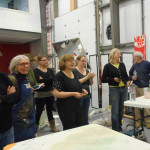
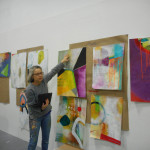
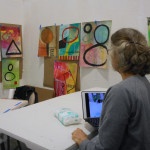
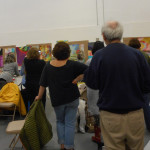
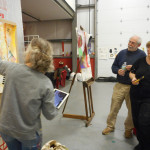
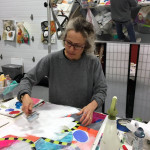
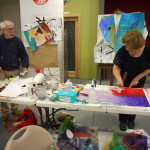
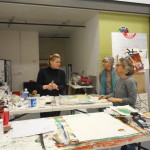
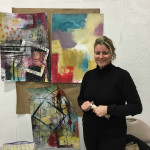
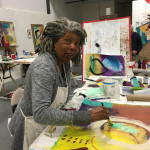
The energy in the studio is palpable. Anticipation brightens the eyes of the participants. Excited chatter ripples in the air as we survey the space. Individual supplies are arranged like dinner place settings around a large table in the center of the room. Bins filled with art supplies line the perimeter. Covering the walls and looking at us from every direction are samples of Lyn Belisle’s work- presentations of years of teaching, as well as her own personal endeavors.
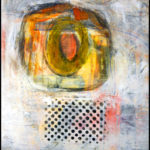
Can I really do that? I question, as I survey multi-media collages, some similar to what we were to learn today.
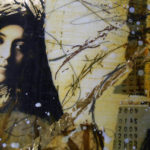
I want to learn that, I’m thinking, as I see and touch fabric art in the form of spirit dolls and wall hangings. I am amazed at the many paintings in mediums of oils, acrylic, watercolor, and pencil. Sculpture, displayed alone as well as incorporated into textured art, boxed collections and free-standing art pieces on shelves make up a plethora of creativity that inundates my senses. I appreciate the range of expertise around me. I am buoyed by Lyn’s confidence that by the end of the day we could each proclaim we could draw!
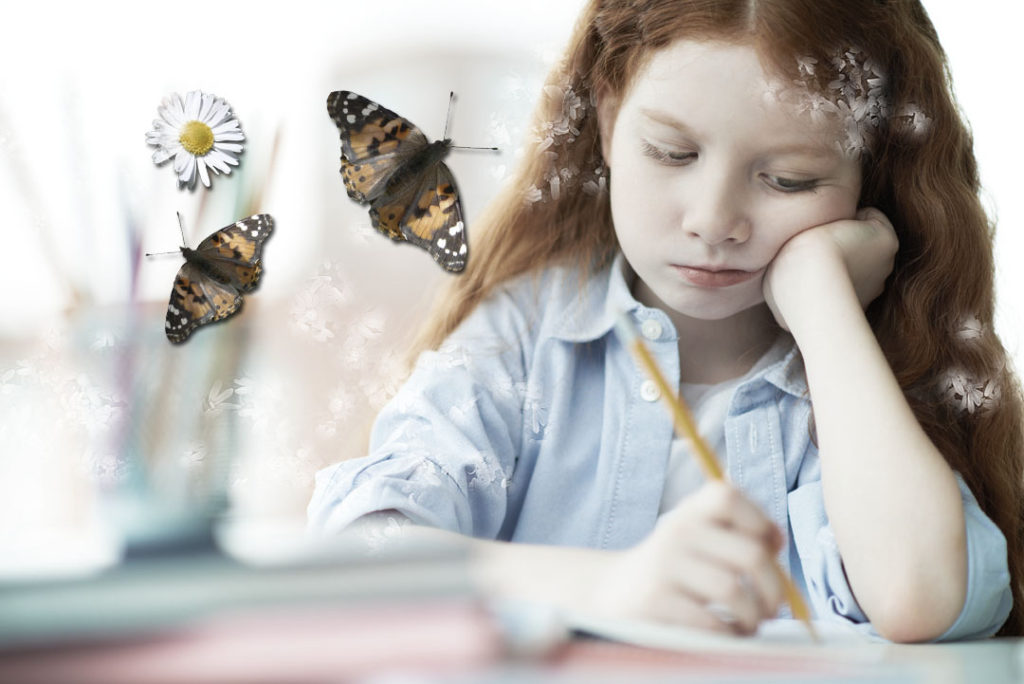
Me, an artist? the voice in my head questions. My life experiences roll out in front of me, each frame declaring the opposite. I am reminded of the many times my attempts produced nothing I wished to share or ever see again.
Like ghosts of Christmas past, I see my grandmother’s Crayola lesson instructing my four-year-old self to color in tiny circles, in the lines, colors only of a traditional reality. No purple trees or orange houses allowed, thank you very much. Her critical eye watches me follow her demonstration.
I am in a new school. An icy gray Alaskan winter hangs heavily outside the fluorescent lighting of the classroom. Second graders are required to draw airplanes for this art assignment. I observe the boys in the class, most likely future architects and engineers, gleefully and confidently launch into the project. The intimidation of actually drawing something that could be identified as an airplane, paralyzes my ability to proceed. I do not know how to move my hand across the art paper in front of me. There are no models to copy and in that moment, I cannot even conjure up the memory of the plane that brought my family to Anchorage a week ago. The prospect of failure makes me queasy as my stomach clutches anxiously. The shame of the low grade it earns glares down at me as it is displayed around the room, an indictment of my failure as an artist.
I receive a gift certificate as a Christmas present for a sculpting class at a local museum. My forty-five year old self has spent the previous twenty-five years raising children, moving around the country with my husband’s career, and then helping him pursue his dream of having his own business. I am initially excited about stepping into exploration of new territory. On the first day of class I discover, as introductions are exchanged, that I am the only student who is not making a living as a professional artist. I immediately feel intimidated and my heart sinks. To my dismay, I am will not be using my hands to touch and mold the clay as I had imagined. Instead, I will be removing clay from my block with a knife to reveal the model’s body within it. I look around at the realistic likenesses the other students are producing. I can’t wait to destroy the evidence of my ineptness as soon as I complete the course.
As we are about to start Lyn’s class, this reverie of self-condemnation comes to an unceremonious halt. I have dropped my graphite pencil from my supplies and as I lean too far to retrieve it, my chair tips, toppling me to the floor in a dramatic thud. After assuring myself and others in the room that I have no pain or injury, I smile inside as I realize what message I have given myself. A more heralding positive voice is attempting to gain my attention. I listen to the prompt to stop my negative self-talk. I decide to give full attention to the present moment. I resolve to allow my seventy-two-year-old self to simply experience the learning, letting go of needing approval from myself or others.
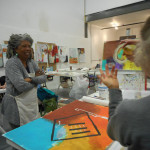
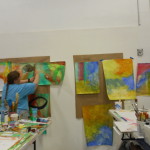
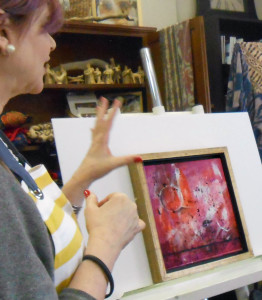
The hours seem to evaporate throughout the afternoon. I move through each phase of my art piece in appreciation. I do not feel intimidated by the efforts of others in the class. Lyn moves through the room, a butterfly pollinating her flowers. I welcome her experienced eye as she assists me in my composition. Even though my own pace is generally slower and measured, I relax any frustration about the press of a definitive class schedule. I am proud of not only the technical skill of my piece but also what it reveals about me during the show-and-tell at the conclusion of the day.
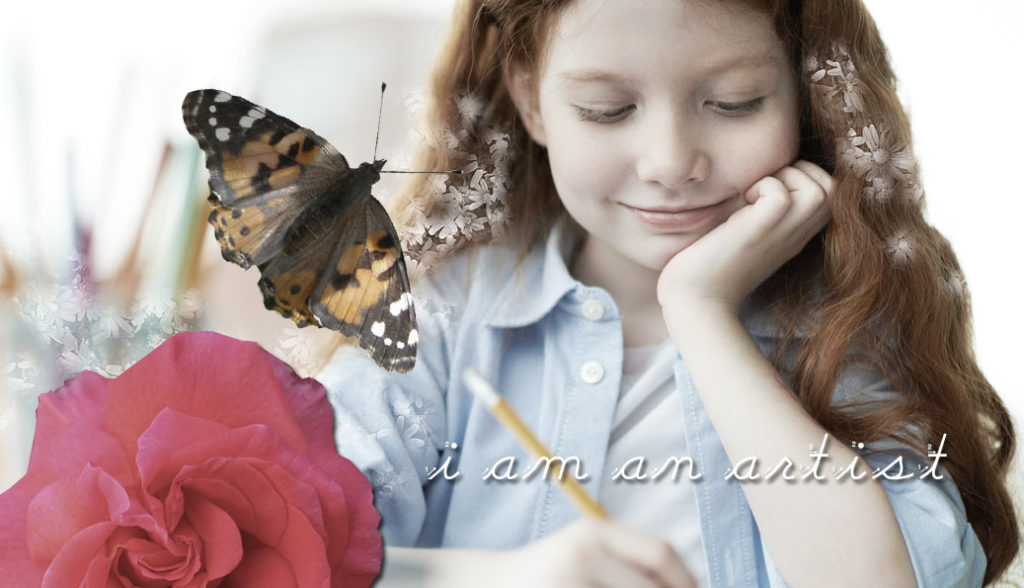
Now, I have a small and eclectic gallery of art from seven different classes. I have been moving each piece around my home so I can experience where each would like to live. The original trepidation has no say or sway over how I feel. My friends report that I look like a woman in love, literally glowing with the pleasure of each artistic experience. Pure child-like joy has replaced the old internal tapes of self-loathing, shame, and competitive envy that characterized my sense of an artistic self.
I have reached some conclusions about the nature and meaning of creativity. My awareness is that it is not a gift that was arbitrarily handed out to some lucky people. It is an inherent quality in everyone, which for good or ill, is constantly manifesting in every moment in the unfoldment of life. Art is the process of consciously bringing forward my own inner landscapes. Technical skill cannot define it and should never deprecate it. It’s simply a learning curve.
I can grow because art, by its nature, is about evolution. What is conceptualized may find varied avenues into meaningful expression. What comes out through all art-culinary, canvas, lenses, pages, sculpture, flower arrangements, and beyond-is Spirit informing me where my attention is. If I can allow myself to hear that Inner Voice in a climate of curiosity, there are a wealth of treasures possible. I might be expanded, entertained, awed, and possibly fascinated by an Alice-in-Wonderland complexity of my psyche. I may unearth nightmares available for healing, latent talents, suppressed feelings and emotions, or unknown dreams.
If I regress into old thinking, I am emboldened enough and have the capacity to laugh in its face, knowing that I have nothing to fear in the process of knowing myself. It is, after all, fodder for my next expression. It is not unlike the broken jewelry, leaves, sticks, scraps of paper, cut-outs from magazines, etc.-all formerly considered junk-now repurposed in the next project. I am ecstatic about my journey. This road to my authentic self is rich with satisfaction and worthy of my exploration. My inner child agrees and is giggling with delight that I have responded to her beckoning to come out and play.


 Offering a new workshop is a risk, both for the teacher and the students who are the first “test drivers.” That was the case with the Wednesday
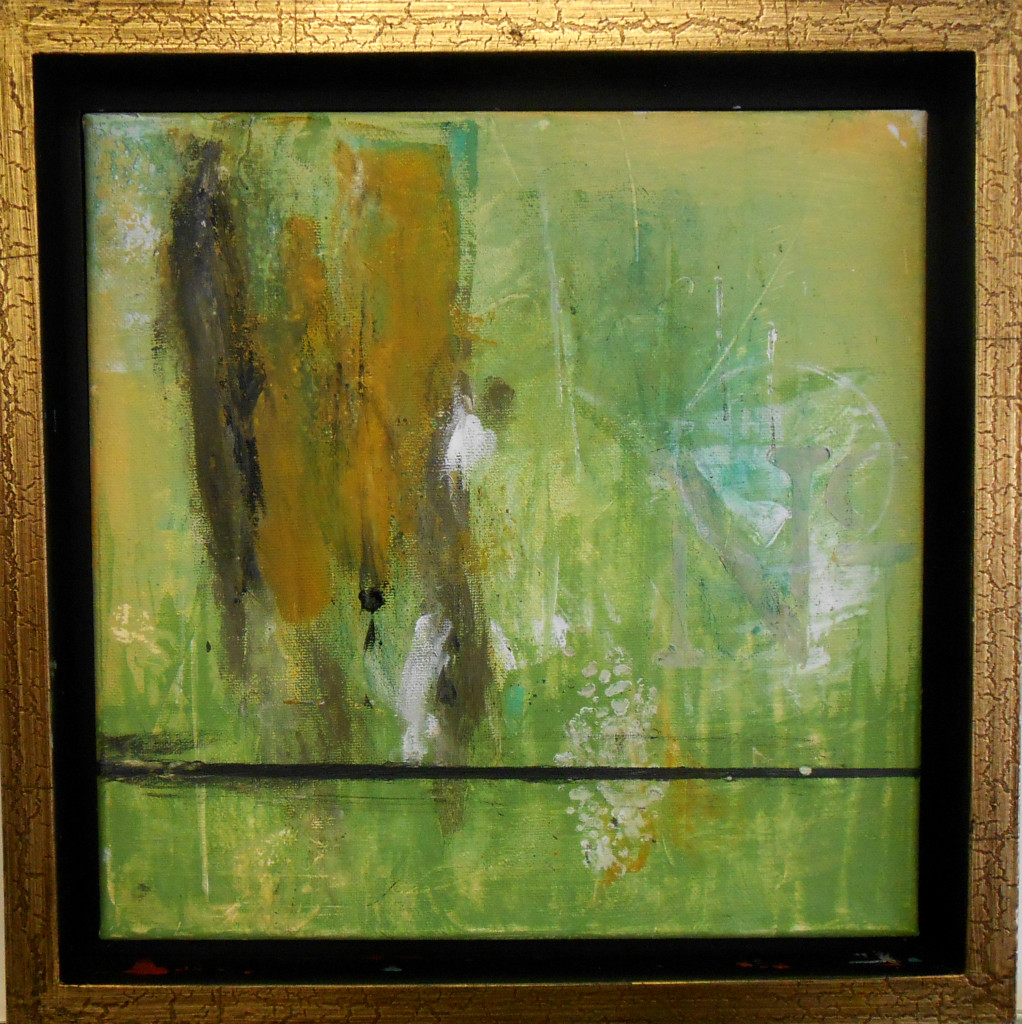
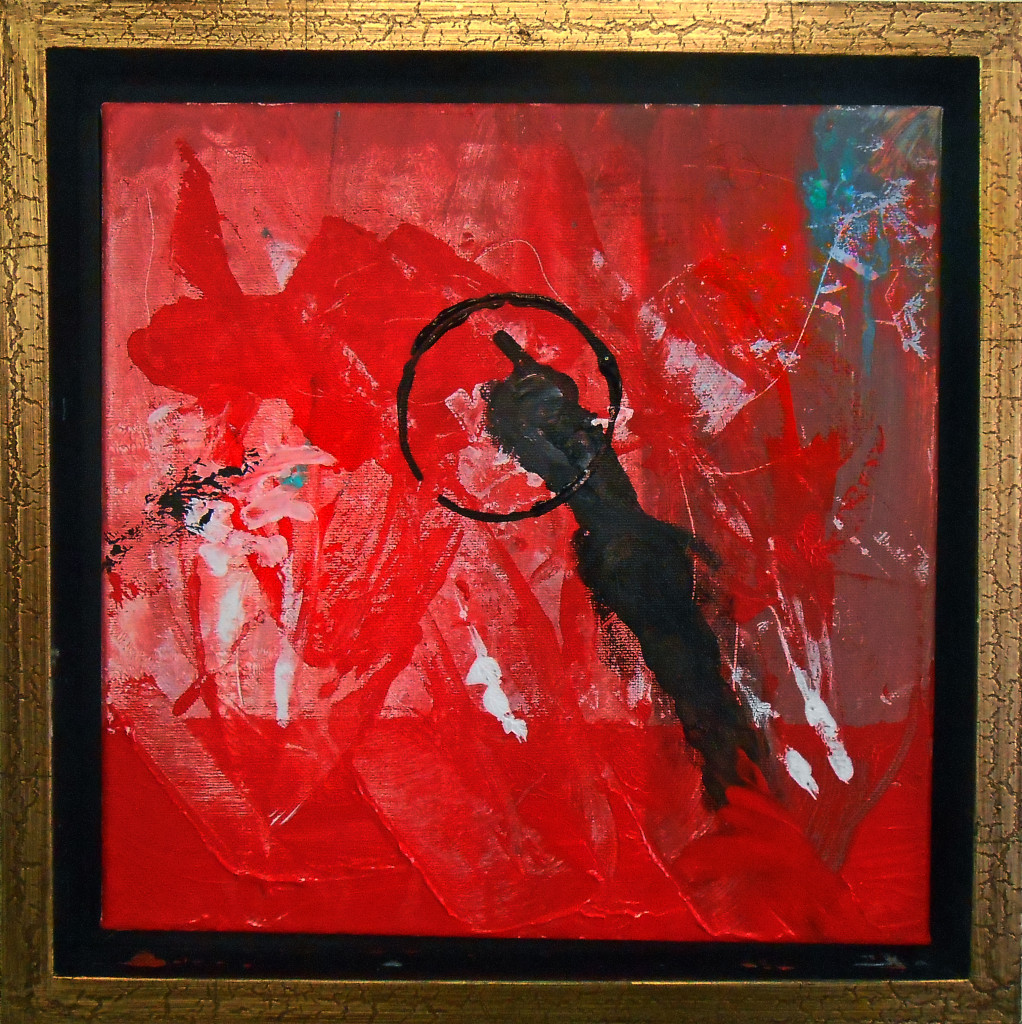
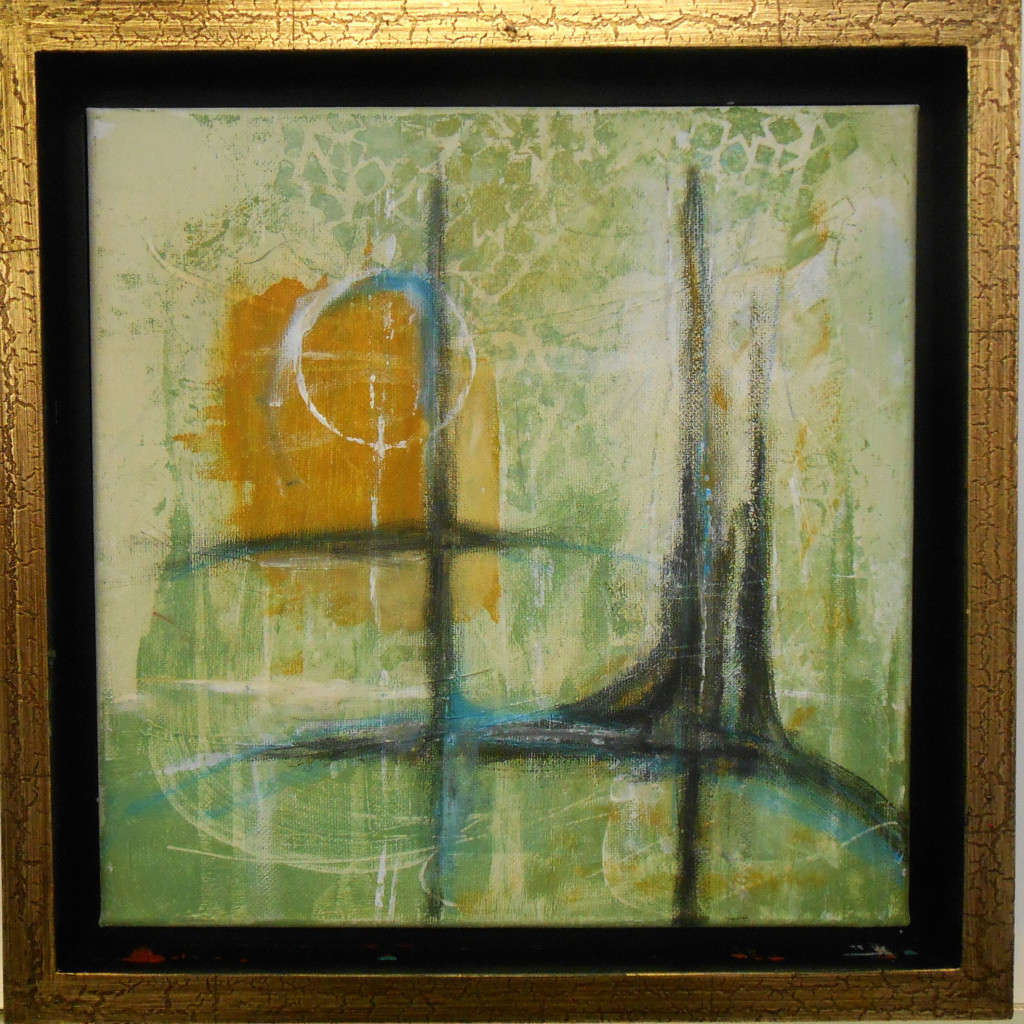
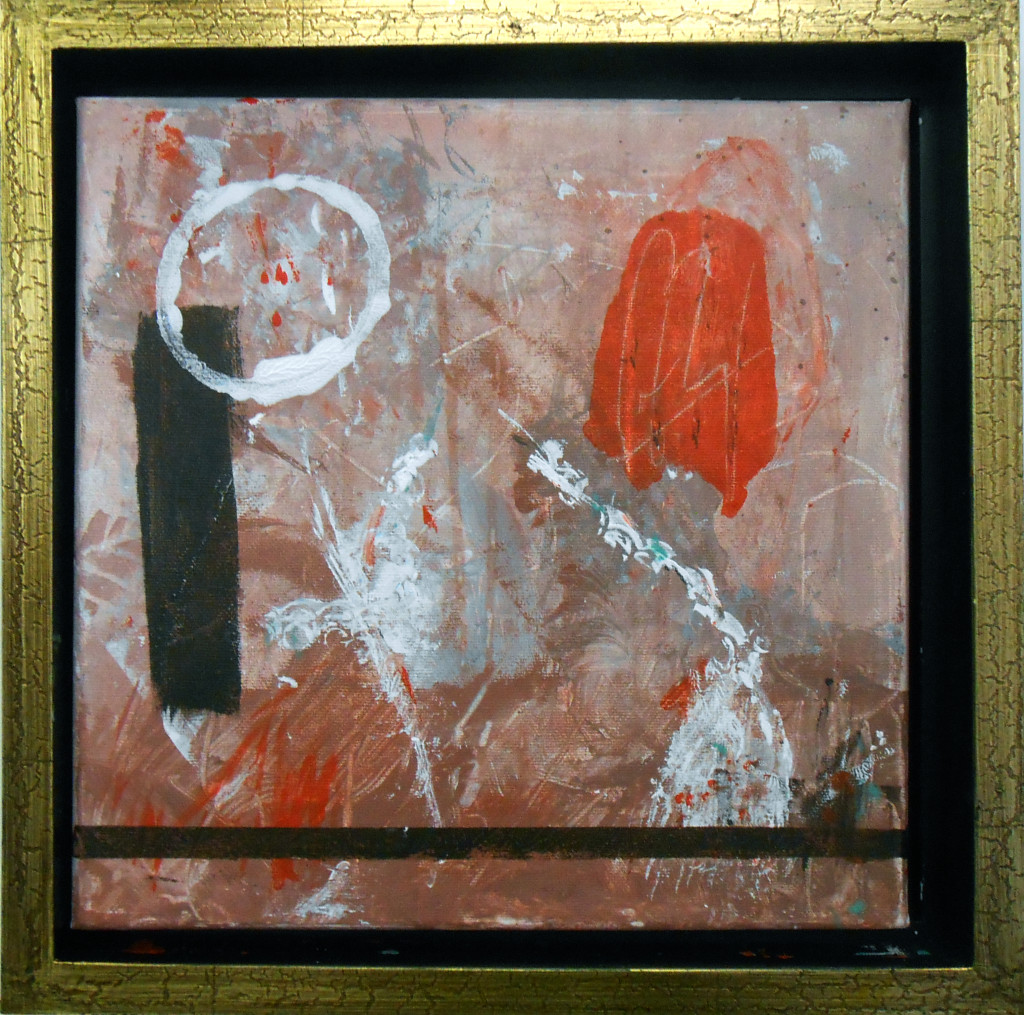
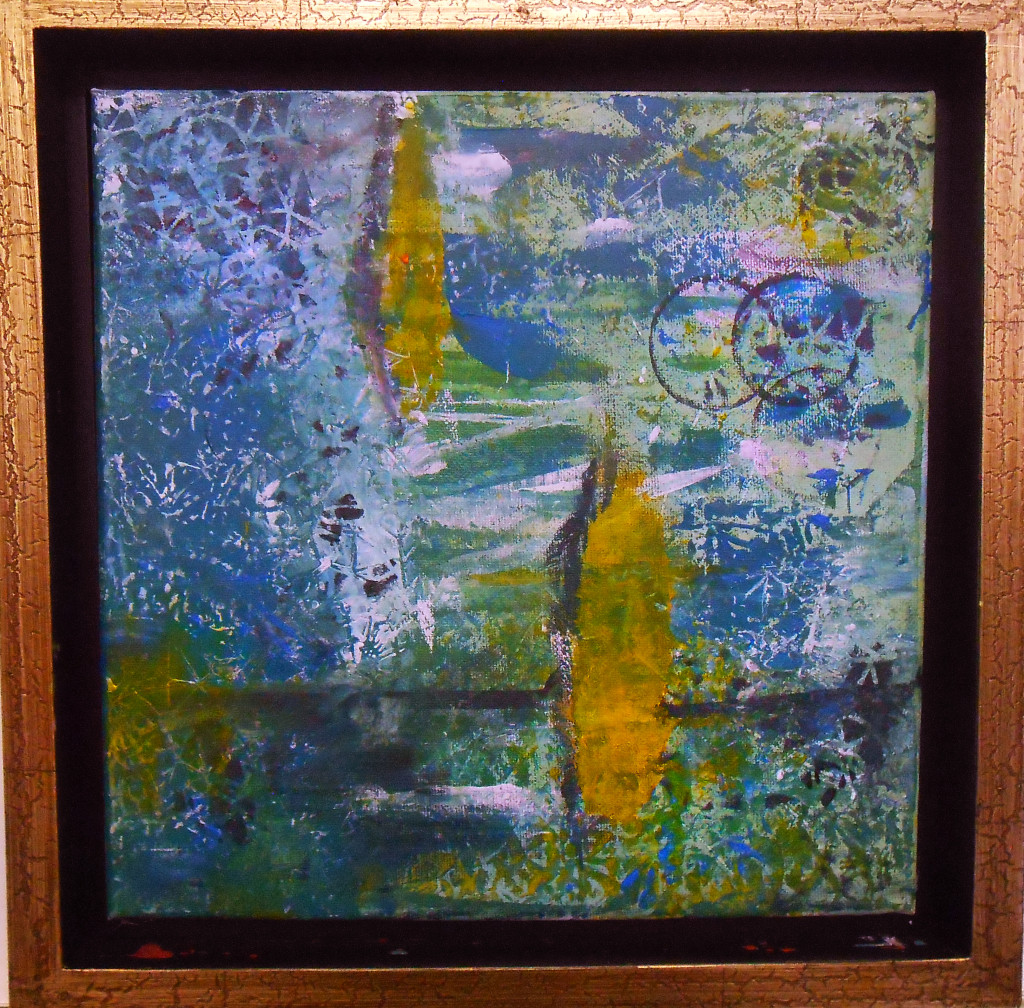
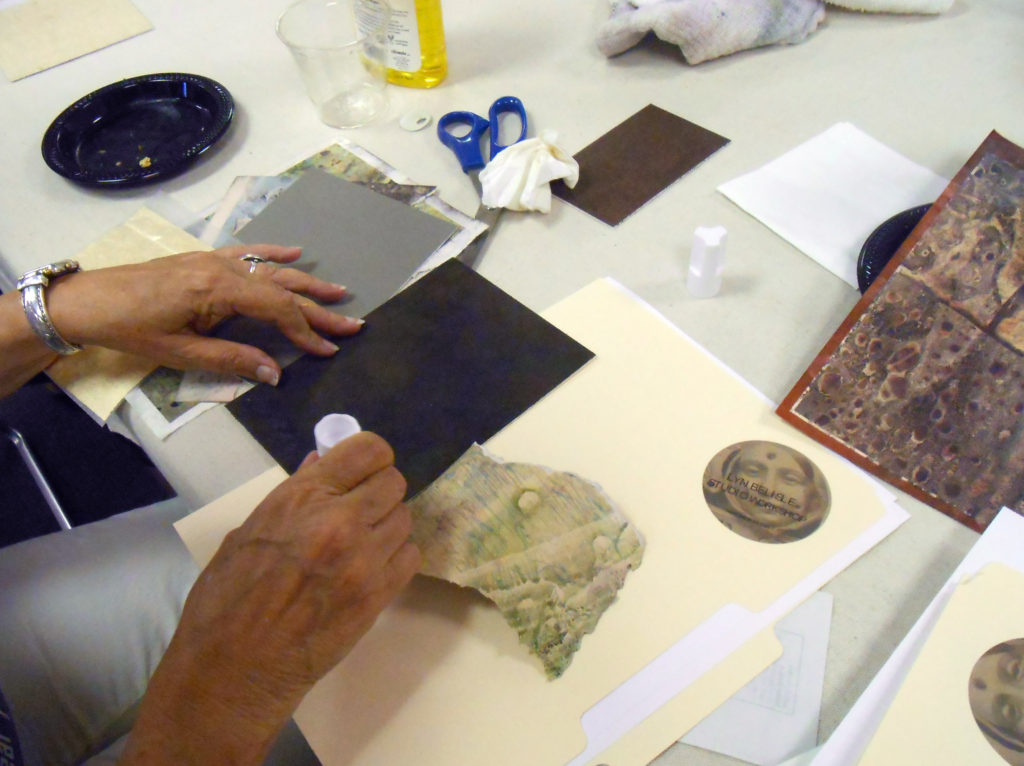
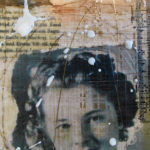
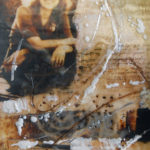
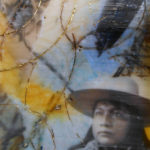
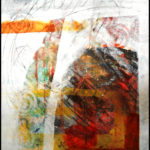
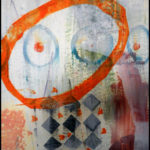
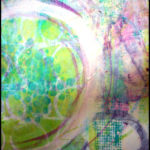
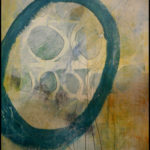
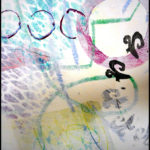
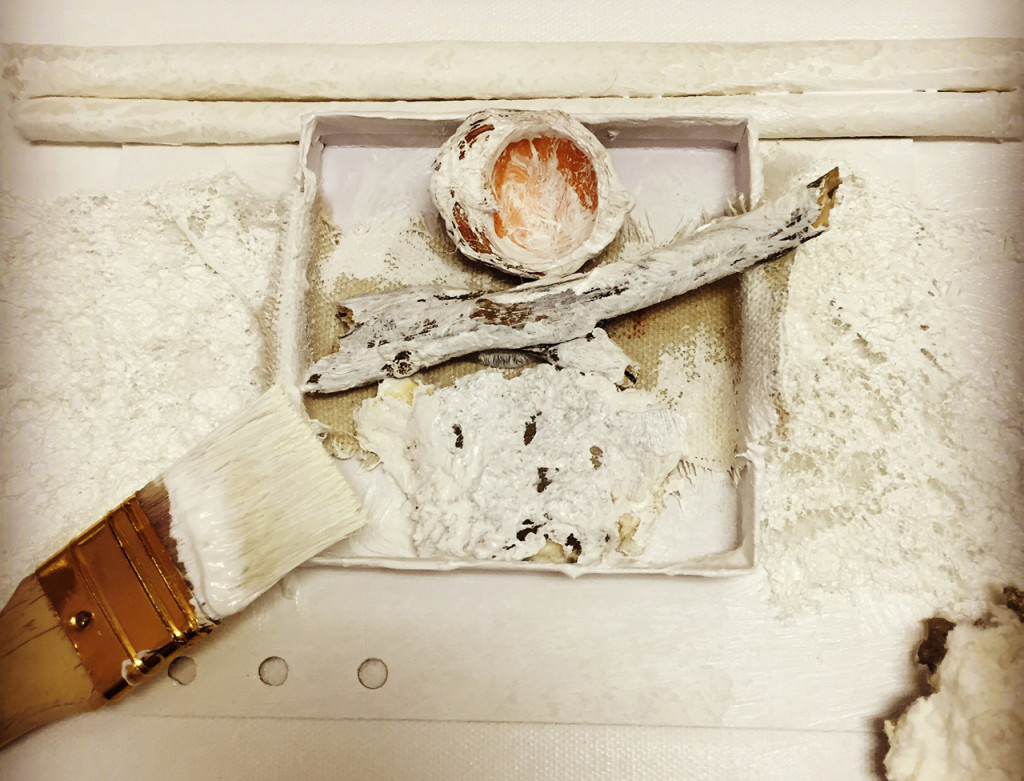
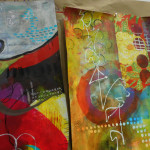
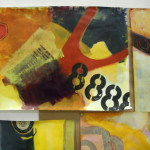
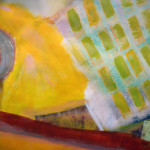
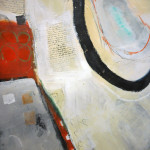
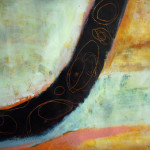
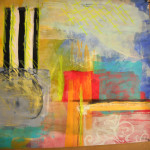
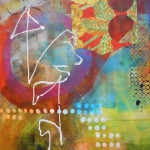
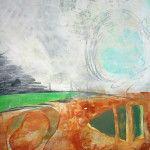
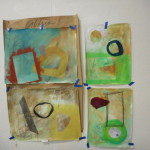
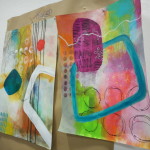
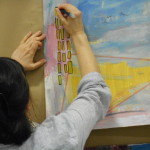
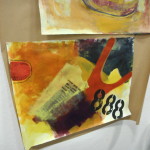
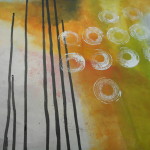
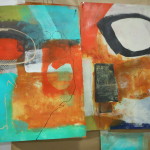
 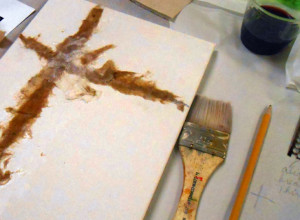 I started the session by demonstrating how to draw a visual classic cruciform framework with pencil lines on a 9×12″ canvas. Then we built thin layers of torn paper across that flat framework. I showed several techniques using both created and found textures, and combined these with mark-making through wet paint.
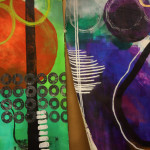


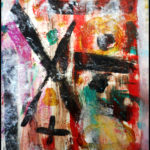
 Now – – on to ARTFUL ABSTRACTION.