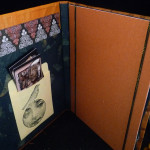
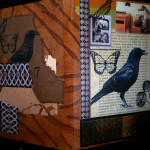
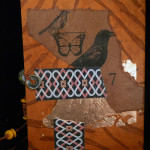
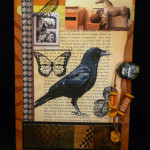
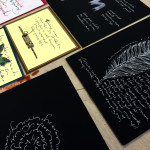
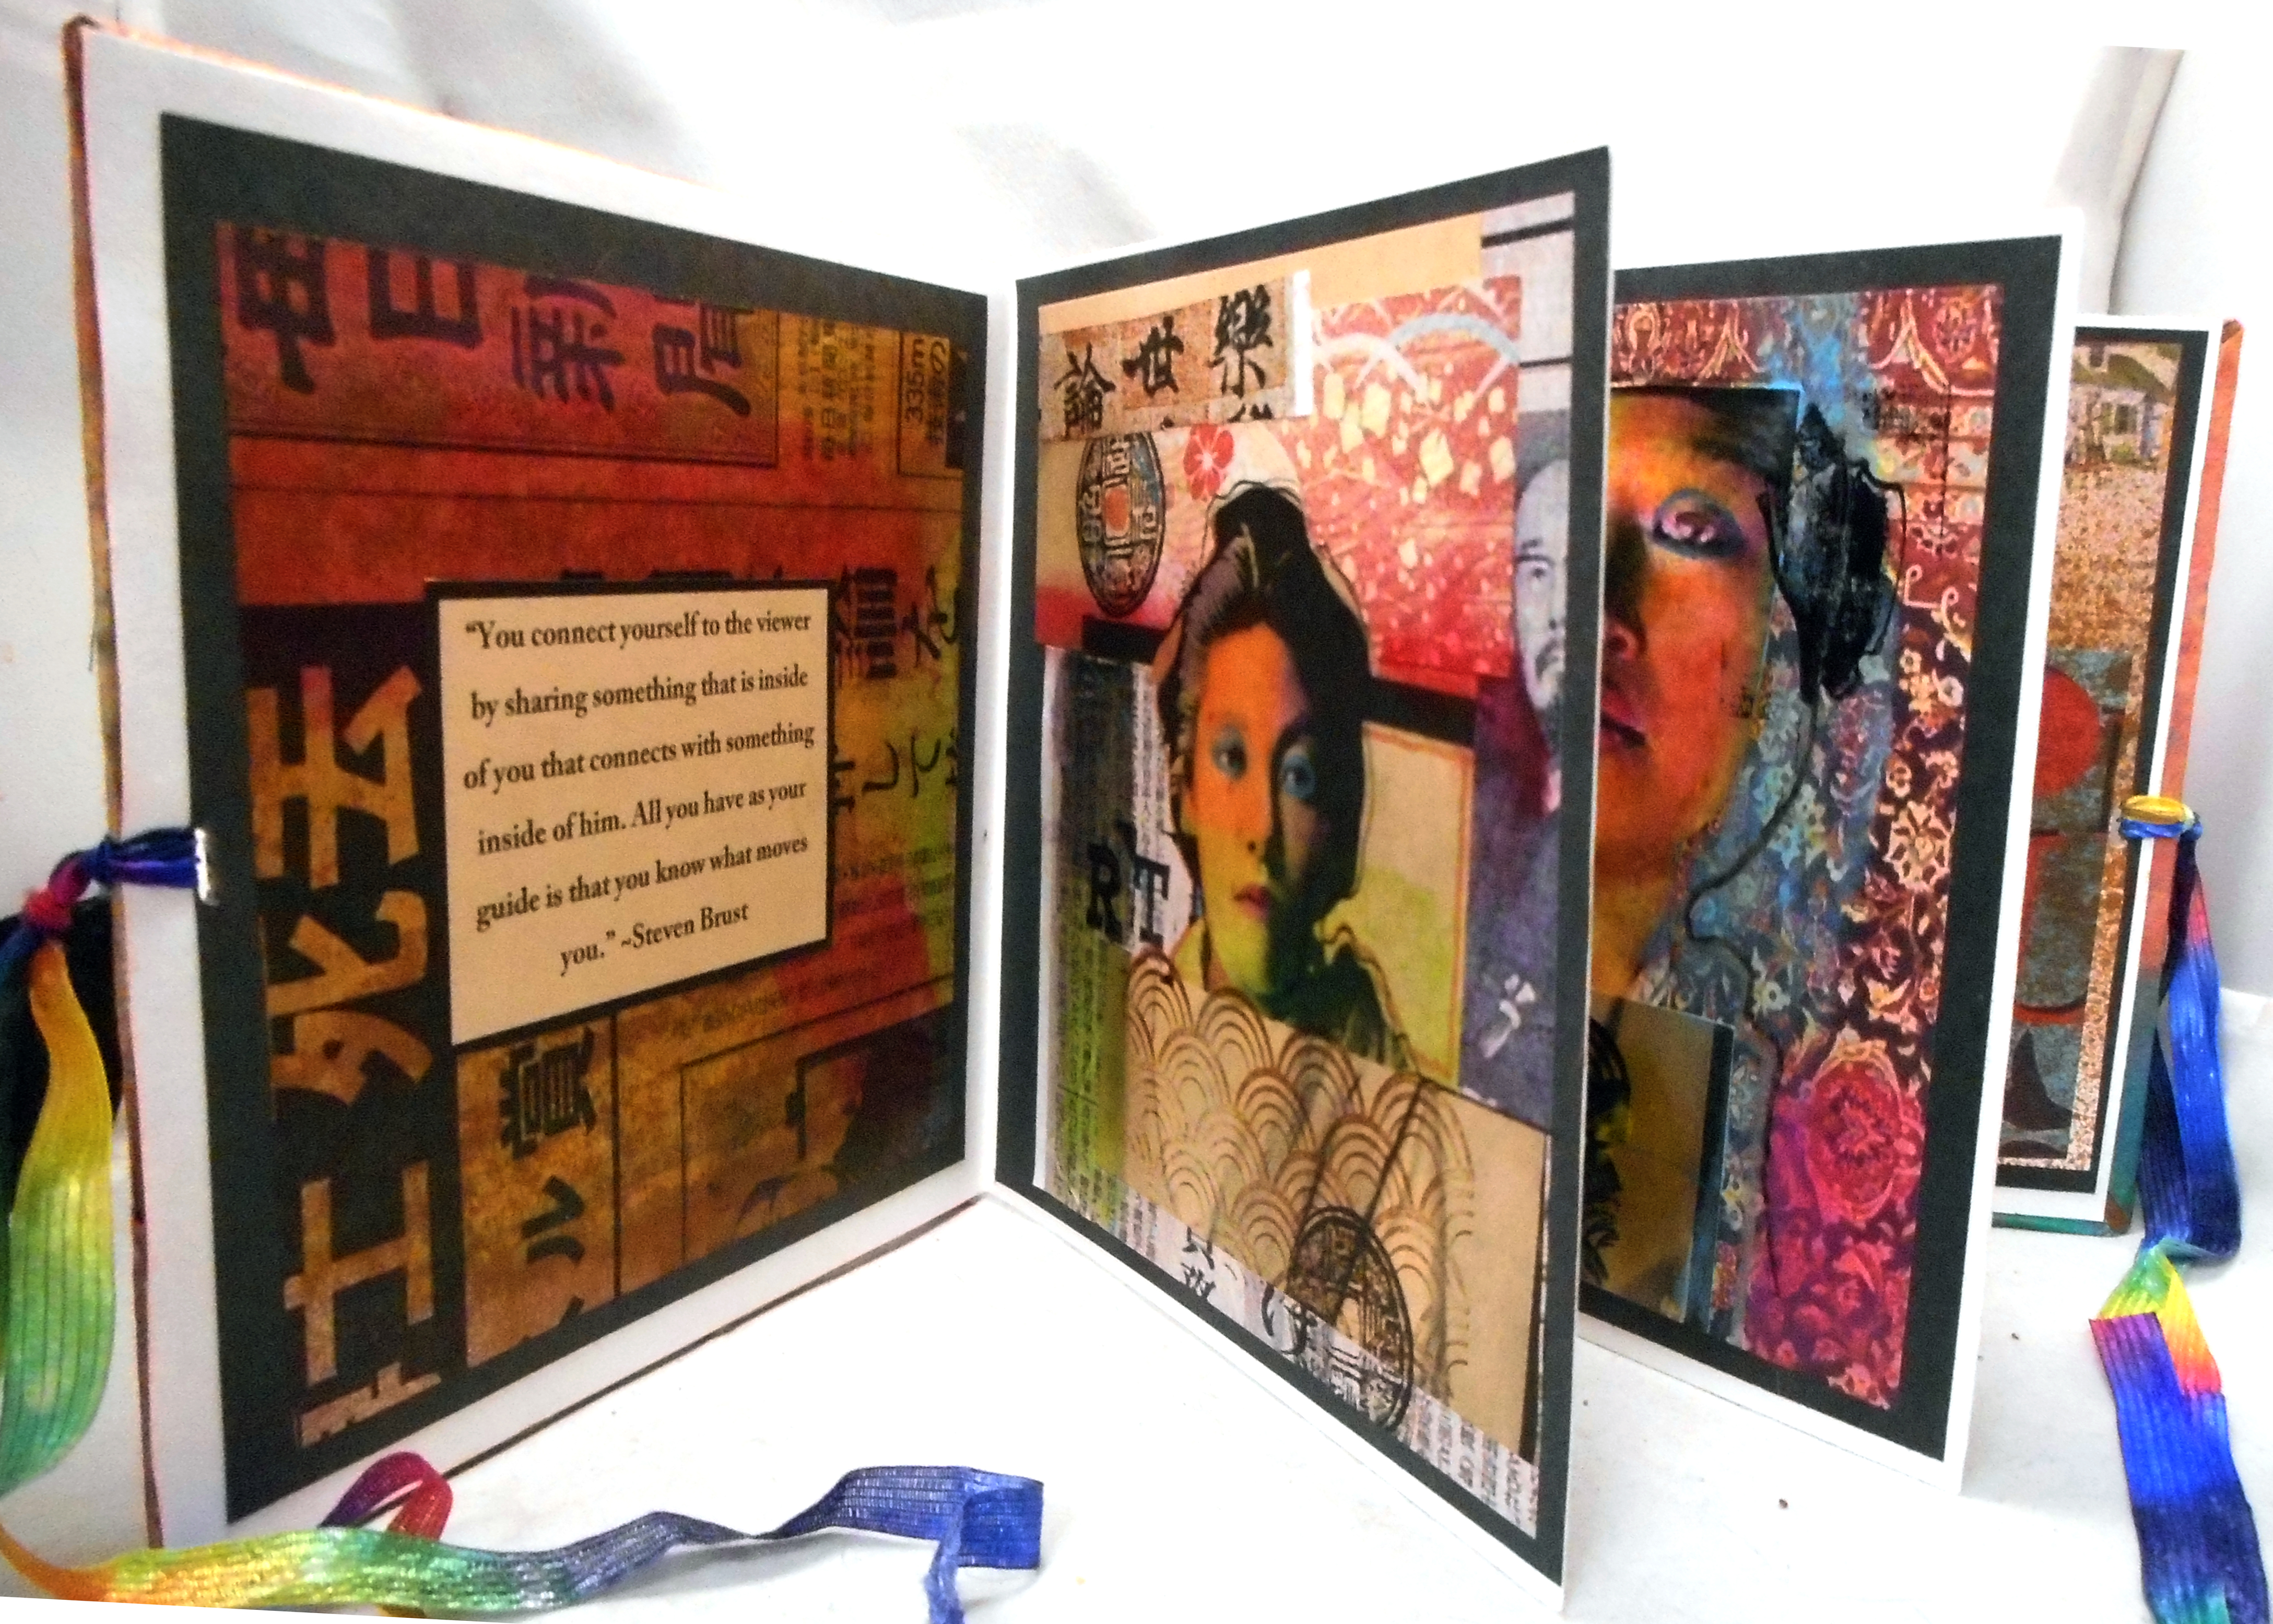
Book cover made with experimental rust-dyed paper – Lyn Belisle
Ever since I learned that I’ll be teaching dyeing and surface design at Vivi Magoo art retreat, I’ve had little else on my mind. Did you see the newsletter about this event? If not, click here – it’s going to be SO much fun, and it’s coming up in just a month, November 3-5.
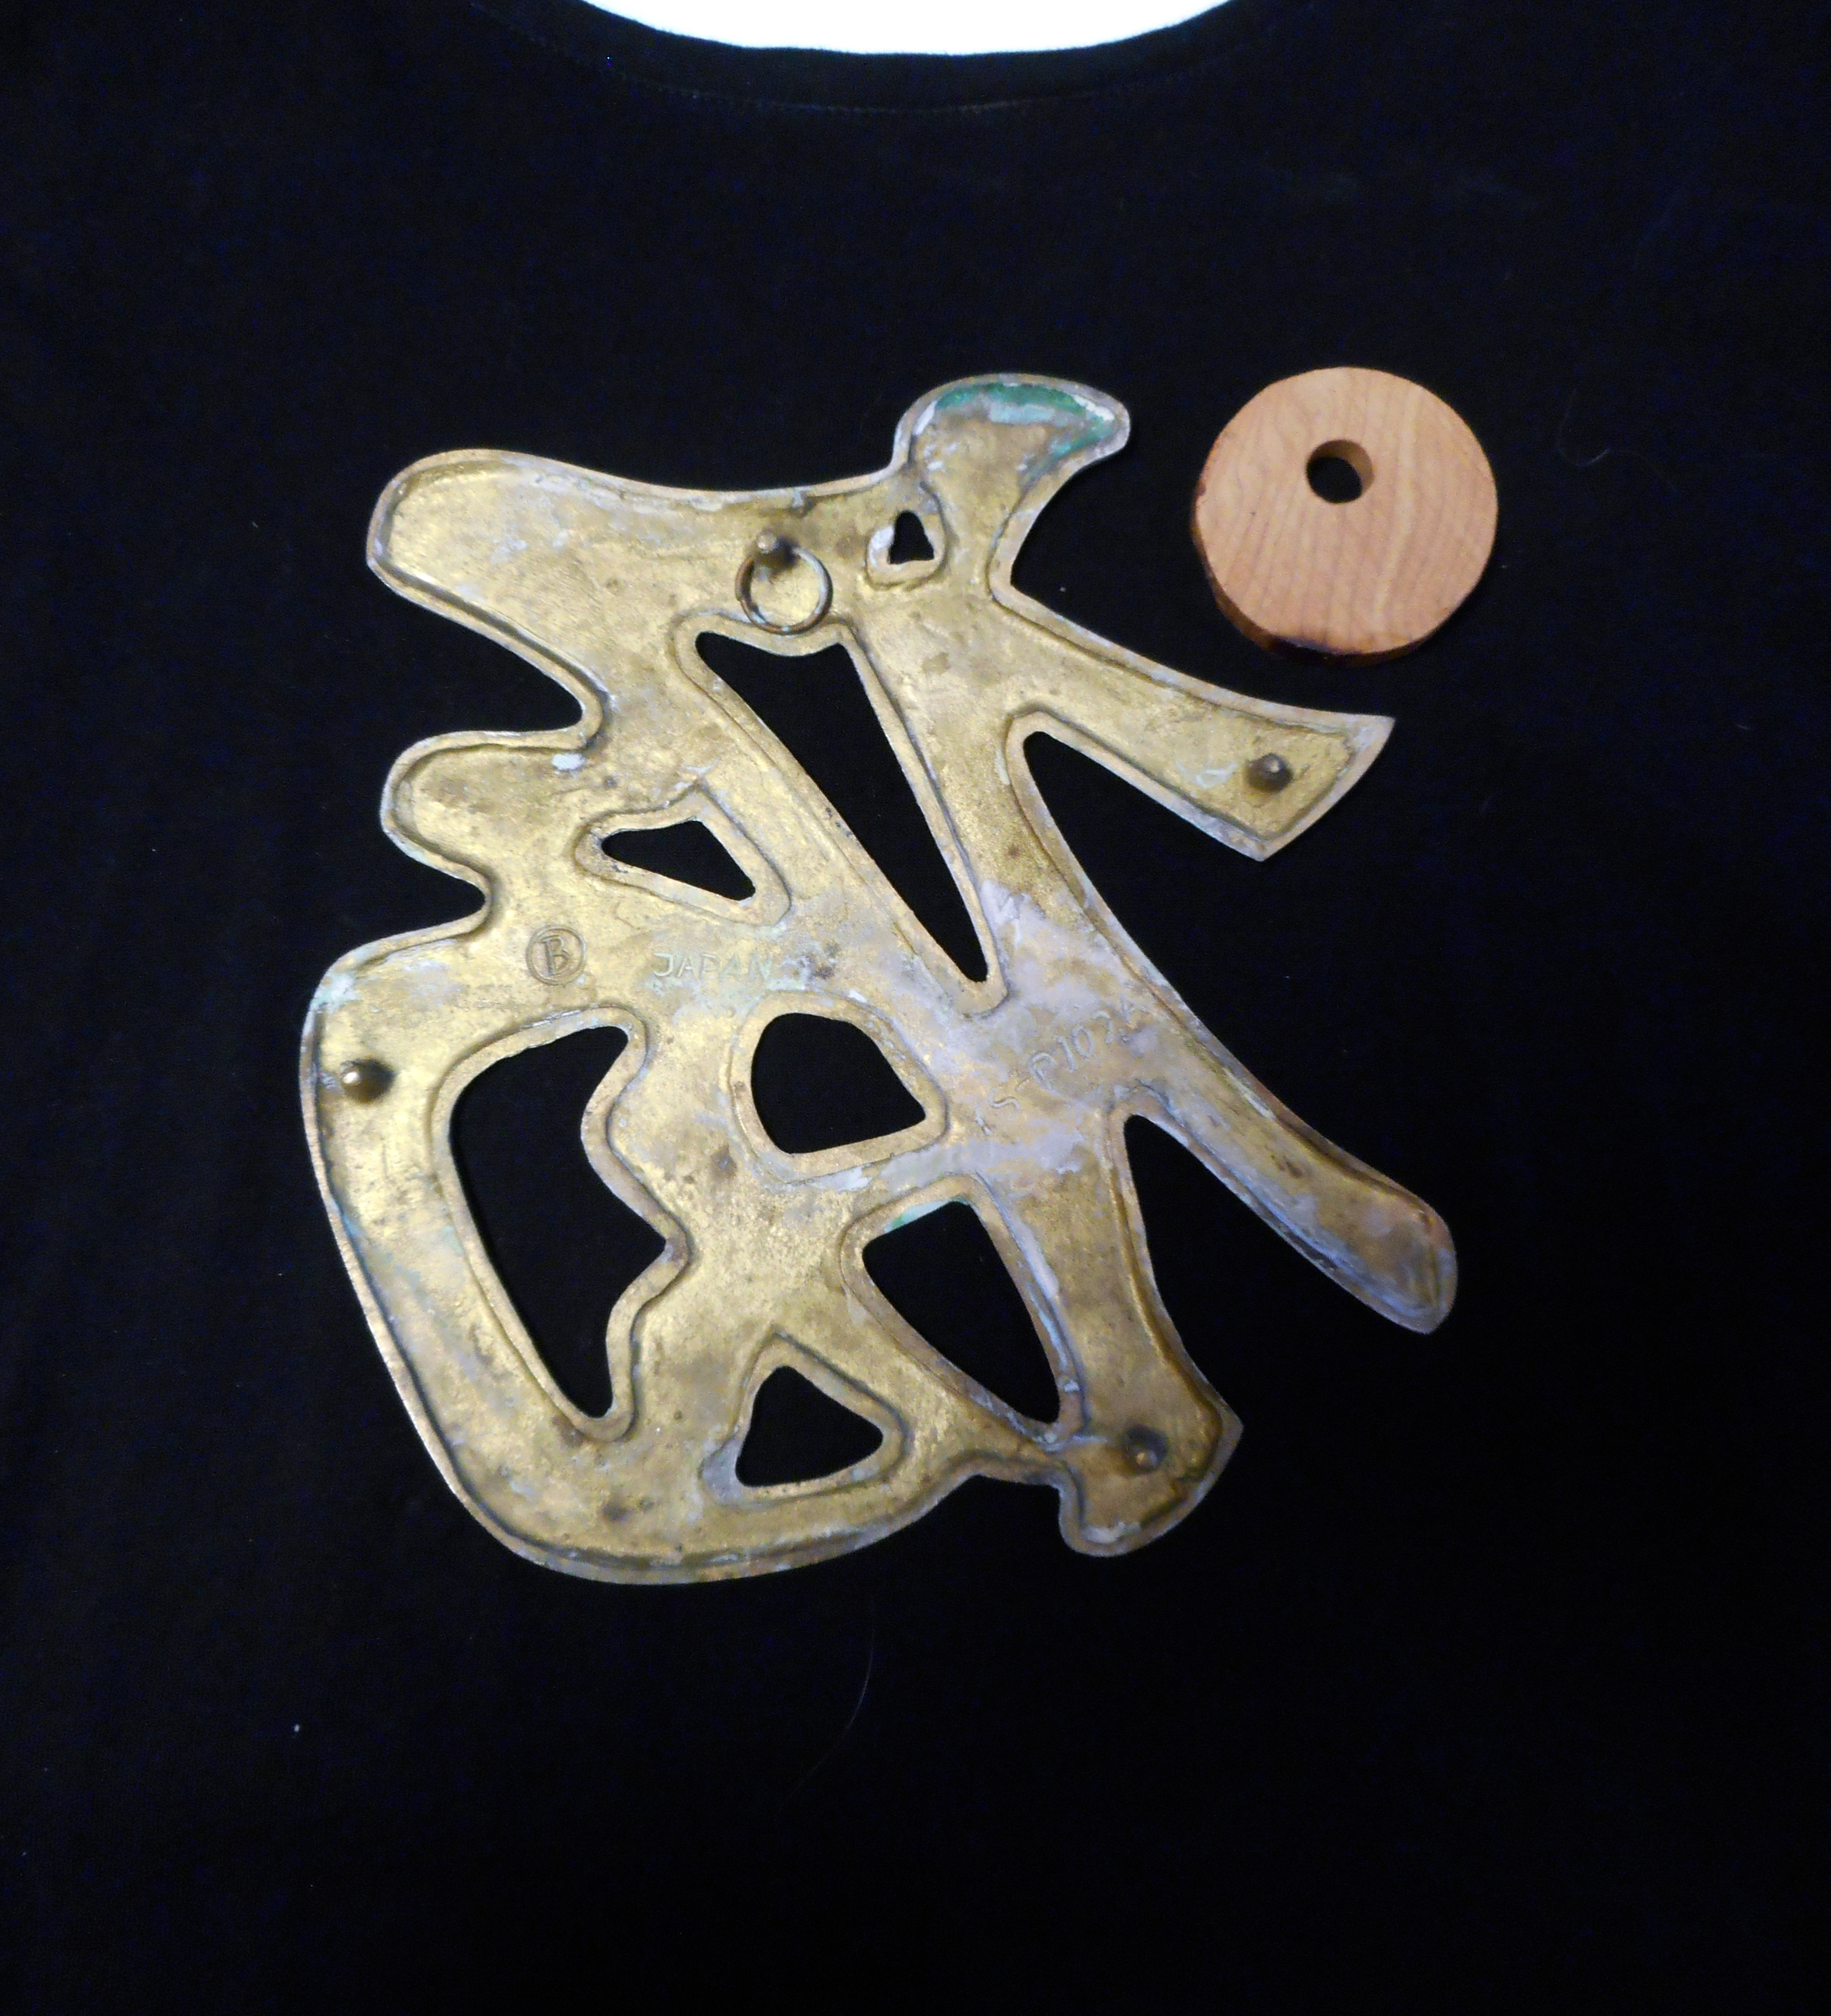
One of the techniques I’m teaching with Michelle Belto is dyeing with rust. I’ve done a bit of that, but wanted to tackle it on a Big Scale. And it worked! I dyed a yard of linen (thanks for that old white linen skirt, Gloria), some scrap cotton pieces, and two types of watercolor paper – a heavy 300# cold press and a lighter #140 hot press. I did it all at one time with the same process just to see how the different materials would take the rust. All were slightly different but all turned out beautifully.
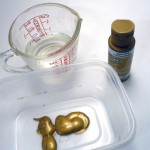
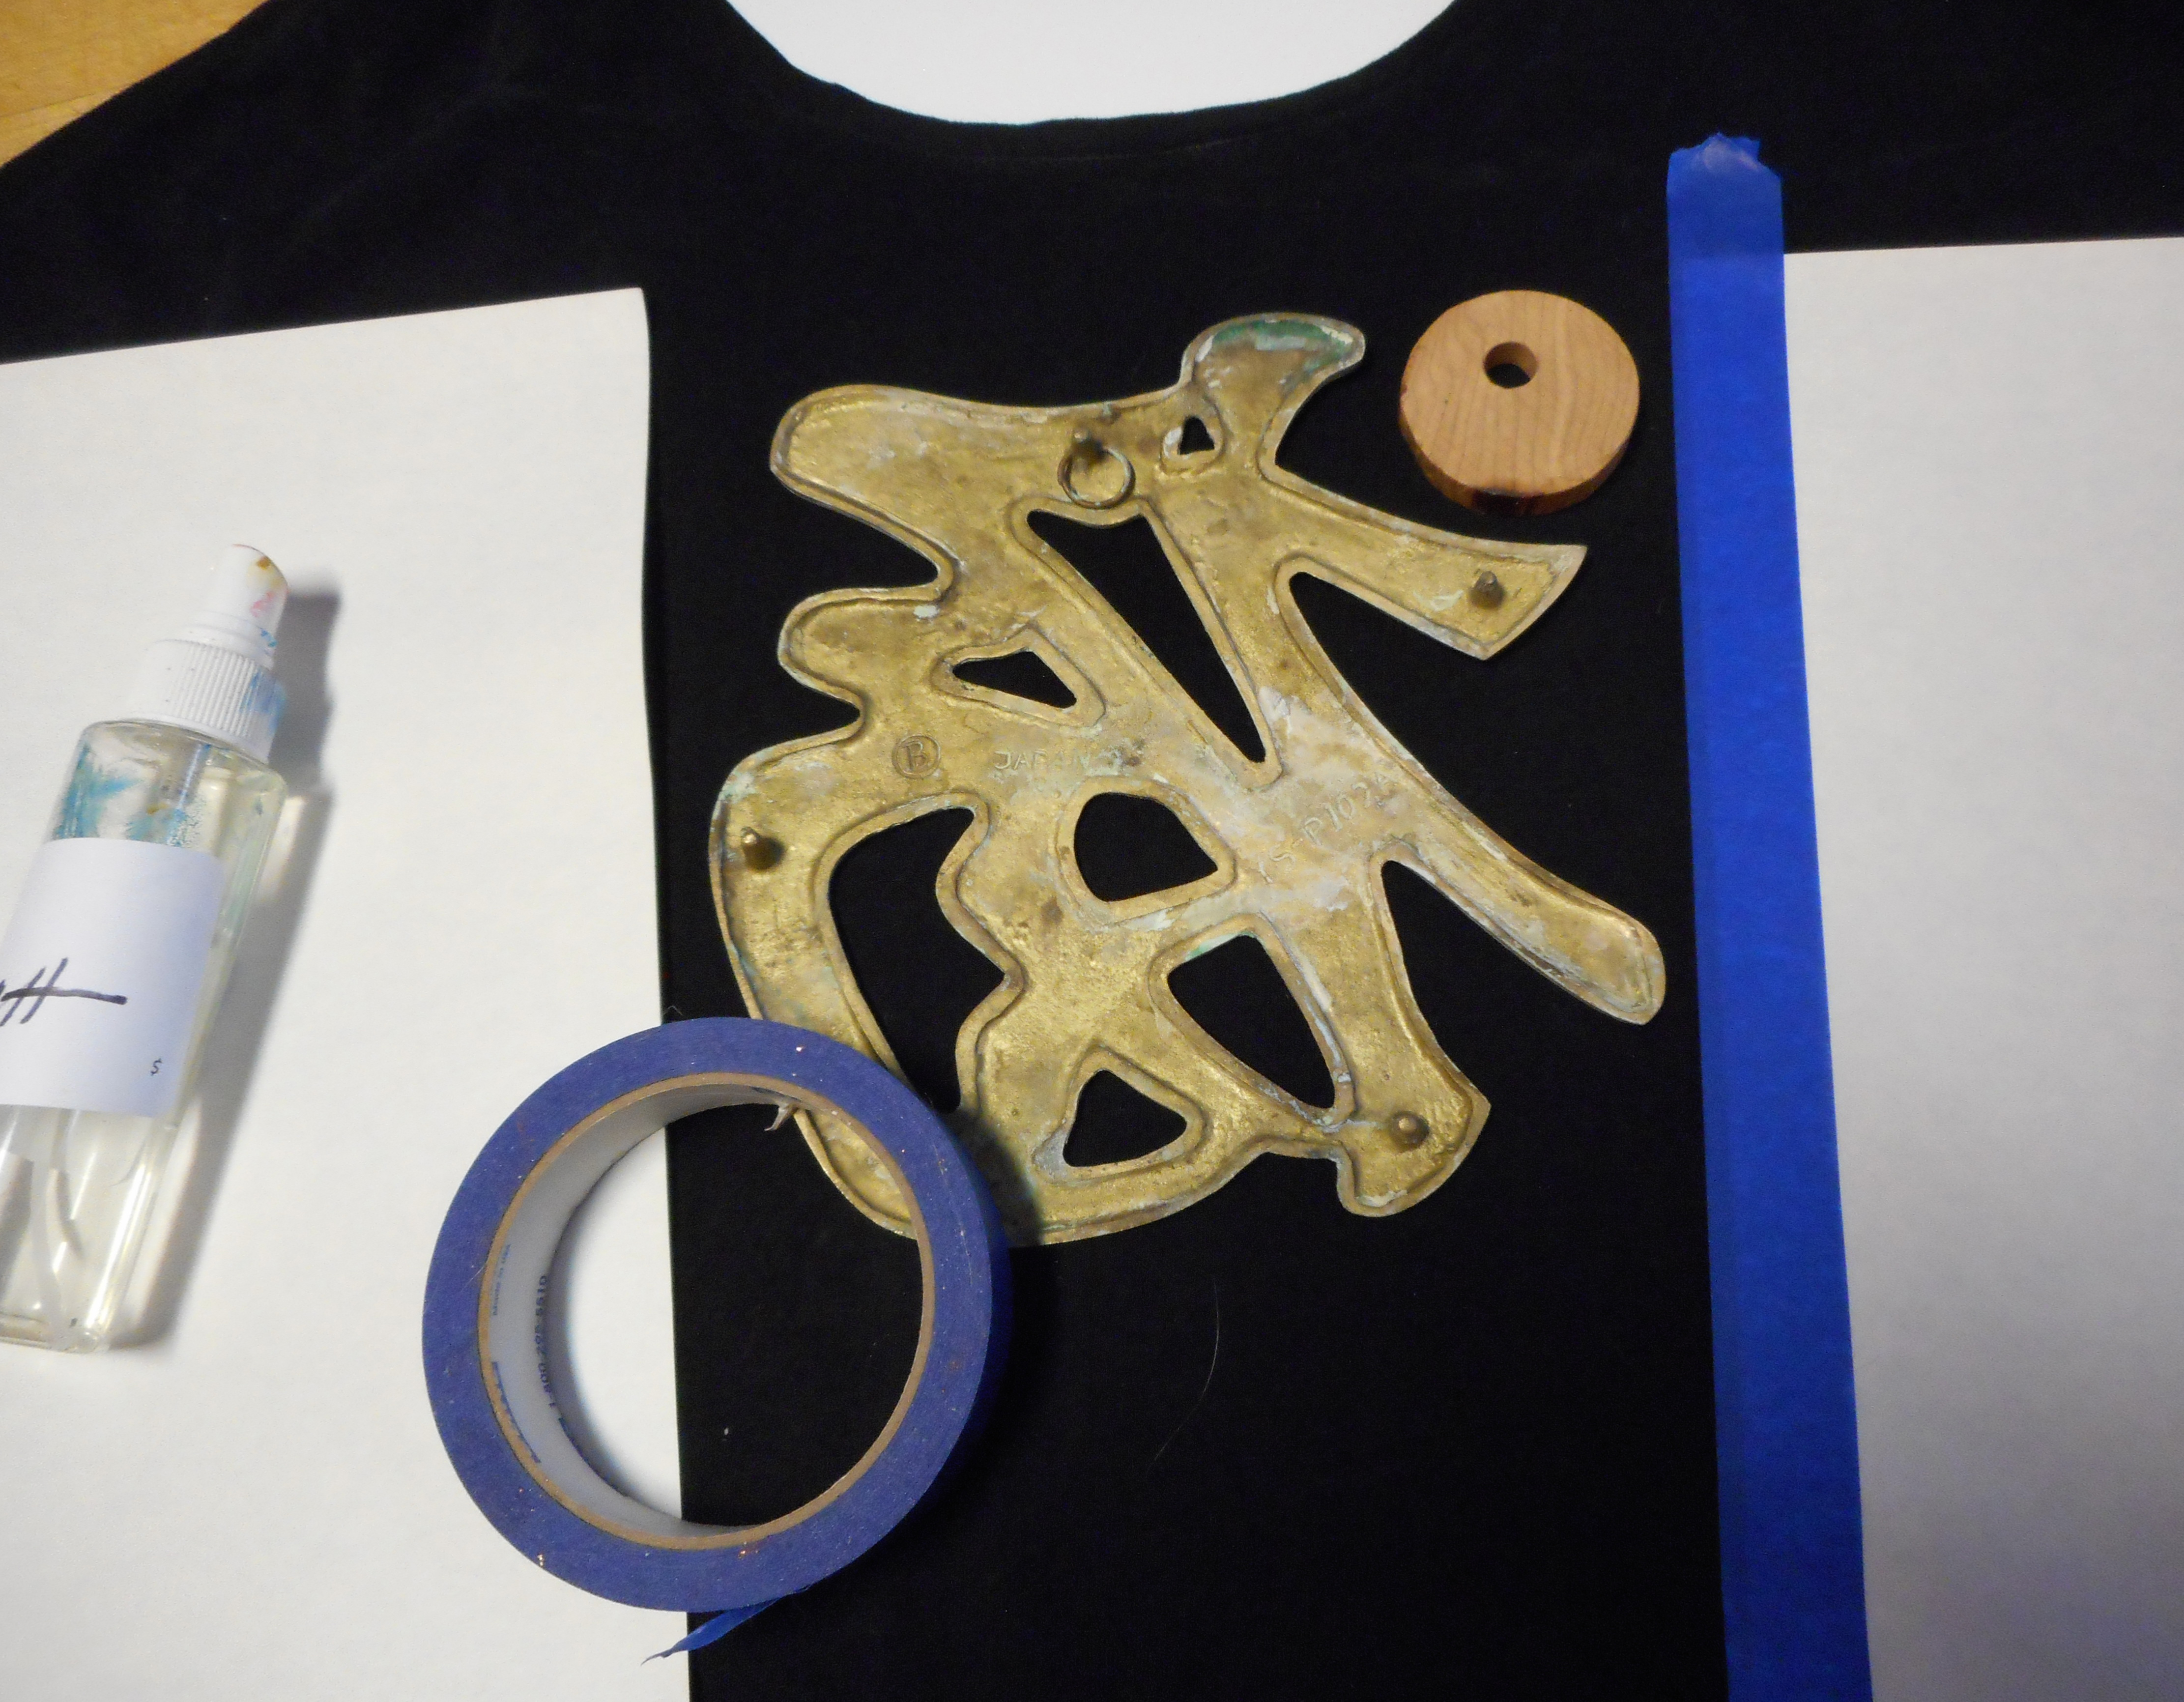
Here’s a short version of how I did it. I collected some rusty objects in a plastic bucket and poured a solution of bleach and vinegar over them to sit overnight. Do this outside! I got this recipe from the Internet (there are many rust-making solutions if you want to test other ones). There was about two inches of yucky rusty foamy gunk in the bottom of he bucket the next morning. Stinky yucky. But rusty.
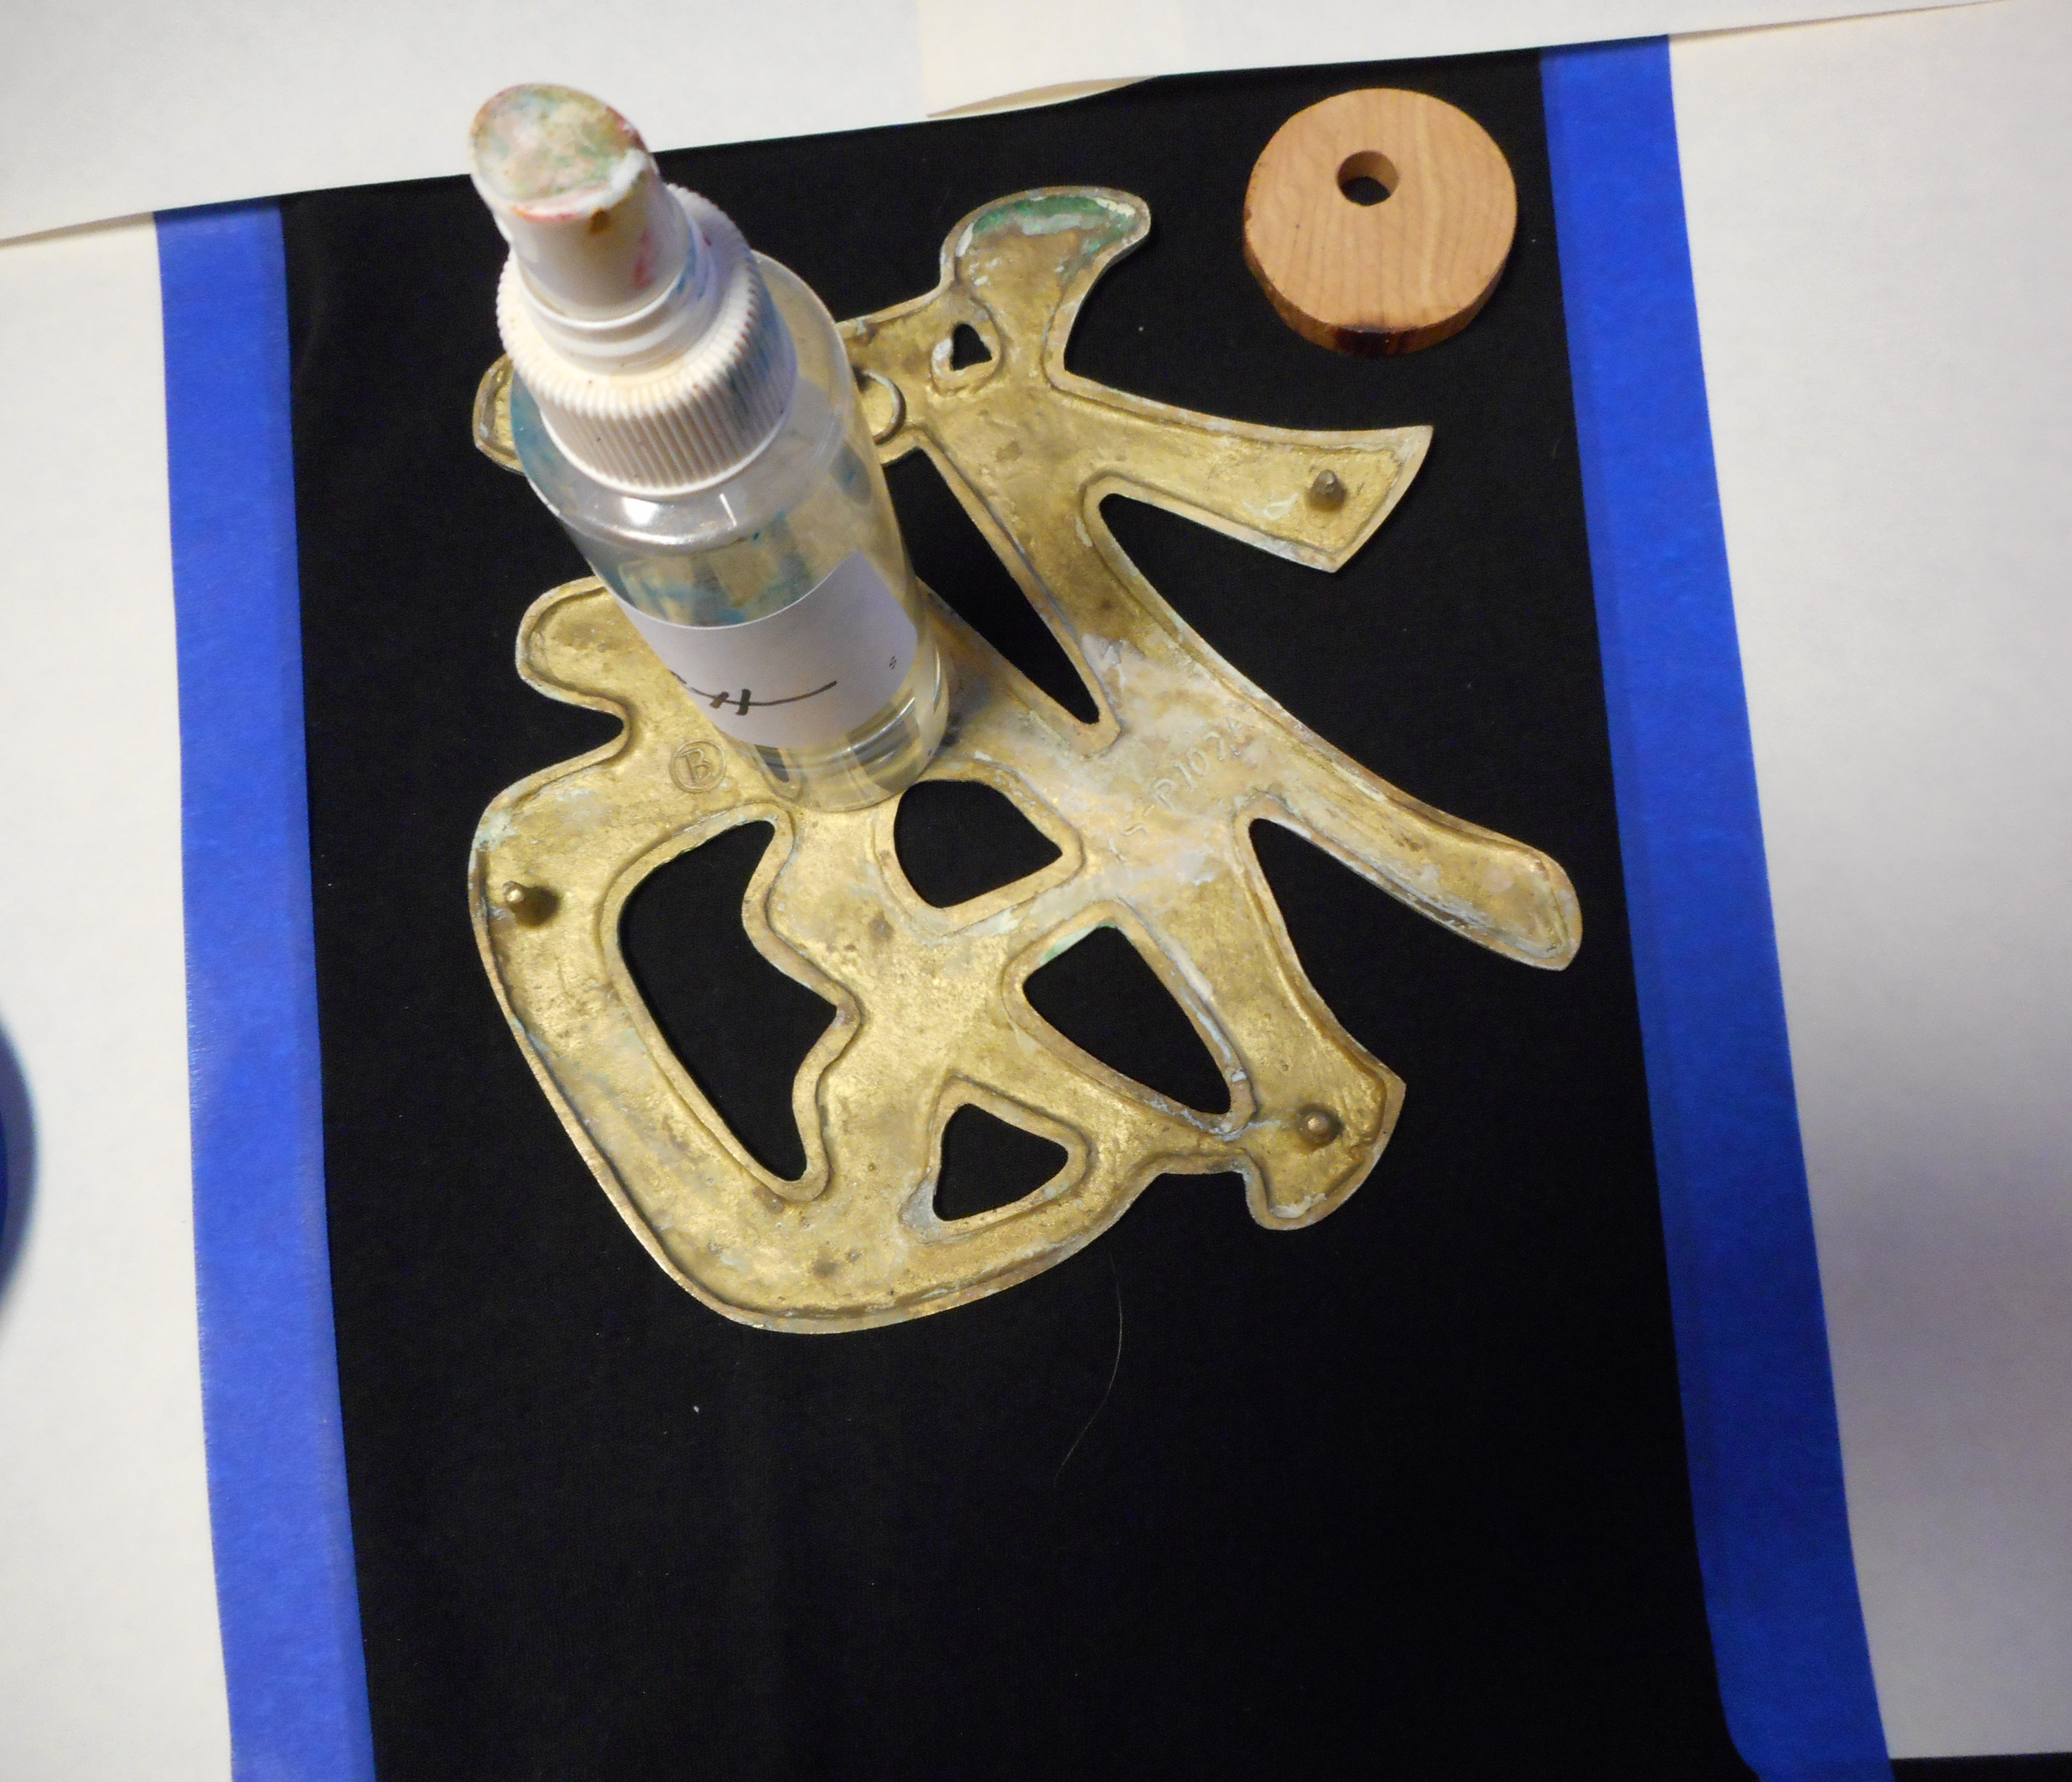
I spread a plastic drop-cloth in the yard (away from plants) and put a layer of fabric and watercolor paper on the plastic – some of it overlapped a bit, but I wasn’t concerned, I just wanted to see what happened on the different materials. The whole area was about three by four feet. I dumped the contents of the bucket over the whole thing and spread it out, wearing gloves. . .very very random. Then I covered it with black plastic and weighted it down with some old outdoor cushions and some flower pots to keep good contact – also to keep Dudley the Tortoise out of the pile of stuff.
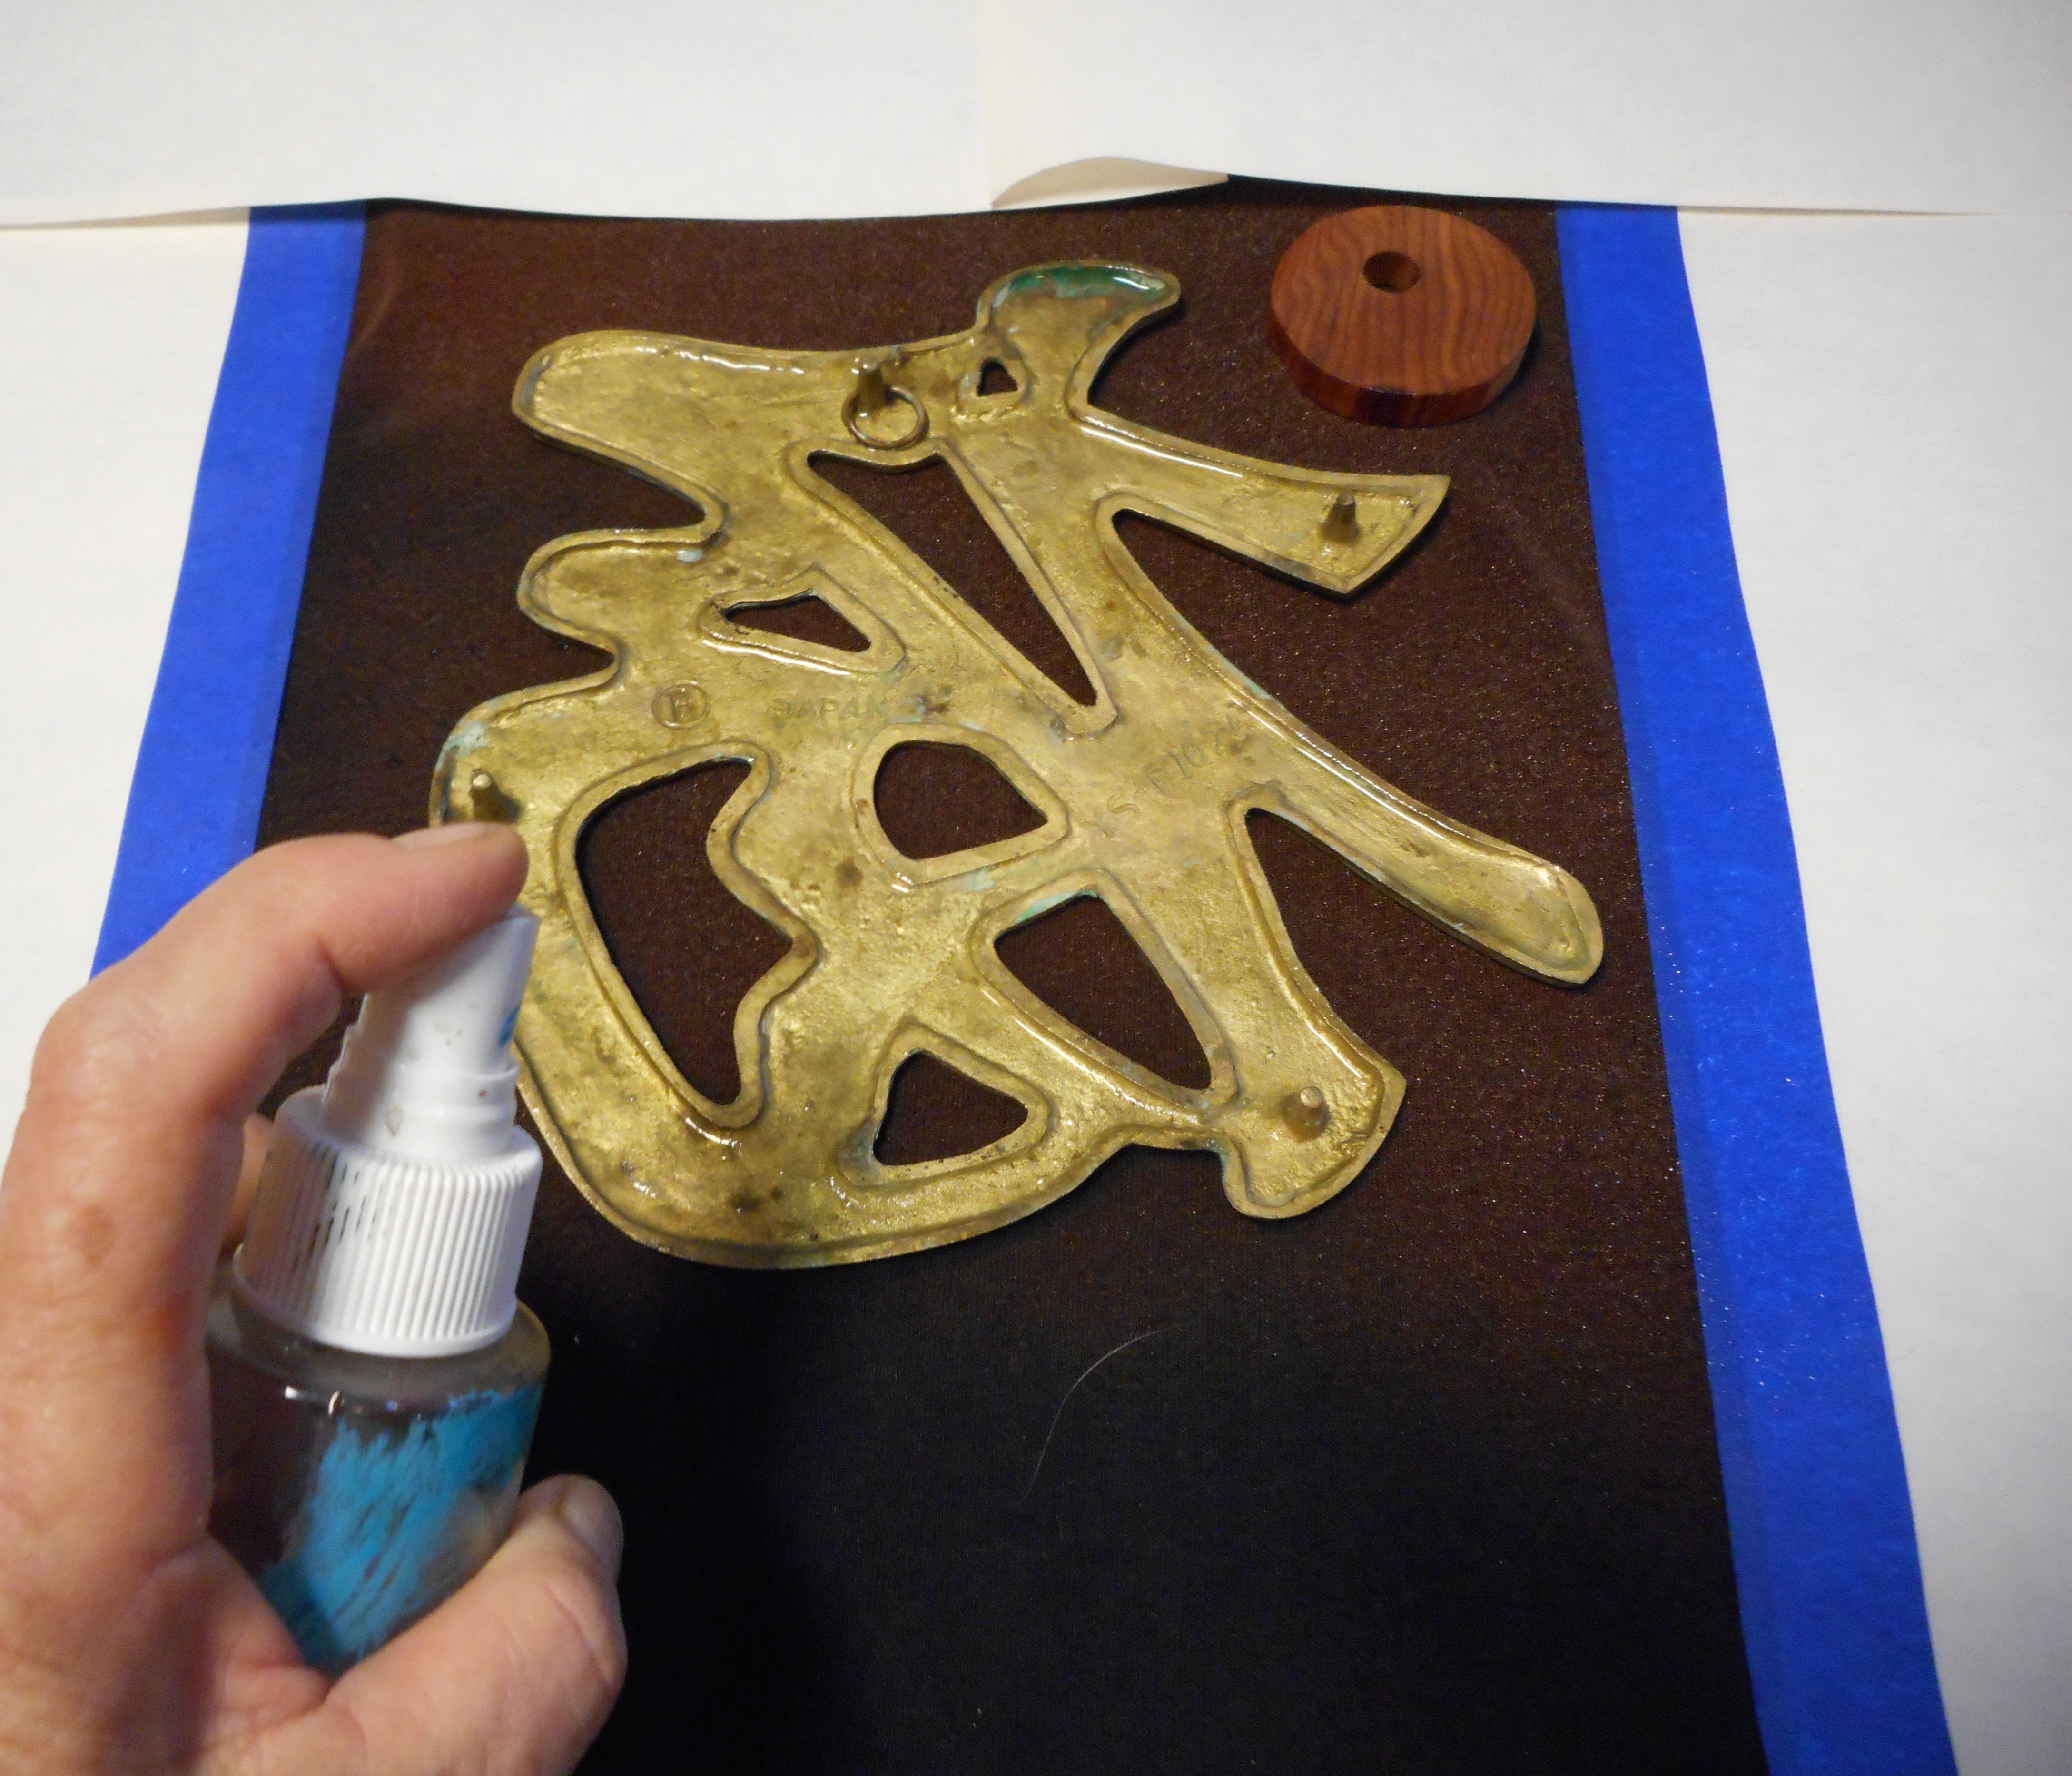
It sat covered in the sun for about six hours, then I took of the cushions and peeled back the black plastic – zowee! What great rust colors! It was exciting – take a look at the pictures below, and then I’ll tell you my observations. (If you can’t see the pictures, click this link)
-
- You’re looking down into a white plastic bucket with vinegar, bleach and rusty stuff
-
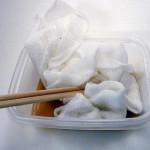
- It’s dumped out on fabric and paper which has been laid out on a plastic drop cloth
-
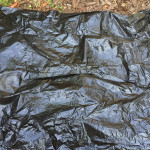
- The wet pile is covered in black plastic
-
- And weighted down with old cushions and flow pots for good contact
-
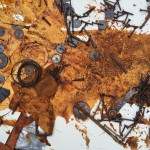
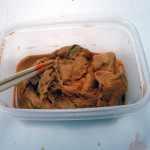
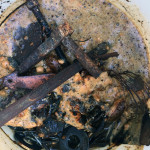
- After six hours, the plastic is taken off to see how the rust has developed
-
- Look at the great patterns
-
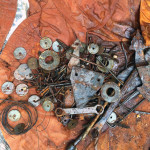
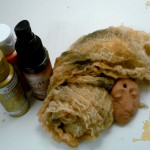
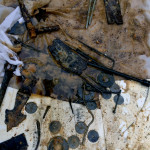
- The rusty objects are scraped into a pile and taken off the material
-
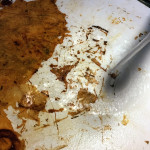
- The paper and fabric are rinsed with plain water
-
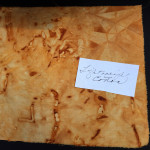
- Lightweight cotton – this may have been a blend
-
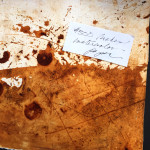
- Heavy watercolor paper
-

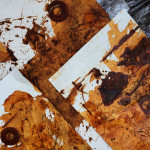
- Watercolor paper – wonderful rust color and patterns
-
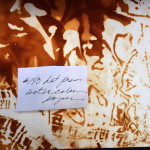
- This is the front side of that last piece
-
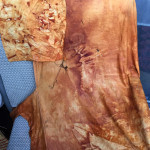
- This is the linen piece spread out to dry on a chair
-
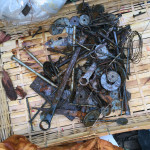
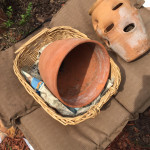
- The rusty stuff is drying on a wicker tray and can be used again
Here are my observations and caveats – first, I haven’t washed the fabric thoroughly so I’m not sure how color fast the rust is, but since I won’t be wearing it, just using it for fiber art, that doesn’t concern me. You may want to try a small piece and see how it works for you if you’re going to make a garment.
Secondly, I wish I had dampened the 300# watercolor paper because it’s very thick and I think it would have taken the rust better if it had been wet. The thinner 140# watercolor paper was the most successful of the four materials. It had strong prints from the objects and lots of color variations.
After the process was done, it occurred to me that the formula that I got from the Internet included bleach, but that didn’t seem to affect the fabric – it still dyed a rich rust. Next time I’ll try it with salt and vinegar just to see. But whatever method you use, research it and try it on a small sample first. That’s what I did before I mixed up this huge batch. Work outside, wear gloves, keep your tortoises away from it!
In the Viva Magoo all-day class, we will be doing a version of this that uses lighter fabrics and papers and we’ll include some over-dyeing using the Shibori method (yep, you can do Shibori on paper as well as fabric) – I hope you’ll consider signing up for one of the workshops. If it’s half as interesting as this rusty experiment was today, it’ll be worth the price of admission!


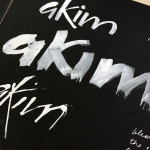
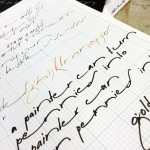
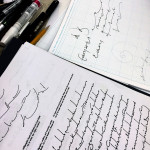
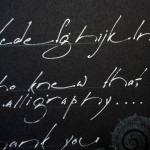
 super-star status with illuminated swashes. But thanks to my friend Bonnie Houser, I can now write like a calligrapher! And I’m getting better at it – AND it’s fun!
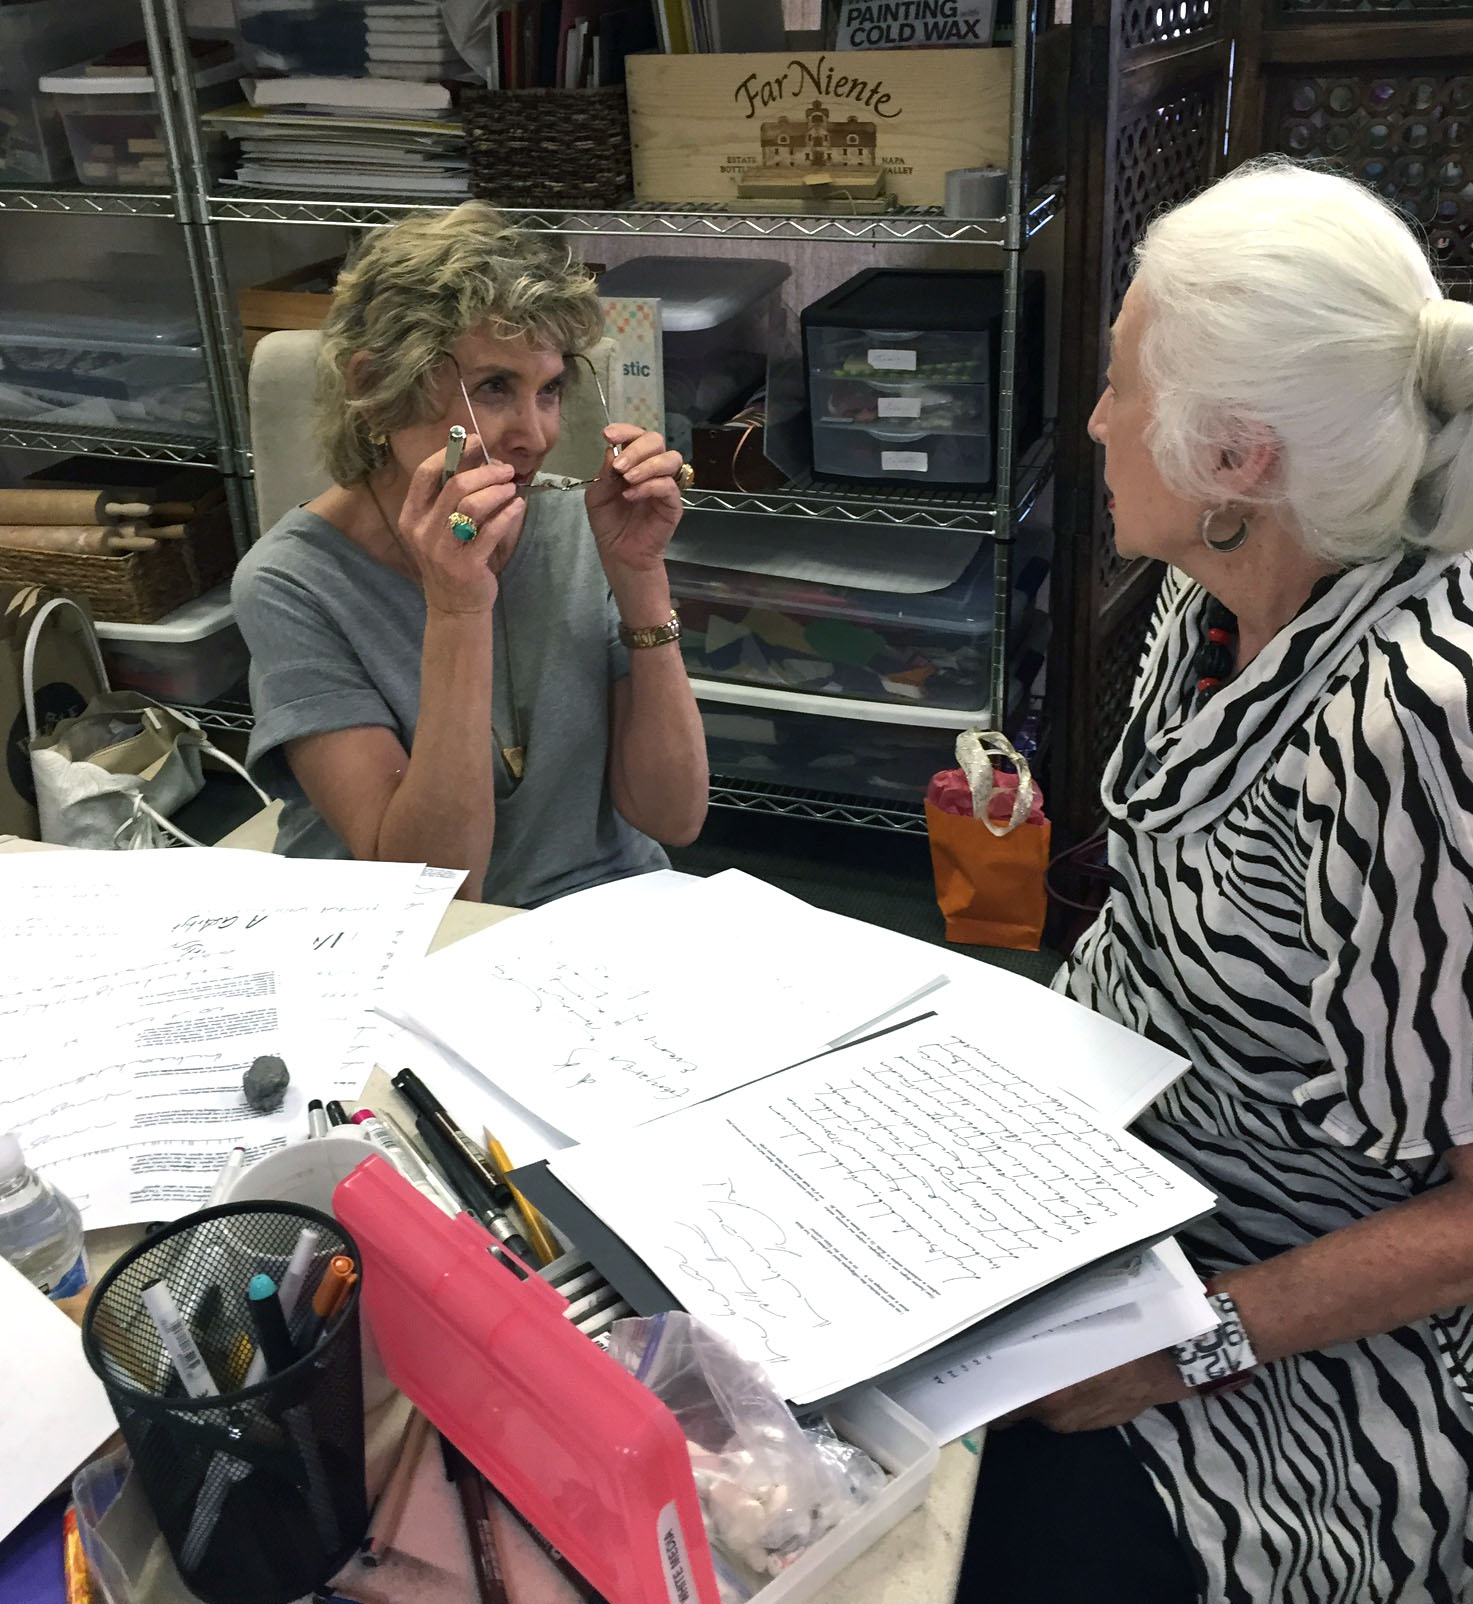
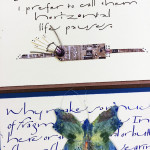


 So what’s the “box” part of this construction? It’s a recycled


 Teaching last week at the Gaian Soul retreat on Whidbey Island was such a joy! Dear friend