I screen, you screen . . .

lisa

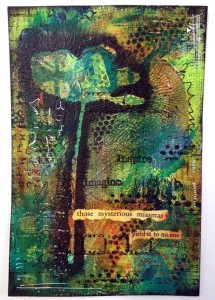
Lisa Stamper Meyer, “Mysterious Miasmas” Acrylic on Paper

What a treat to have the multi-talented Lisa Stamper Meyer at my Studio yesterday teaching a workshop on Silk Screening for Mixed Media Artists! Lisa is amazing – You can see her work at The Gallery at Gruene Lake Village. She’s a patient teacher, generous in her expertise.

I have to admit that I wasn’t ready to add one more thing to my repertoire, but – wrong! This process has so many possibilities. Everyone who participated said the same thing. The inspirations for using this idea on fiber, on handmade paper, with encaustic are unllimited – I’m sold!

Take a look at the video, and then do some exploring on the EZscreen process with the links I’ve listed at the end of this post – many thanks to Lisa for an amazing afternoon.

ezscreenprint.com

ikonicsimaging.com

speedballart.com

Calligraphy Guild, a project for YOU, and a Friday Freebie – or two . . .

10Last night, I visited the San Antonio Calligraphy Guild to show them how to make a pretty paper pocket purse/pendant project (say that three times fast) and a folding votive screen card. Calligraphers are nice people! I can’t wait to see how they take these projects and adapt them to their own many talents.

Here are some photos – there were 30+ participants, all cutting and gluing and having fun and following the directions (mostly!)

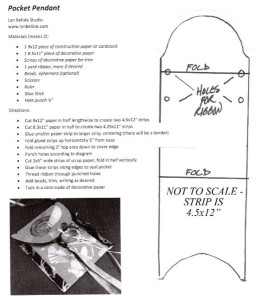
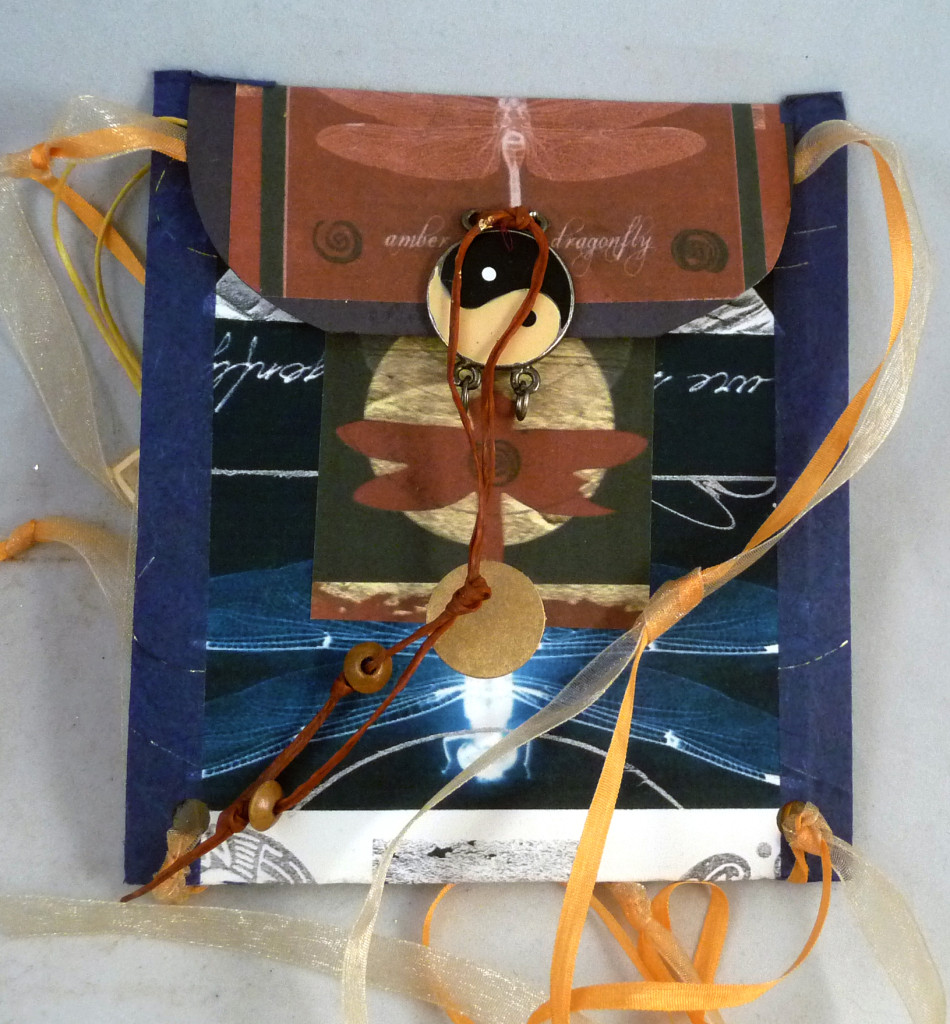
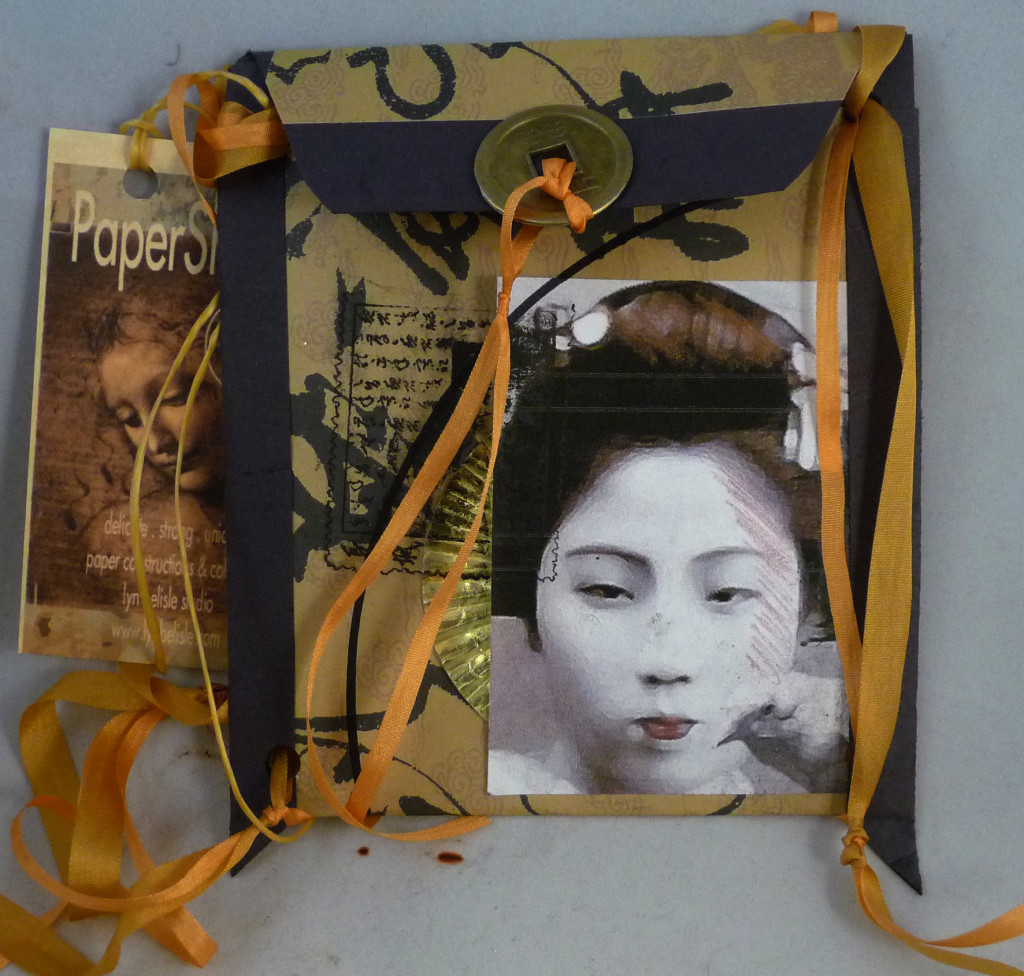
ppppI thought that YOU might like to have the directions for the pretty paper pocket purse, so as the first Friday Freebie, I’m giving you a link to the downloadable Pocket Pattern handout that I gave the calligraphers last night. All you need is 9×12″ construction paper and 8.5×11″ decorative paper, plus some ribbon and such. Easy!

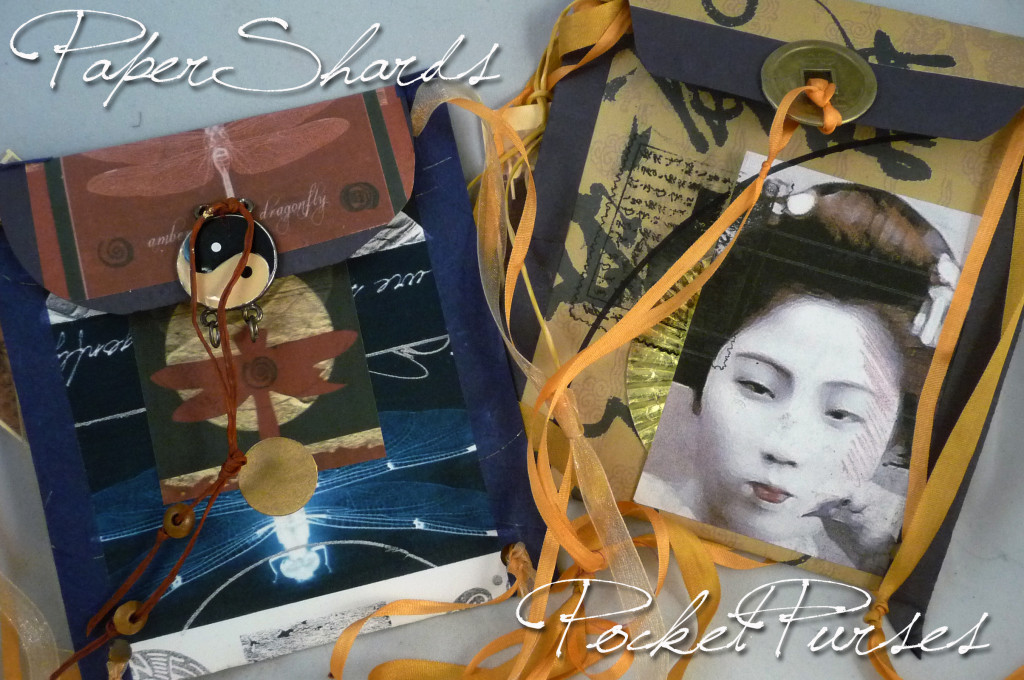
And to sweeten the deal (after all, it’s getting close to Valentine’s Day), I’ll give away TWO Friday Freebies, the little purses pictured below, one to each of two lucky SHARDS subscribers. Just be a subscriber by Sunday at midnight – winners announced Monday morning. Good luck, and happy weekend!!

Dragonfly

Dragonfly

Gaisha

geisha

Want instant relaxation? Try this . . .

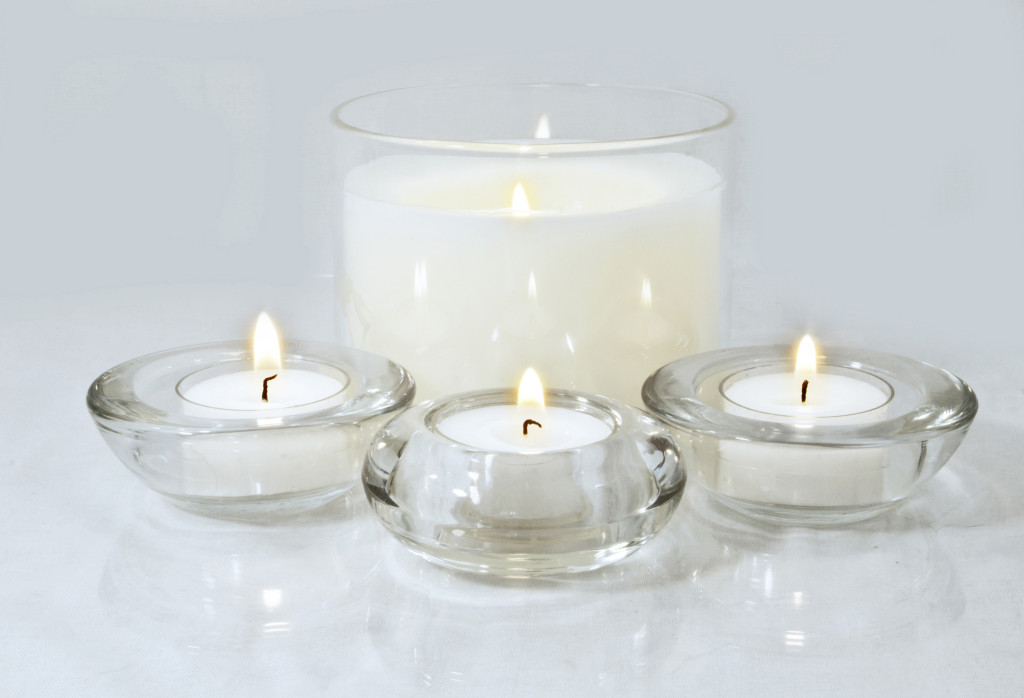
Candles

My theme word for 2016 is BALANCE – I’m gonna try to have time for art and workshops and sketching every day, reading more books, updating the website and keeping track of taxes in advance and writing real letters and relaxing and . . . ARG – I got tense and unbalanced just thinking about it!

So I turned to the all-wise higher power – Google! Lo and behold, I found this great guide to active relaxation that takes two minutes at the most and really works to help refocus and calm down. It’s on the Eastern Washington University site, and when I followed the steps, my whole body de-stressed and lightened up.

Want to try it? Here are the steps (and I’ve also made a printable version for you guys that has two copies – one for you and one for a friend – you can find it here).


Sit or lie in a comfortable place with your spine straight.

You may start with either you right side or your left side (most people prefer to begin with their dominant side).

For each step, hold the position described for 5 seconds and concentrate on the sensation of muscle tension. Then release the position and concentrate on changes in the muscles, noticing the sensation of relaxation.
  1. Foot – point and curl toes, turning foot inward
  2. Calf – pull toes toward head, flexing foot
  3. Thigh – push thigh muscles down, tensing muscles
  4. Repeat for opposite foot, calf, and thigh
  5. Stomach – contract stomach, making it as small and tight as possible
  6. Chest, Shoulders, and Upper Back – pull shoulder blades back and together
  7. Upper Arms – push elbow down
  8. Hand and Forearm – make a tight fist
  9. Repeat for opposite upper arm and hand
  10. Neck and Throat – pull chin toward chest and keep it from touching chest
  11. Jaw – bite hard and pull back corners of mouth
  12. Cheeks and Nose – squint and wrinkle nose
  13. Forehead – lift eyebrows as high as possible

That’s it!! I figure that if your body feels unbalanced, your mind is going to take a hike, too – sometimes just remembering to flex my foot (#2) and push my elbows down (#7) is enough to help me refocus.


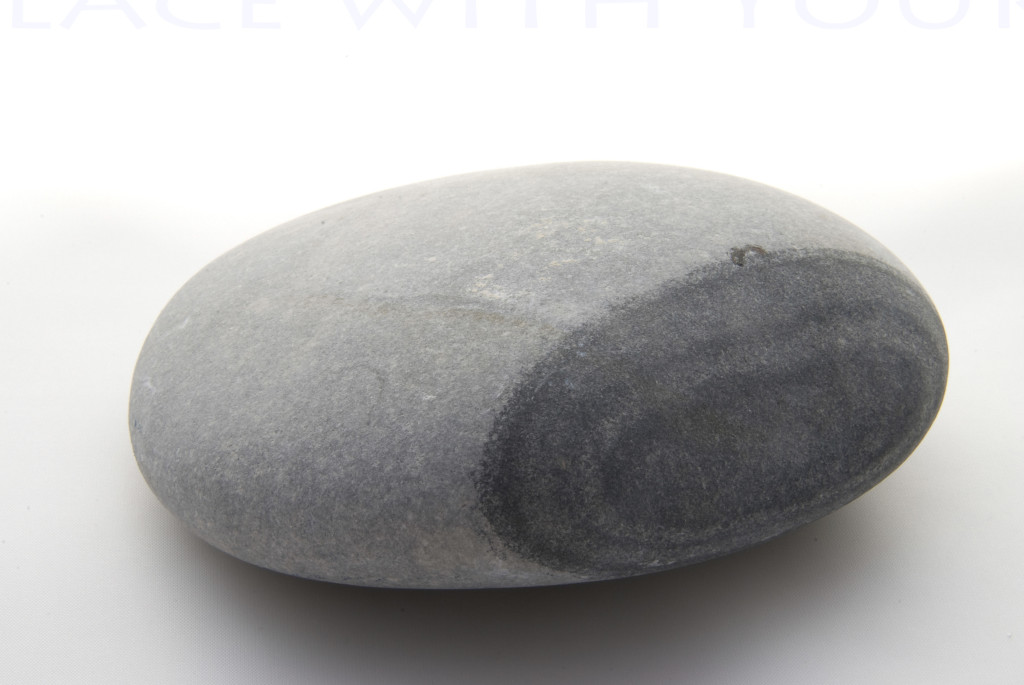
OK, print out your relaxation tips and go have a balanced and happy weekend – become one with the serene seashore rock!

Stone


A holiday wish for you

holidaycard copy

Happy holidays, everyone! In the spirit of the Season, I’m giving you a couple of links to fun things

First, if you want to make origami crane ornaments to symbolize the hope for peace in the new year, here’s a link to a video I did a couple of years ago – you’ll just need some square paper and a tiny bit of patience. (I just checked the video and realized that I made it in 2012,  right before I opened the Studio! I was still working from home in the little studio lab – seems so long ago!)

Next, here’s a link to five collage sheets with some of my favorite images from my earlier work – print ’em out, tear ’em up, and play. I’m happy to share these with you guys.

Finally, here’s a recipe that I’ve posted before for a yummy fresh cranberry relish. It’s beautiful to look at, easy to make, and delicious with ham or turkey or just about anything else – even vanilla ice cream!

Thank you for all you do to make the world a kinder and more beautiful place!


Easy all-purpose gift tags for you

14

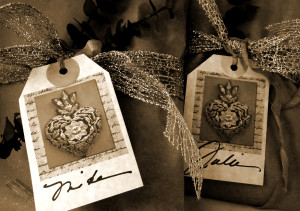
Like a lot of families, mine is quite – er, eclectic when it comes to ritual and celebration. We are a motley crew of every spiritual persuasion (or none), so I try to design gift tags and cards for us that reflect that diversity through symbolic neutrality. These little milagro heart tags fit the bill – folk arty but not specifically religious. If you want to use them, too, here’s a link to a sheet of eight tags that you can print out on card stock, fold, cut apart, trim the corners, and punch.

I used some parchment-colored card stock, but you could use any tag-weight paper that will go through your inkjet printer. The punched out gold circle adds a glitzy, industrial touch. Email me if you have any questions, but these tags are sooooo easy to put together. Quick, too!

Fun with faces

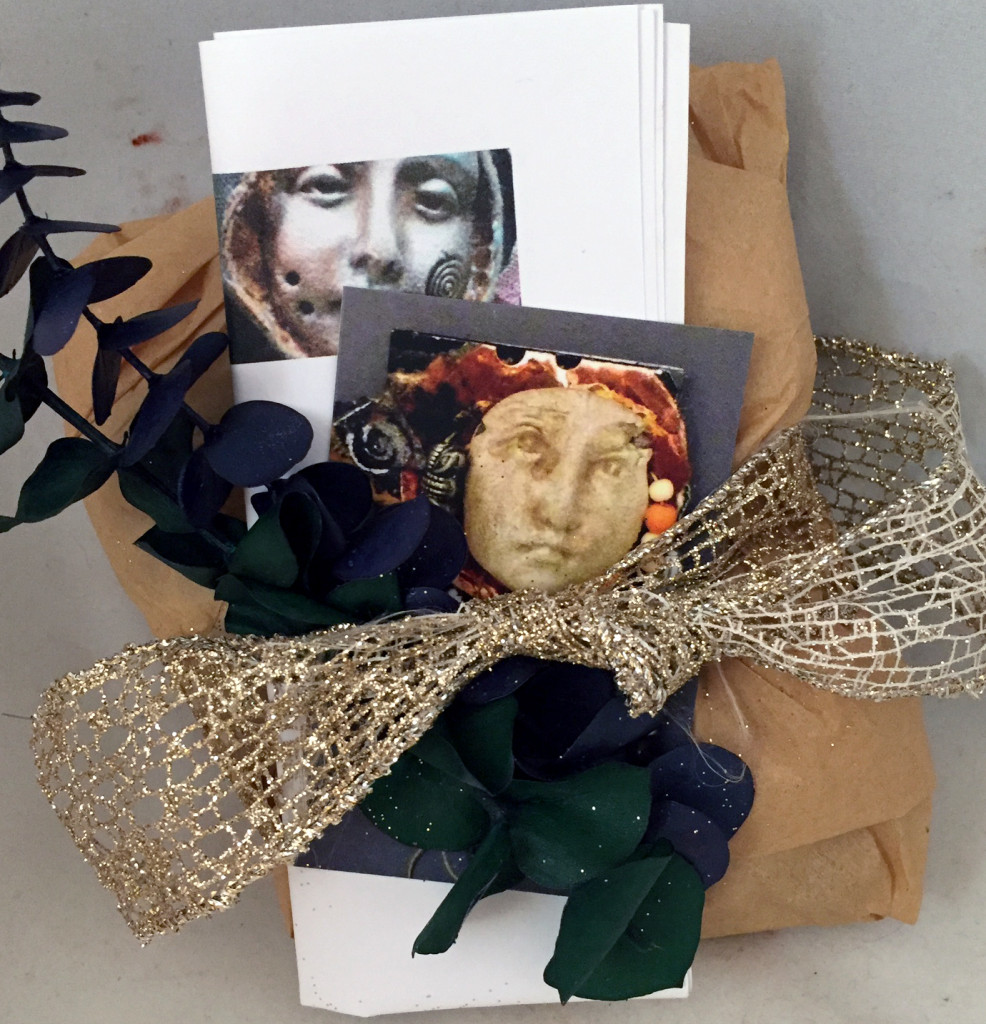
A package of Face Shards from my Estsy show ready to ship to California

A package of Face Shards from my Etsy shop ready to ship to California

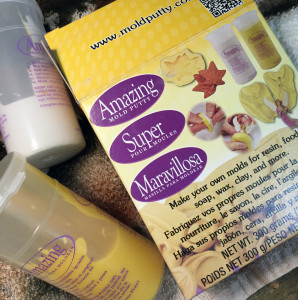
I was getting an Etsy order out this morning for five Rune and Relic Face Shards, and thought about how much fun these little faces are to make. You can use them for so many things – Spirit Dolls, ornaments, pins and pendants – anyway, I thought I’d re-post a SHARDS link to a very simple tutorial on mold-making and faces that I did for a workshop a couple of years ago. This tutorial recommends a two-part product called MegaMold that you can order online from Cool Tools (this site also has a bunch of very nifty pre-made molds). Michael’s has something similar called Amazing Mold Putty for about $20 – use your 40% coupon!

moldstuffThis mold-making project would be great fun to do over the holidays with kids – and you can get air-dry clay at Michael’s or Jo-Ann’s – it’s very inexpensive, doesn’t need a kiln, and isn’t discouragingly messy. I like the one called Model Magic. It comes in tubs and also in small packages, in different colors. So plan some time to make some faces!

Also, I’m re-posting this link to the Angel Face Gift Tags I designed several years ago just in case you need some last-minute gift-wrapping help. You can print these out and stick them on a packing wrapped in brown paper and tied with raffia, and it will look all Martha-Stewarty – honest!

gifttags


I’m headed to Boston for just a few days for a quick visit  – back soon! Keep out of trouble and go make something creative!

Beeswax collage workshop – personal and inspired

The beautiful visual stories seemed almost to create themselves in Sunday’s Beeswax Collage workshop at the Studio. Participants were given a limited choice of vintage images, some basic collage and texture materials, and some beeswax, walnut ink, and gold leaf. Then, as one person said, “The magic is happening!”

Sunday’s workshop was a delightful combination of the perfect medium paired with the perfect group – everyone had a chance to take risks, make decisions, and turn “mistakes” into assets in their work. And they did it! Take a look at some photos from the workshop.

Congratulations to all of the artist and bravo for the great work – and now, for a commercial break. If you want to see how this beeswax collage process works, I have written an e-book called Behind the Veil that explains this process step-by-step, including where to find free vintage images. It can be yours to download for a mere $5.99 heck, a fancy latte costs more than that!

But wait, there’s more – no, actually, that’s all for now. It was a great workshop and I thank everyone who participated! Have a lovely  Monday, everyone.

Rust dyeing – multiple pieces, multiple materials, magical results

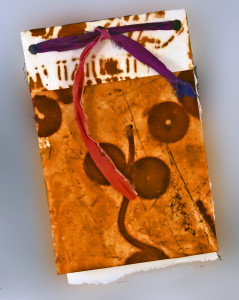
Book cover made with experimental rust-dyed paper - Lyn Belisle

Book cover made with experimental rust-dyed paper – Lyn Belisle

Ever since I learned that I’ll be teaching dyeing and surface design at Vivi Magoo art retreat, I’ve had little else on my mind. Did you see the newsletter about this event? If not, click here – it’s going to be SO much fun, and it’s coming up in just a month, November 3-5.

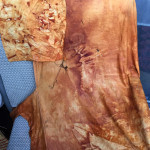
One of the techniques I’m teaching with Michelle Belto is dyeing with rust. I’ve done a bit of that, but wanted to tackle it on a Big Scale. And it worked! I dyed a yard of linen (thanks for that old white linen skirt, Gloria), some scrap cotton pieces, and two types of watercolor paper – a heavy 300# cold press and a lighter #140 hot press. I did it all at one time with the same process just to see how the different materials would take the rust. All were slightly different but all turned out beautifully.

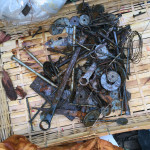
Here’s a short version of how I did it. I collected some rusty objects in a plastic bucket and poured a solution of bleach and vinegar over them to sit overnight. Do this outside! I got this recipe from the Internet (there are many rust-making solutions if you want to test other ones). There was about two inches of yucky rusty foamy gunk in the bottom of he bucket the next morning. Stinky yucky. But rusty.

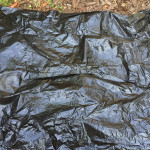
I spread a plastic drop-cloth in the yard (away from plants) and put a layer of fabric and watercolor paper on the plastic – some of it overlapped a bit, but I wasn’t concerned, I just wanted to see what happened on the different materials. The whole area was about three by four feet. I dumped the contents of the bucket over the whole thing and spread it out, wearing gloves. . .very very random. Then I covered it with black plastic and weighted it down with some old outdoor cushions and some flower pots to keep good contact – also to keep Dudley the Tortoise out of the pile of stuff.

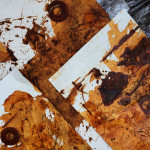
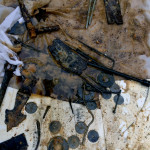
It sat covered in the sun for about six hours, then I took of the cushions and peeled back the black plastic – zowee! What great rust colors! It was exciting – take a look at the pictures below, and then I’ll tell you my observations. (If you can’t see the pictures, click this link)

Here are my observations and caveats – first, I haven’t washed the fabric thoroughly so I’m not sure how color fast the rust is, but since I won’t be wearing it, just using it for fiber art, that doesn’t concern me. You may want to try a small piece and see how it works for you if you’re going to make a garment.

Secondly, I wish I had dampened the 300# watercolor paper because it’s very thick and I think it would have taken the rust better if it had been wet. The thinner 140# watercolor paper was the most successful of the four materials. It had strong prints from the objects and lots of color variations.

After the process was done, it occurred to me that the formula that I got from the Internet included bleach, but that didn’t seem to affect the fabric – it still dyed a rich rust. Next time I’ll try it with salt and vinegar just to see. But whatever method you use, research it and try it on a small sample first. That’s what I did before I mixed up this huge batch. Work outside, wear gloves, keep your tortoises away from it!

In the Viva Magoo all-day class, we will be doing a version of this that uses lighter fabrics and papers and we’ll include some over-dyeing using the Shibori method (yep, you can do Shibori on paper as well as fabric) – I hope you’ll consider signing up for one of the workshops. If it’s half as interesting as this rusty experiment was today, it’ll be worth the price of admission!

Potters and gourders

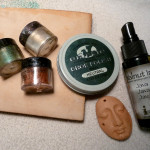
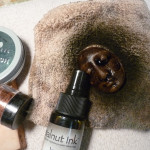
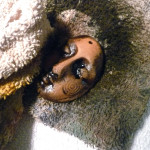
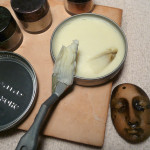
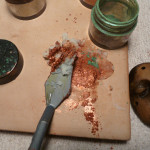
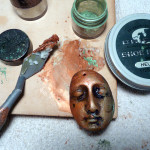
I’m presenting a program to the San Antonio Potters Guild tonight. It’s called Earthenware, Ornament, and Assemblage. While collecting photos photos of my clay pieces, I realized that working in earthenware has been part of my art practice for almost 50 years! These days it’s mostly face shard production and some small sculptural pieces, and I love exploring finishes for fired unglazed clay. Here’s one of the finishes I’m showing the potters tonight – it’s a wax-based custom metallic patina that starts with neutral shoe polish! I used it as a finish on the piece at the left and thought you might like to see how it’s done.
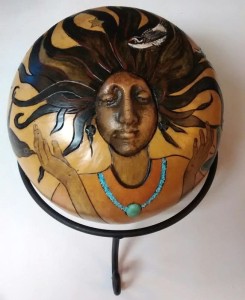
Kathleen Peet: "Diamonds on the soles of her shoes"

Kathleen Peet: “Diamonds on the soles of her shoes”

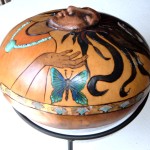
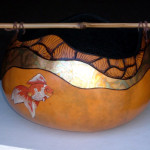
Just as I was working on my Potters Guild presentation, I got a message from Kathleen Peet, a mixed-media artist from Prineville, Oregon who uses my shard faces in her work. She works with gourds in a unique way – look at this gorgeous piece, left.

Kathleen has an Etsy shop called  Full Circle Art and you can contact her there to see the full scope of her creativity with gourds.

This is what she says about her passion: “When I started in 1996, gourds were a relatively new medium, especially in rural eastern Oregon. The most frequently asked questions were: “What are those?” and “Do you grow them?” Now, gourds are much better known, and some are recognized as ‘fine art’ rather than just craft. I have enjoyed taking this medium in many different directions, and just when I think I’ve tried everything, some new idea hits me. While still enjoying painting, spinning/weaving, ceramics and abalone jewelery….I always come back to gourds!”

Here are some photos of more of Kathleen’s work, including a look at her Oregon studio – thanks, Kathleen! Clay and gourds are a natural pairing!


Bonnie, Akim & me, the (ahem) calligrapher

Lefties like me are challenged in many ways, but especially in the fine art of calligraphy. I’d always envied people who could take a simple work like “bread” and elevate it to super-star status with illuminated swashes. But thanks to my friend Bonnie Houser, I can now write like a calligrapher! And I’m getting better at it – AND it’s fun!
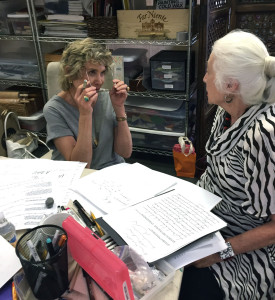
Some of you may know Bonnie as the owner of Dry Comal Creek Vineyards and Winery and some of you may know her through her art work, She’s a great friend and teacher to a lot of people. Lesta Frank and I asked Bonnie to give us a quick calligraphy lesson on an alphabet called AKIM. It was “invented” by German artist, sculptor and musician Hans-Joachim Burgert, who said,The 10spiritual material is the simple line. . .the line is a medium of free graphic discipline.”  Because this is a monolinear alphabet (no chiseled shading), anyone, even left-handed people, can do it well.

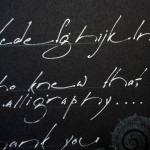
It was amazing how quickly we picked it up with Bonnie’s help. And the great thing is that there are as many personal variations of the Akim hand as their are writers. If you do a web search, you will see this for yourself. Take a look at some of the work we did with Bonnie, then give it a try!