Creative work is rarely done by a lone genius. Artists, writers, scientists and other professionals often do their most creative work when collaborating within a circle of like-minded friends. Experimenting together and challenging one another, they develop the courage to rebel against the established traditions in their field. Working alone or in pairs, then meeting as a group to discuss their emerging ideas, they forge a new, shared vision that guides their work. When circles work well, the unusual interactions that occur in them draw out creativity in each of the members.
Michael Farrell, Collaborative Circles: Friendship Dynamics and Creative Work (2001)
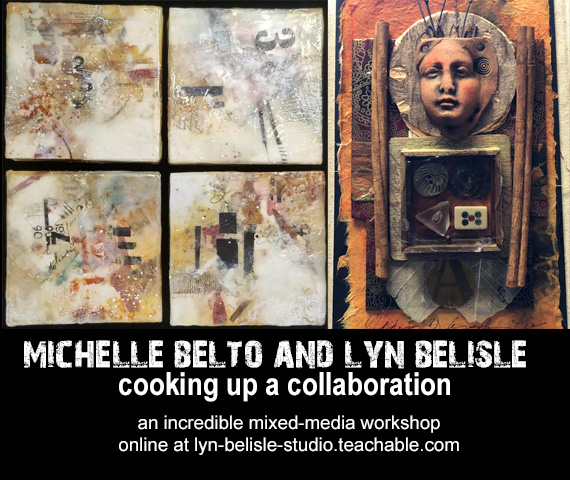
After six years of hatching, percolating, and polishing this concept, Michelle Belto and I are (at last) introducing you to The Enso Circle, our Invitational Online Artists’ Residency program. When we previewed the new website to several artist friends, here were their reactions:
- “I just read your note on the class/residency that you and Michelle will be teaching and just wanted to let you know that this sounds truly amazing. Love both of your artwork and this sounds perfect! I have been creating art for over 50 years so I think it’s time I joined your tribe.” Bosha S.
- “Brilliant idea. Brava!” Jean D.
- “What a fabulous idea!!! Love this! This is a BRILLIANT venture!” Christine S.
When we began talking about what has ultimately become The Enso Circle, we wanted to create a structured, collaborative community that we ourselves would want to belong to.
This community would offer a supportive space in which to both expand and focus our present art practice, and to offer us a safe place for sharing ideas with like-minded creatives. It would have a starting time and an ending time, and be long enough to be meaningful but short enough to keep the energy going.
We knew from experience that we both need certain guidelines to make this work for us. Among those are:
- A time-defined goal to motivate us (an art show submission, an article deadline, a workshop design, a group exhibit)
- Private time to generate or refine a creative concept
- A concrete plan to reach our goal with focus but flexibility
- Group time to get feedback on where we are, where we were, and where we are going with our project
- A collection of resources, always available, that can give us both technical and aesthetic advice and answers
- Input from mentors outside the community who have expertise and objectivity
- Small-group opportunities to brainstorm and problem solve the small steps in the process that sometimes get us stuck
Why did we name our community The Enso Circle? Because the Enso is a manifestation of the artist at the moment of creation and the acceptance of our innermost self. It symbolizes strength, elegance, and one-mindedness.
The very imperfections and hand-created contours are exactly what makes the Enso beautiful.
(And here’s what I know that you’re wondering up front . . .the program costs $325, it’s 12-weeks long, only 12 people can be accepted, and yes, it’s absolutely worth it)

But there’s more, and it’s important – and unusual – read on:
The Enso Circle is based on the idea of an Artist’s Residency – a twelve-week commitment that results in a personal body of work, large or small, conceived and completed through goals that you set with the support of the community throughout the process. You do need to apply and have a goal in mind, although that can change over the course of the term.
The Enso Circle is a unique experience for several reasons.
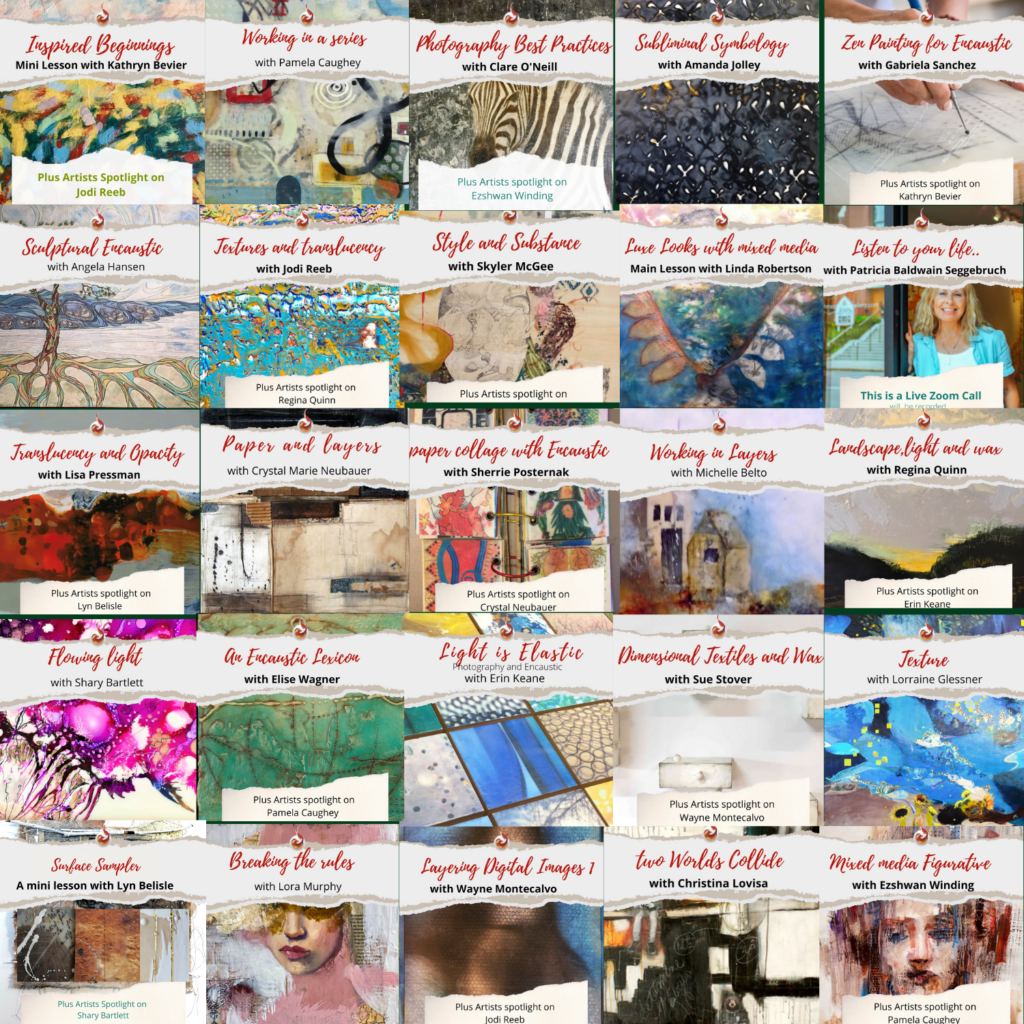
- It has all the advantages of an in-depth workshop: resources, technique videos, handouts and printables.
- Like an academic residency, it allows you to select your individual goal and work toward it with peer and mentor support.
- It has the power of a critique group through frequent informal Zoom meetings and discussions in our private Slack space.
- It is led by nationally known teacher/artists Michelle Belto and Lyn Belisle, who will model the process by working toward their own goals right along with you during the three-month program.
- And it culminates in an online exhibition.
- Lyn and Michelle plan to offer three twelve-week Residency terms throughout the year. The first one will start on March 2nd, 2021.
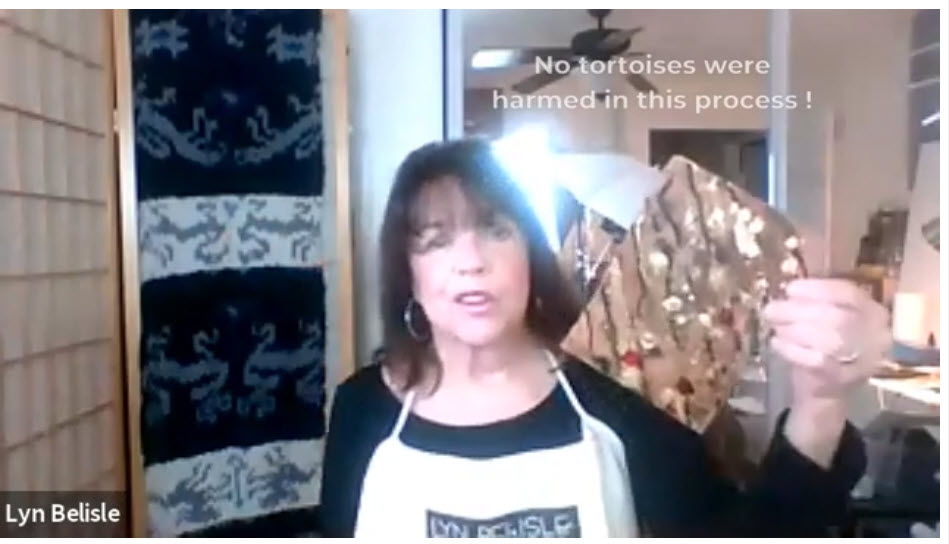
Here’s an up-close and personal invitation from both of us, via our Zoom recording. Just click on the video image.
VIMEO LINK
We hope you choose to apply to be one of the first twelve residents of The Enso Circle!
HERE’S THE LINK TO THE ENSO CIRCLE CLASSROOM./RESIDENCY WEBSITE WITH ALL THE INFORMATION AND THE APPLICATION FORM FOR YOUR CONSIDERATION
Thanks for reading – you’ll know if it’s right for you, and if it’s not, thanks for learning about our Enso Circle story!
Take good care,
Lyn