Santa Fe, Round Two

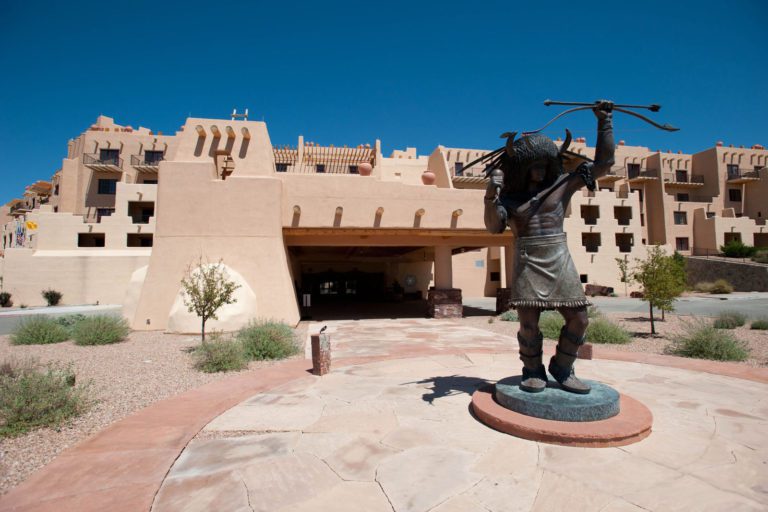
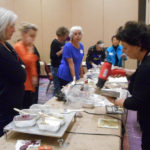
My workshop on Saturday at the Artisan Exp in Santa Fe once again proved to me that starting with a good grasp of composition works magic in any collage-based process. I discussed my Composition AB3’s ( Alignment, Breathing Room and Thirds) and demonstrated how easy it is to master these guidelines.

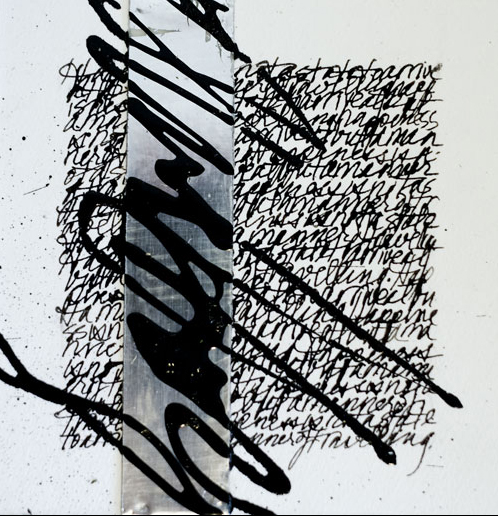
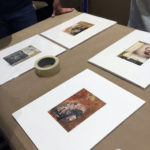
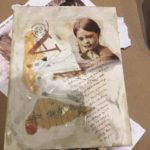
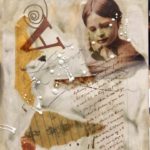
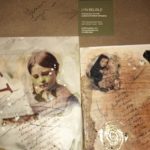
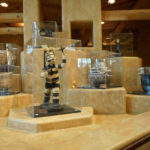
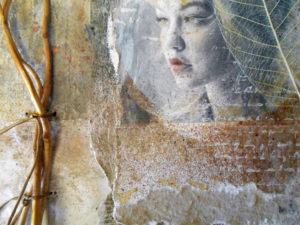
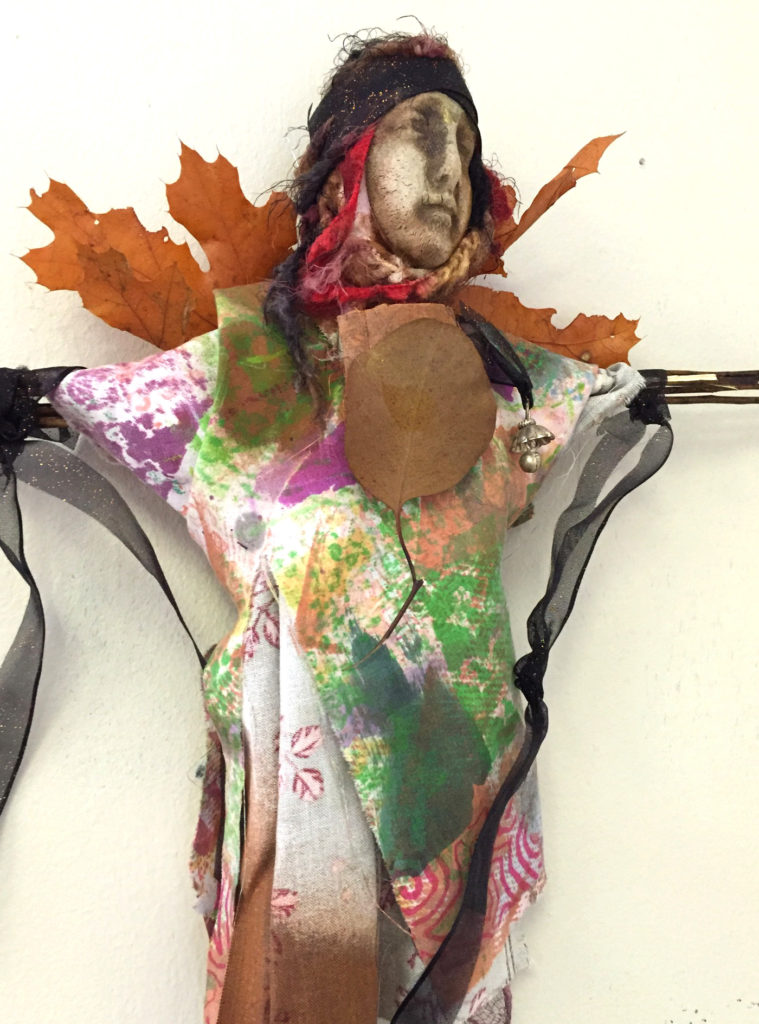
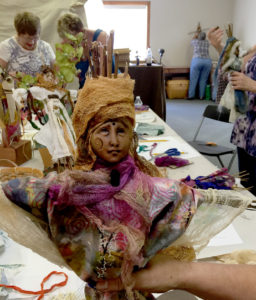
Voila! Every person produced a really good encaustic collage, all different, but all strong in subject, vision, and composition. Below are some of the pieces in process, and some that are completed. (If you can’t see the images, click here to view them in your browser.)

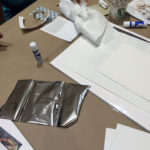
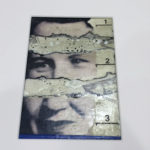
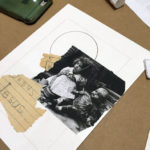
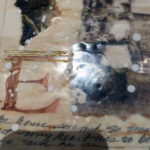
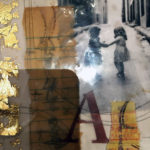
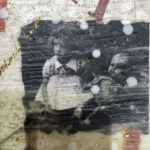
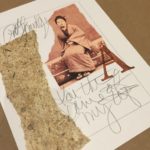
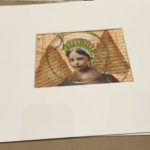
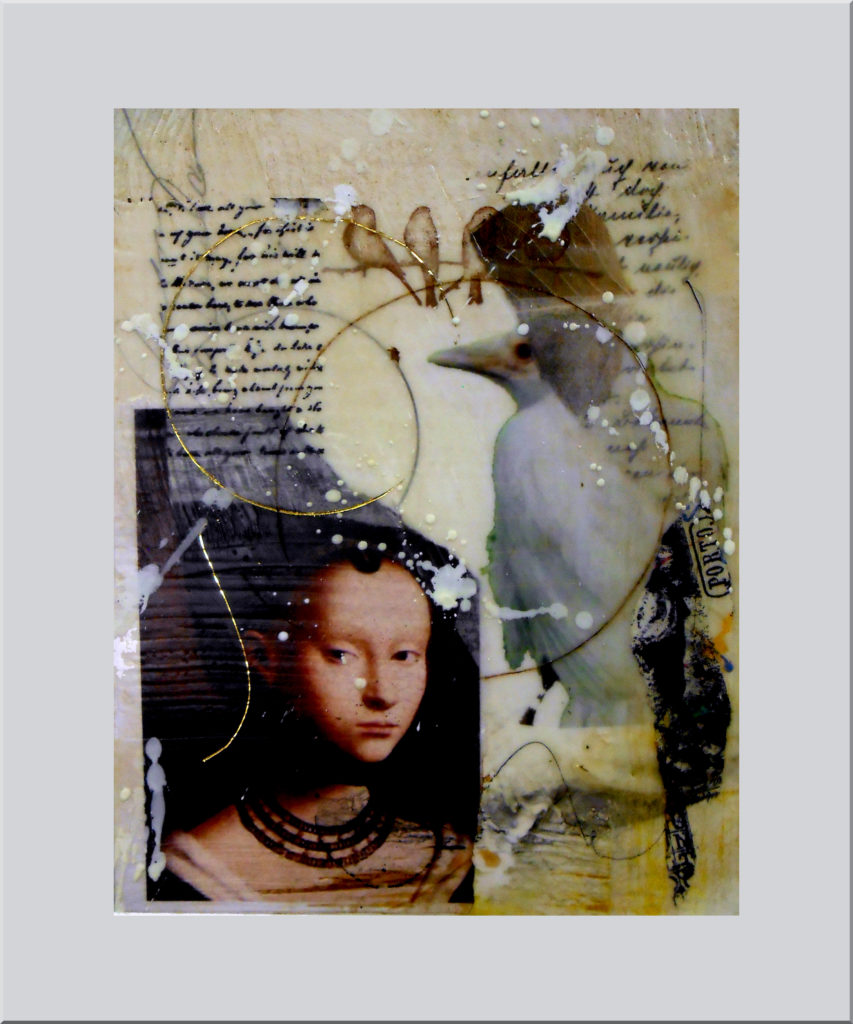
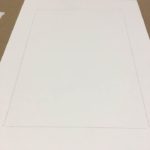
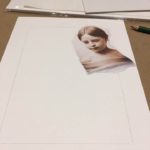
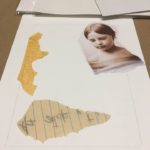
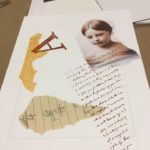
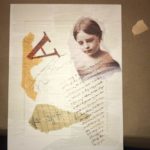
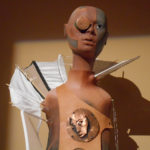
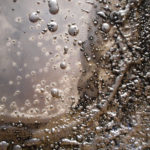
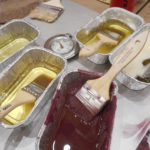
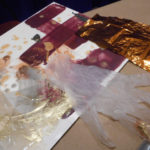
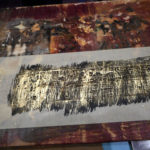
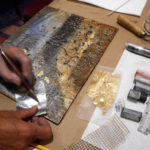
One of the participants, artist, author and tarot reader Arwen Lynch-Poe, documented her process and with her permission, I’ll use her photos to show you how she put her piece together. (If you can’t see the images, click here to view them in your browser.)

So between Encaustic Bling with Michelle Belto on Friday and Engraven Images on Saturday, the Santa Fe workshops were super fun and successful!

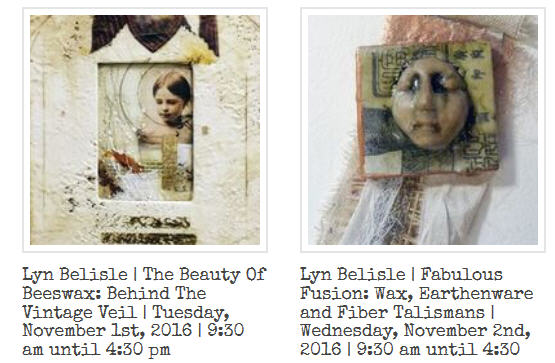
And if you want to take this workshop, you still can. I’m teaching the all-day version, plus a Wax, Earthenware and Fiber Talisman class at ViVi Magoo in Round Top in three weeks.

vm

Update note: Since I returned from Santa Fe on Monday, I’ve looked at a couple of places for new workshop venues – and there are several good possibilities.. . .more soon.

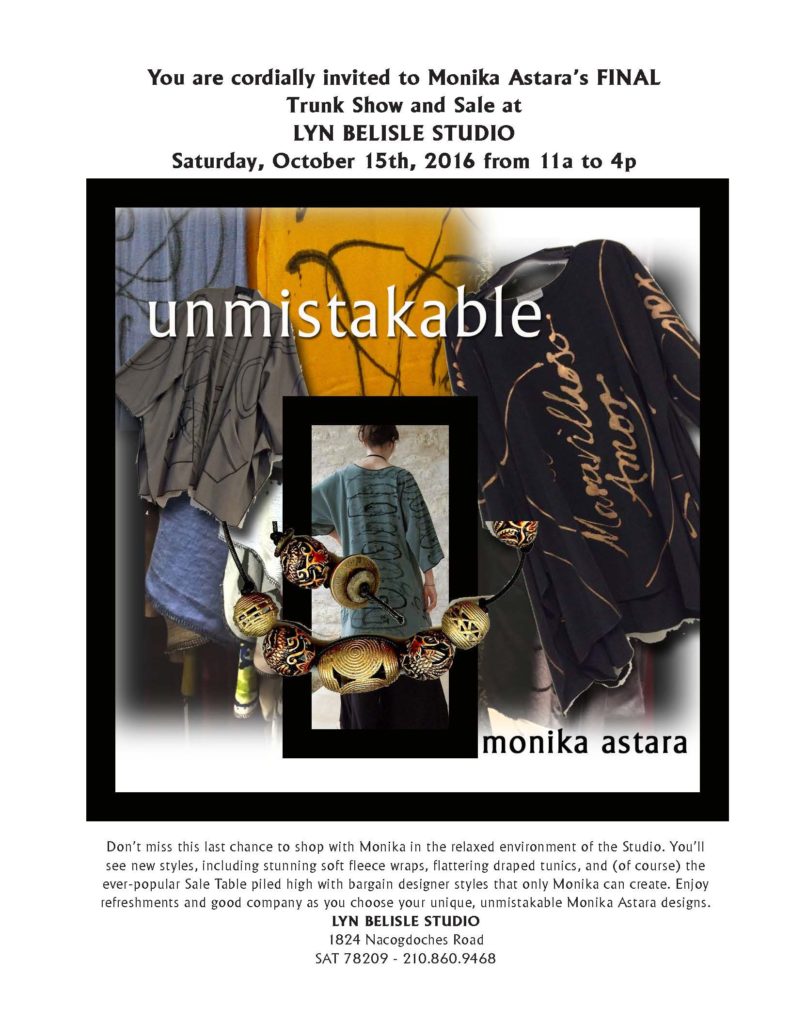
But the good ol’ Studio isn’t closed yet! We still have a fantastic event coming up a week from today. It’s Monika Astara’s popular trunk show and sale of exquisite, artistic fashions!  Here’s more info – hope to see you there.

monika

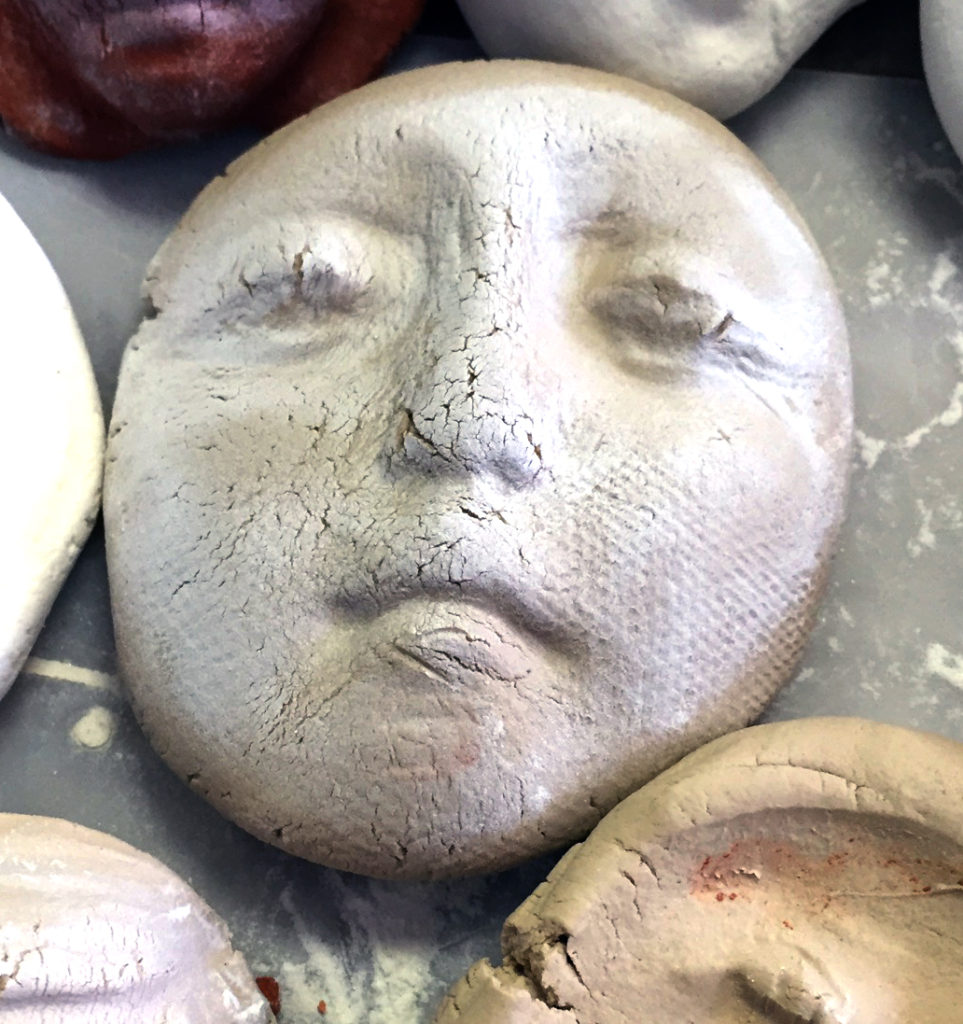
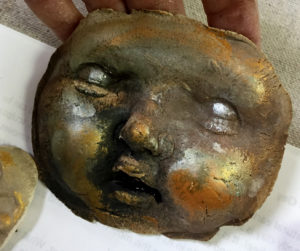
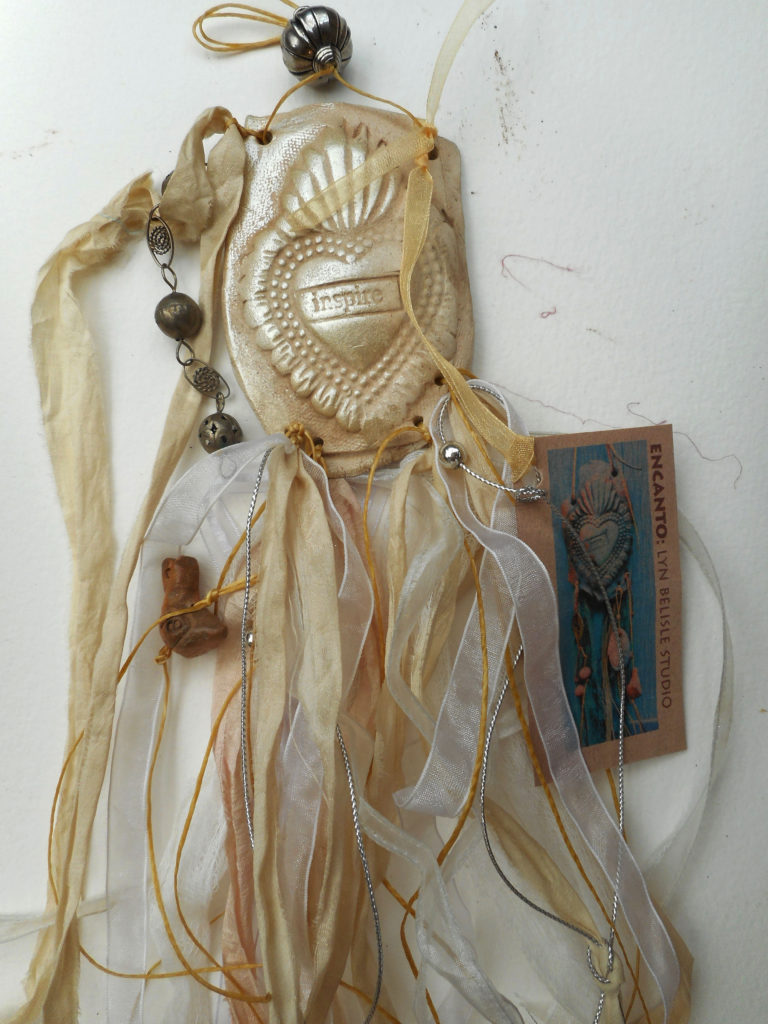
Right now I’m off to the Trinity Alumni Art Showcase where I’ll be showing and selling my Encanto earthenware and sari ribbon mixed-media pieces. Wish me luck!

earth5


Save

Save

Santa Fe Whirlwind

So I went to Santa Fe – yeah, I know, I didn’t call, I didn’t write – I definitely didn’t blog! It was a crazy experience – fun, intense, exciting, exhausting. 

The huge Buffalo Thunder Resort Hotel just outside Santa Fe was the venue for the giant Artisans Materials Expo where I taught two encaustic workshops as part of the Encaustic Art Institute (EAI) and International Encaustic Artists (IEA) conference and retreat. Internet reception was very spotty there (that’s my excuse for not keeping in touch).

However, they did have an astonishingly extensive collection of Native American art pieces throughout the huge hotel – some traditional , some contemporary. It was eye candy for the soul 🙂

Michelle Belto was a great teaching teammate and travel partner. She is also a riot to hang out with. She taught a solo workshop on Thursday, we co-taught on Friday, and I taught a solo workshop on Saturday. Here are some photos from our Friday “Wax and Bling” class. There was glitz everywhere – fun stuff.

Friday night was the opening of  the Making Your Mark juried exhibit at the EAI Gallery in the Santa Fe Railyard art district. Michelle and I both had pieces in the show. The juror, David Limrite, was at the opening and gave a gracious statement about the 57 pieces work he selected for a field of over 200 entries.

The exhibit is a showcase of the many ways in which artists work in wax.

Here is a video presentation I made for the Santa Fe conference. It introduces the finalists for 2016 La Vendéenne Awards which honor excellence in encaustic painting. The awards took place on Saturday night.

This introduction will give you an idea of the depth and breadth of expertise present in artists who practice the versatile and ancient art medium of encaustic.

This ends Part One of the Santa Fe Report – stay tuned for Part Two later in the week which will include a couple of interesting links for you to check out as well as more photos……..

Save

Whiter Shades of Pale – playing in the no-color zone

Lesta Frank has a ray gun – she brought it to our all-day Whiter Shades of Pale workshop yesterday, and when anyone “called color” on another person (like, they were reaching for some red paint), they got blasted with flashing lights and wild beeps. It was pretty funny!

The whole day was a delight, as a matter of fact. In the morning, we made beautiful pale papers under Lesta’s expert tutelage – ecru, ivory, palest gold and silver – all breathtaking. A favorite was the string-embedded paper.

wlittle

In the afternoon, we used those papers to create stunning assemblage/collages with the hand-embellished paper and found objects tied into our canvases.

listalittle

Lesta’s collage

The video from the workshop is just pure eye-candy. It’s astonishing how much richness and variety can come from such a a limited color palette. Limiting the color choices allows you to concentrate on texture and composition.

Pale colors and textures are so wonderfully nostalgic that I thought I’d treat you to the original inspiration, the song called “A Whiter Shade of Pale” which won a Grammy for Procol Harum in (gulp) 1967. The video looks so sweet and goofy – very non-MTV. But boy, does it bring back memories!

Save

Save

September Spirit Dolls

Lyn's workshop demo spirit doll

Lyn’s workshop demo spirit doll, “Leafwing”

There’s something about a Spirit Doll workshop that gives me goosebumps. I think it’s because in just three hours, a group of willing people trust their creative instincts to combine some sticks and clay and cloth and build the most amazing mysterious little beings. It’s really magical!

21

You’ve seen my Spirit Doll workshop videos before, and every group is special – this one was particularly memorable. It may have been because of the mix of people, several of whom had come from far away and had never been to the Studio before. There was a lot of welcoming and bonding before the three hours was over.

So this time, I have two videos to share with you. The first one shows the magic of the group pulling together their Spirit Dolls one by one.

And the second one is for YOU. It shows you step-by-step photos of how I made the prototype for yesterday’s workshop just in case you get inspired and want to try this for yourself. I hope you enjoy them both.

Ready to make your own? Here are the basics (especially if you’re a visual learner)!

Finally, if you want all of the Spirit Doll tips and techniques and variations that I have ever tried, I have a DVD called The Magic of Spirit Dolls from my two-hour Artful Gathering class. Just sayin’ – if you missed the workshop, you can capture the “spirit” of it on video! Just click on the image for the link. End of commercial break – have a happy Labor Day!


Save

Save

Tissue techniques and encaustic exploration

15
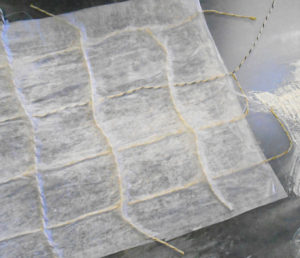
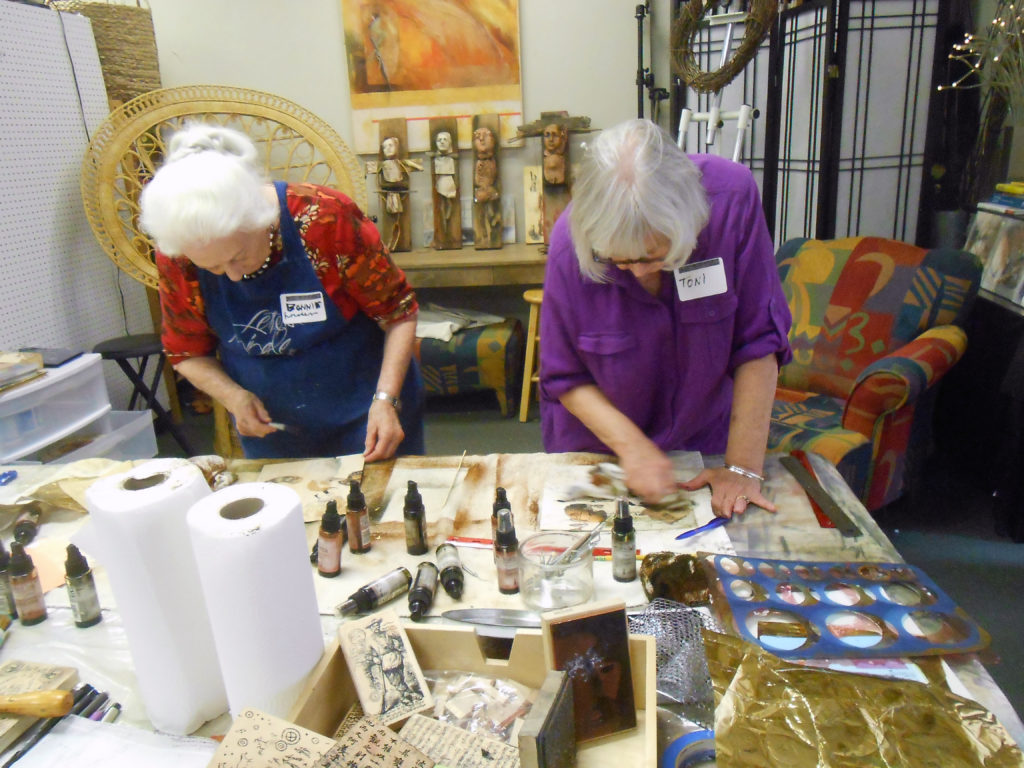
We had a full house for yesterday’s Wax and Tissue workshop. Everyone was particularly interested in how to print images on delicate tissue paper. If you do an Internet search, you’ll find all kinds of methods to do this.

Most of the methods involve taping or tacking the tissue on all four sides to a sheet of regular copy paper. I just cut the paper slightly smaller than the copy paper, put two pieces of clear tape at the top, and run that sucker through the printer. So far, so good – I printed about 25 sheets for the workshop and had only two of them crunch up in the printer. Not bad odds considering how thin tissue paper is.

In my example below, you can see how the bird image, printed on tissue paper, becomes translucent when wax is applied over it. It’s always interesting to see how unpredictable the translucent images appear when wax is applied over them. Different kinds of tissue yield different results. I use just plain old wrapping tissue and I iron it first to get the creases out. Works like a charm.

eliz

Lyn Belisle, demonstration piece done during wax and tissue workshop

You can see in my demo piece, above, that the bird image, which was printed on plain white tissue, has a translucency that conceals and reveals elements of the collage above and below it. In the workshop, we started with two opaque “anchor” images and then added layers of wax and tissue to build up our narratives. It was a thoroughly enjoyable experience – everyone was experimenting and developing the best stories as the process evolved. Here’s the video – what do you think? Pretty cool, right?

If you’d like to see what the supply list looks like, you can go to Roses on my Table, a site developed by the fantastic Zinnia from Artful Gathering. Michelle Belto and I have an online class there on Wax and Tissue, but you don’t have to register for the class to get the supply list. You can just click on the Material and Supply List link to see both sources and “ingredients” for this project.

Encaustic Month at Lyn Belisle Studio ended on a high note! And mark your calendar for next Saturday’s Show and Tell from 2-4 pm. Happy Monday!

Save

Save

Waxy weekend, comfortable camaraderie

Saturday and Sunday I taught two encaustic workshops at the Studio – both were what’s become the signature class called “Behind the Veil.” We work with vintage photos, learn about the AB3s of composition, and create lovely little mixed media stories that have depth and mystery.

On both days, everyone was relaxed, happy and spectacularly creative. I thoroughly enjoyed the company! The video shows happy smiles and super-nice work.

If you weren’t able to be there with us but would like to try this, I’m giving you a couple of handouts that we used in the workshop. Both are from my eBook called “Behind the Veil.”

Page Four has a list of materials that you’ll need to do this project along with some great tips on image sources, and Page Five shows you how to set up your workspace and gives you wax and safety info. Help yourself to these, and if you’d like to download the whole eBook, you can get it here.

Happy Monday!

Wax and Words – no worries, everything worked!

After a month away from teaching workshops, I was a little fearful about starting off the new sessions with something I hadn’t done before, a class called Words and Wax. It was inspired by some of Nancy Crawfords beautiful Love and Gratitude encaustic series pieces.

Nancy Crawford, 4x4", Even More Love and Gratitude

Nancy Crawford, 4×4″, Even More Love and Gratitude

I wanted to emphasize the mark-making within the words, so I designed a four-layer process that involved ink, stencils, graphite and stamping as the initial approach,followed by the addition of beeswax, and incising into that. The results were wonderful, thoughtful, accidental but purposeful. Please see what the students did in the video below.

I’m happy to share with you the general outline of the class in case you want to play around with this idea. You can find the steps here.


Postscript:

Ironically, just as I was writing this post about words, I received some sad news about the death of an old friend and consummate man of words, Professor John Igo. John was a San Antonio educator, writer, artist, photographer, producer, and critic. He kept us all on the straight and narrow path with our word usage in his delightful radio program called Grammar Gripes.

John leaves a legacy that is wide and deep across the arts and letters community – he will be greatly missed.

John Igo

Save

Face it – this clay don’t need no kiln

faces

One thing is for sure – the number of faces that came into the workshops on Sunday and Monday were a lot fewer than the number of faces that went out. The energetic and enthusiastic workshoppers must have created hundreds of little air-dry clay people – and not just human faces – there were 3-D molds, insects, cats, and one persona that looked like creepy Chucky (that one became our mascot).

chuckie

The object was to explore ways to use no-fire clay – to make original and iconic clay face shards and other dimensional components without the need of firing in a kiln.

We concentrated on four areas:

  1. How to make reverse press molds with both two-part silicone and with air dry clay
  2. How to use the molds with various kinds of air-dry clay to make a dimensional object
  3. How to finish the surface of the dried clay faces with walnut ink and metallics
  4. How to use those finished components in mixed media projects

The key to success is to embrace the imperfections inherent in the air-dry clay – those cracks and irregularities give the pieces the illusion of heritage and a wabi-sabi touch of imperfect beauty. You can see what I mean from our video – every picture tells a story, every little face has a secret history – hopefully not Chucky’s:


Save

Save

Save

Lessons in metal from a master teacher

I will never again underestimate the artistry that goes into a pair of earrings designed by nationally-known artist Dale Jenssen – her skills are impressive. She taught two days of detailed metal jewelry techniques at the Studio this weekend, and her students produced some amazing work (see the video, below).

I have been a fan of Dale’s for years and have collected some of her work – earrings and a treasured mirror – but working with her gave me new insights into her talent and experience as a designer and craftsperson. She provided an array of materials for students to choose from, then led them through the process of cutting, finishing, and assembling their pieces using tools like the drill press, grinders, punches, and wire brushes. It was cool!

Dale’s metalwork is featured in Artful Home as well an  in galleries and public and private spaces through the United States. Here are some of her iconic sconces. She also does custom work and special commissions. I am profoundly grateful to her for sharing her skills with us!

Sconces by Dale Jensses in Artful Home

Sconces by Dale Jensses in Artful Home

Wasp Sconce by Dale Jenssen

Save

Five friends learn composition, collage and beeswax

My friend Mary James organized a great private workshop for five friends at the Studio yesterday afternoon. We worked with vintage photos and beeswax. I really hadn’t worked with anyone but Mary before, but I loved every one of the participants! They were enthusiastic risk-takers – some first-time artists, some  with art backgrounds – all great students!

We followed my usual teaching sequence – explaining the AB3’s of composition, arranging the visual elements accordingly, layering and fusing wax and stamps and foil and – of course– spraying walnut ink to accent the incised lines. Some people brought photos of their grandmothers and mothers to work with – beautiful.

They got it all! You can see the incredibly individualistic results in this short video. Fun! Thanks, everyone, stellar work!