I’ve been negligent about posting to SHARDS for several reasons. I wanted to change the look of the blog, and work on some website redesign as well. So I’ve been busy, yes, but that’s no excuse.
Have you ever felt that the longer you go without doing something you should do, the harder it gets to do it? My brothers and I are of the generation that got swats on the bottom from our dad when we were little and did something REALLY bad. Daddy would let us choose the time for our swat, but would tell us that “the longer you wait, the harder it gets.” Sigh. The anticipation was worse than the swat, of course. Sometimes you just have to get it done and move on 🙂
But I digress – today I want to discuss “provenance,” a word that refers to the historical origin of a piece of art, or really any object. As an assemblage artist, provenance is hugely important to me. I believe that an object’s history can be sensed in some weird way, kind of like a shard of clay gives a clue to its history.
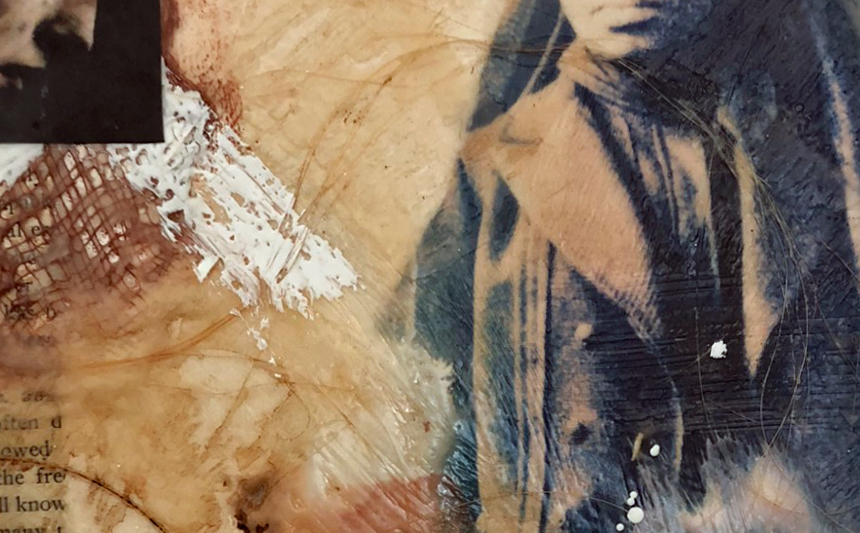
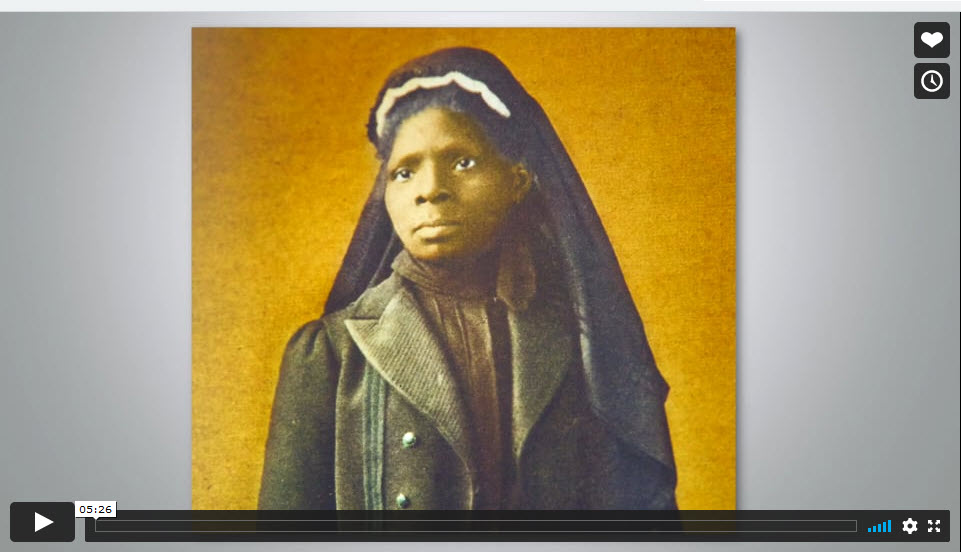
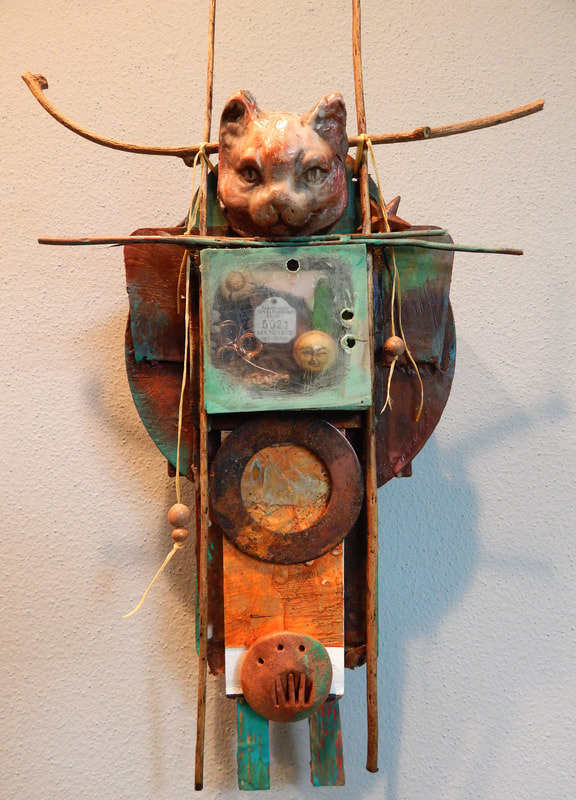
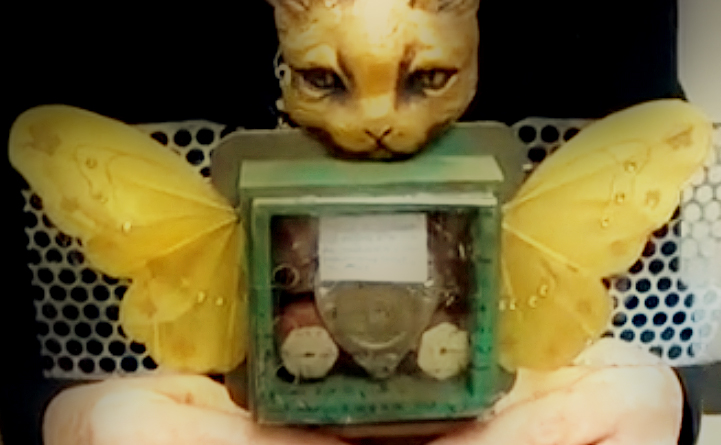
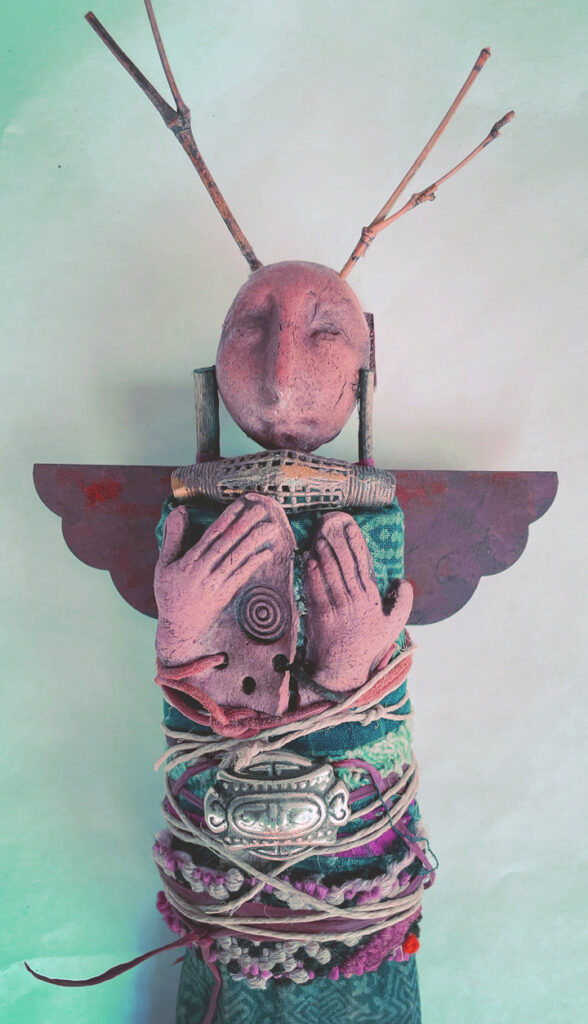
I’ve been working lately on a series of wrapped and bundles figures inspired by the Peruvian Chancay Burial dolls. Here’s the Chancay doll on the right and my interpretation is on the left.

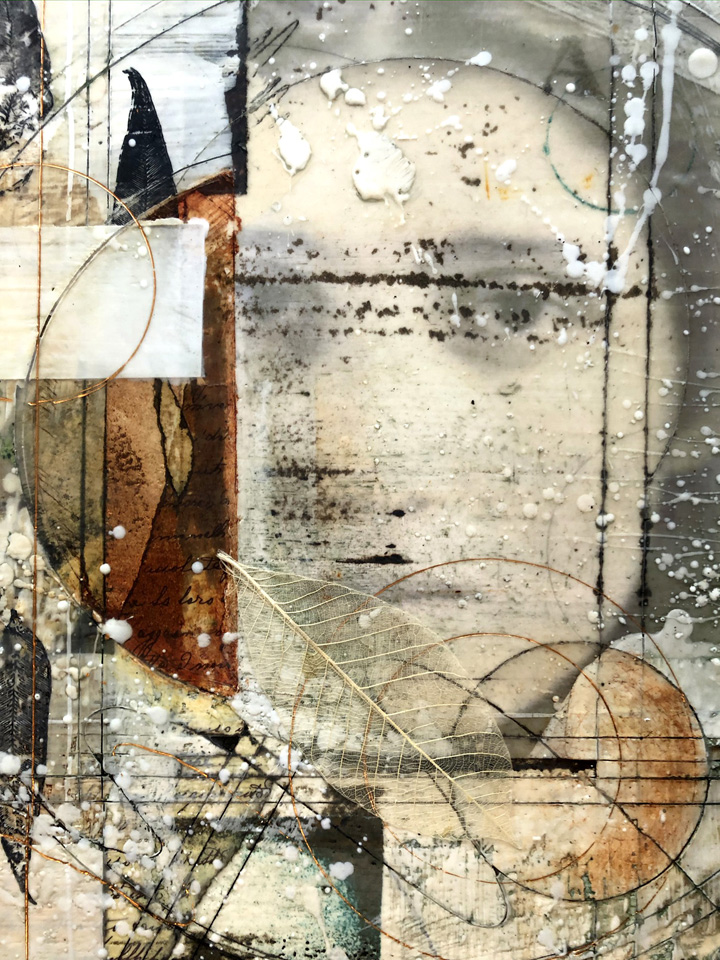
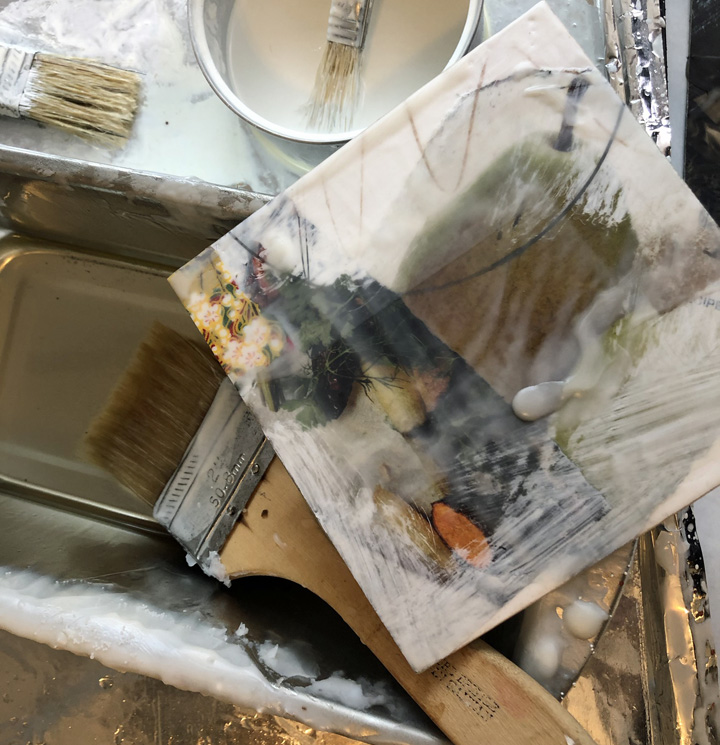
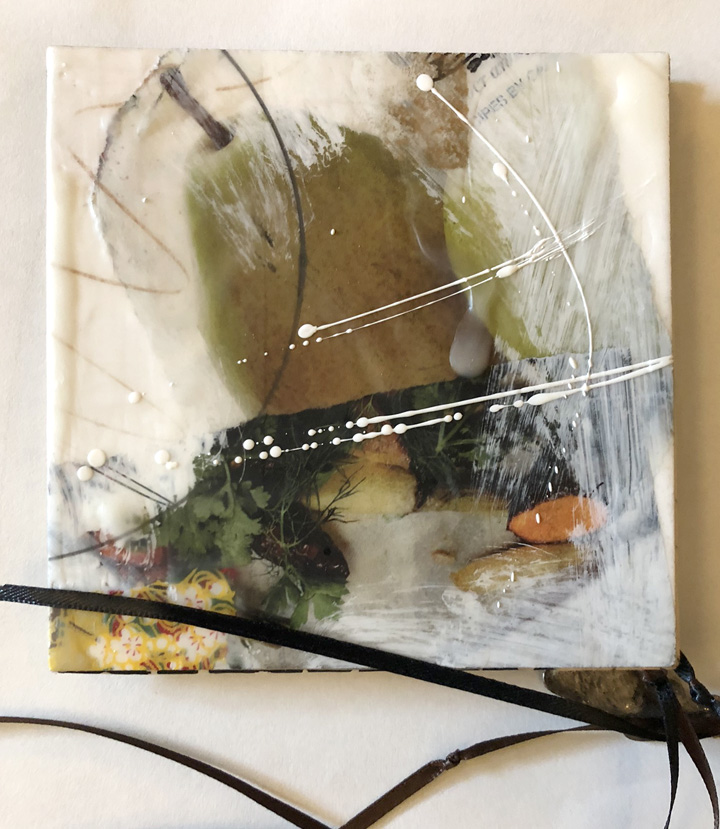
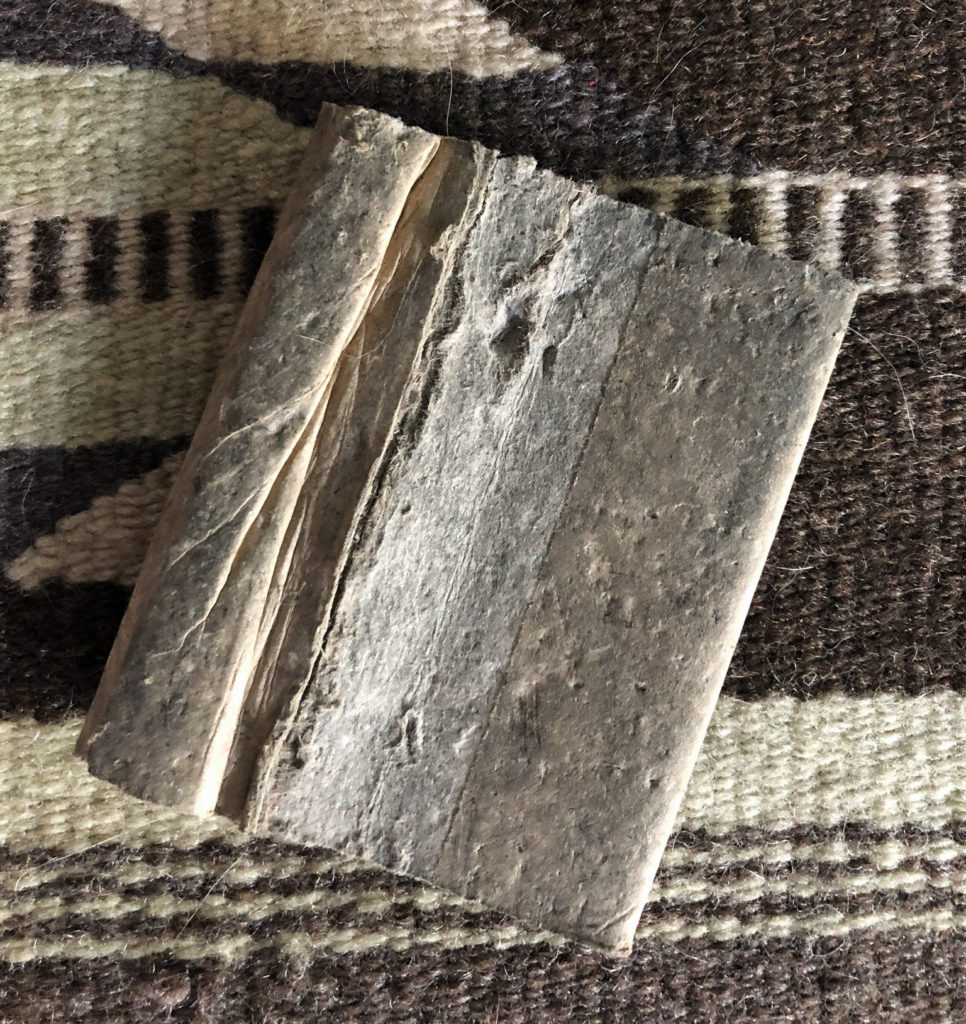
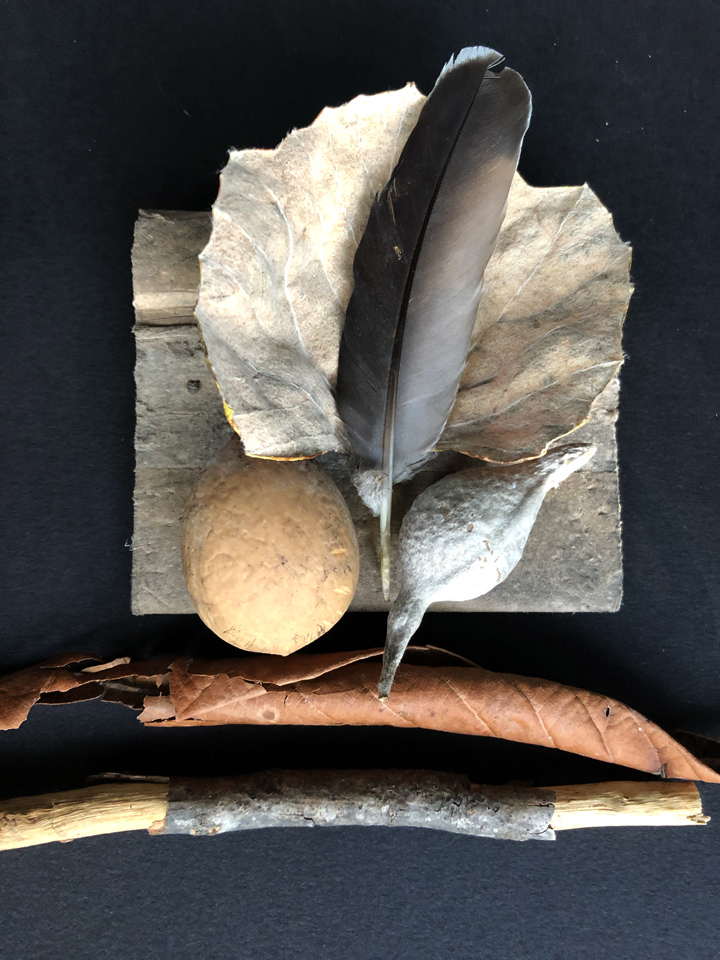
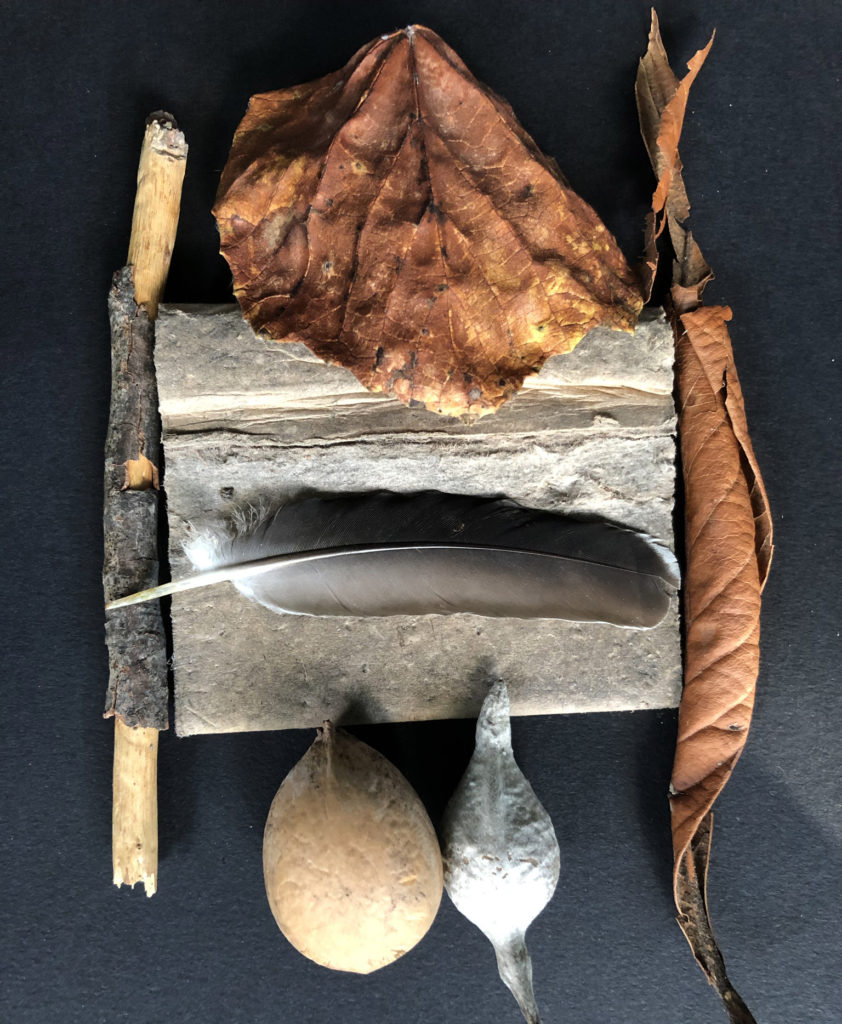
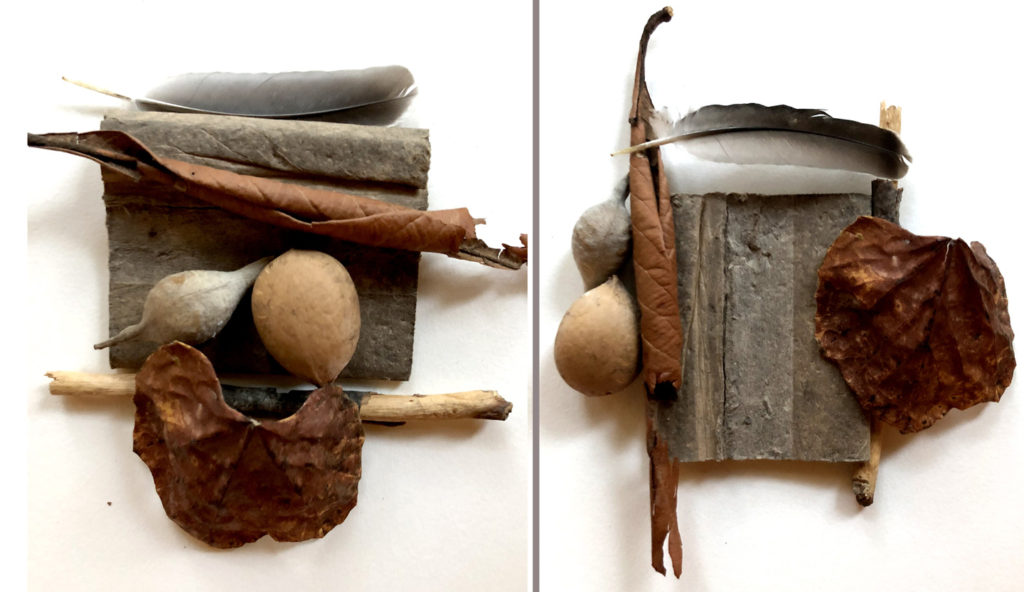
Part of my process involves selecting specially-curated objects to wrap into the form. Here is another example:
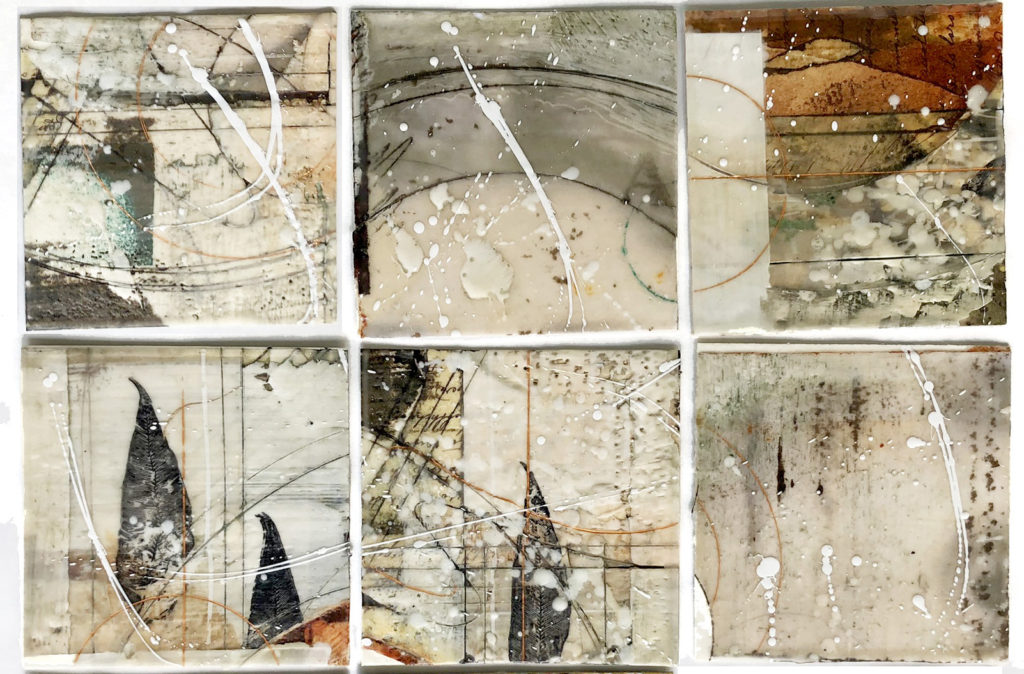
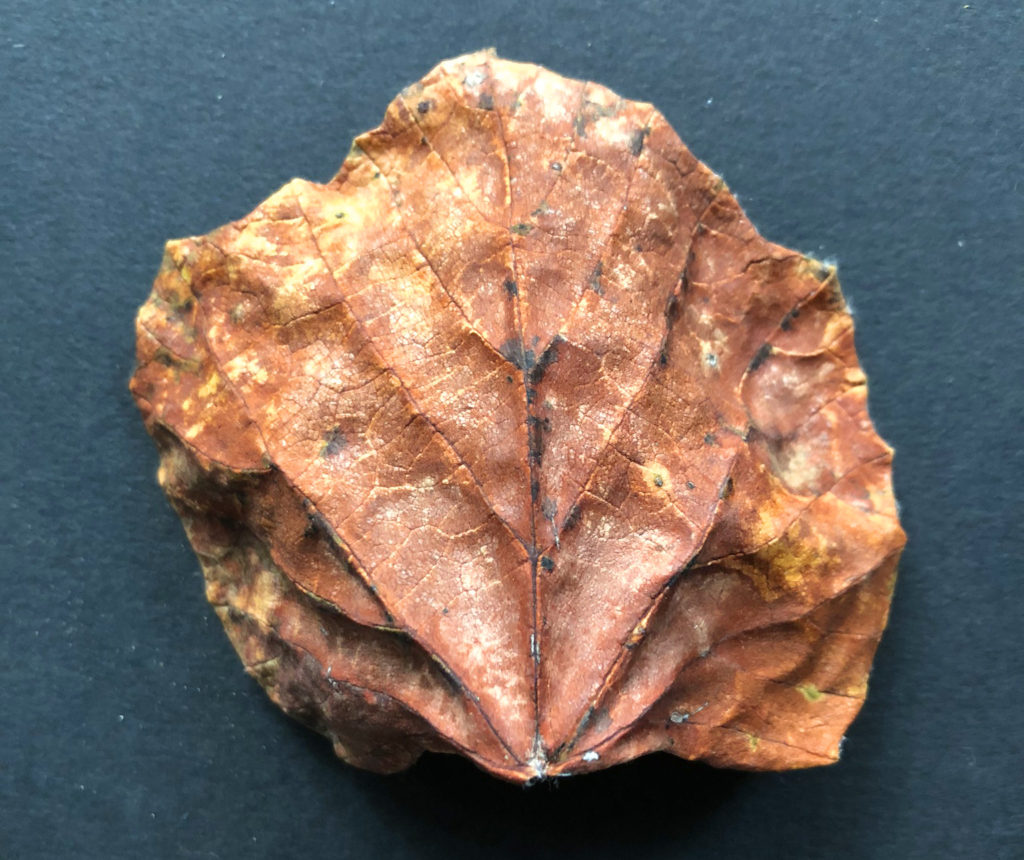
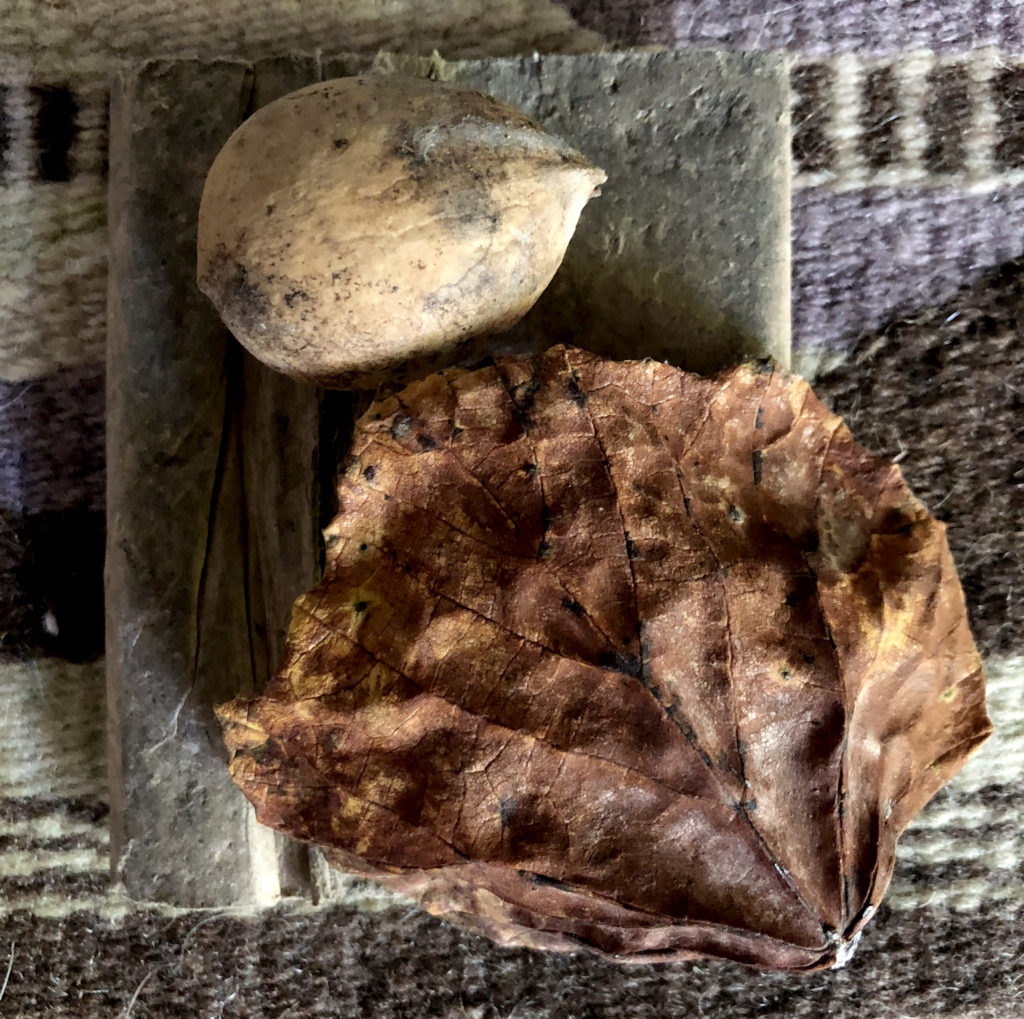
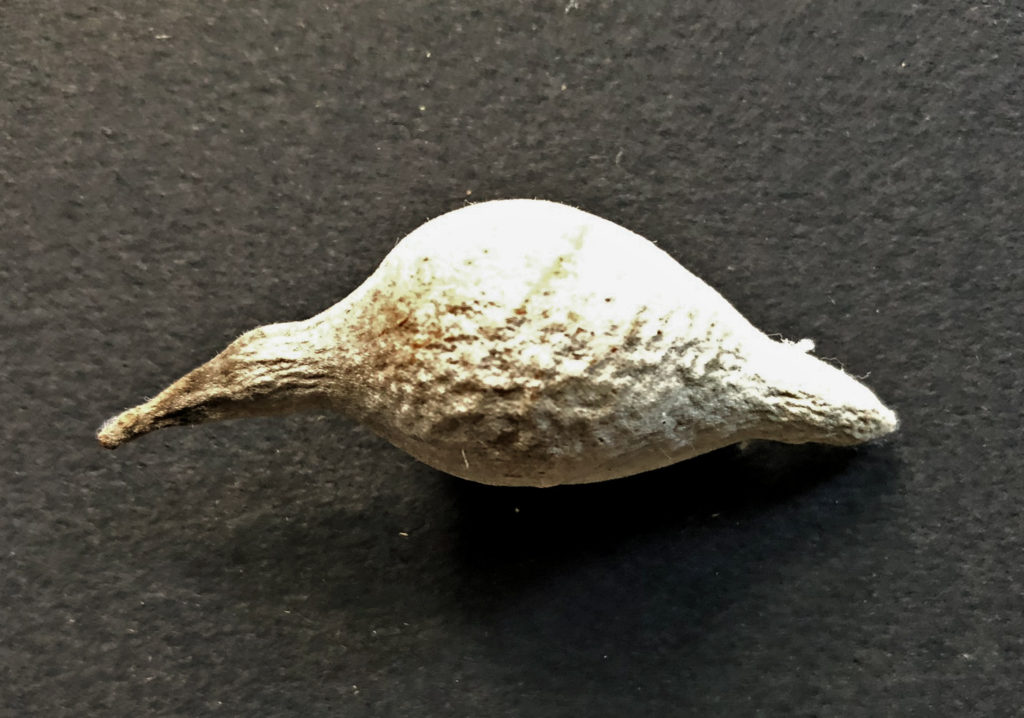
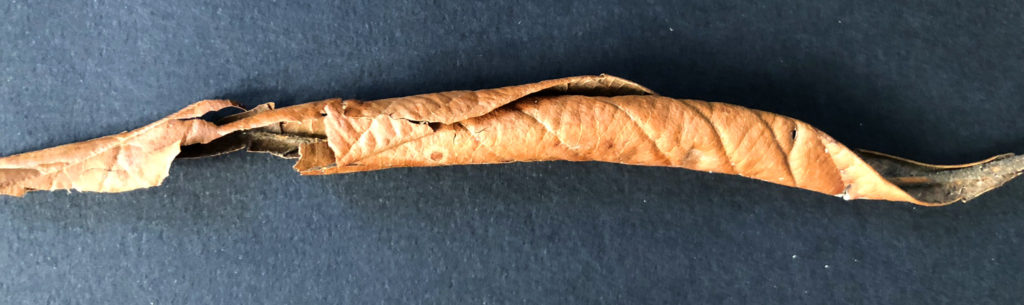
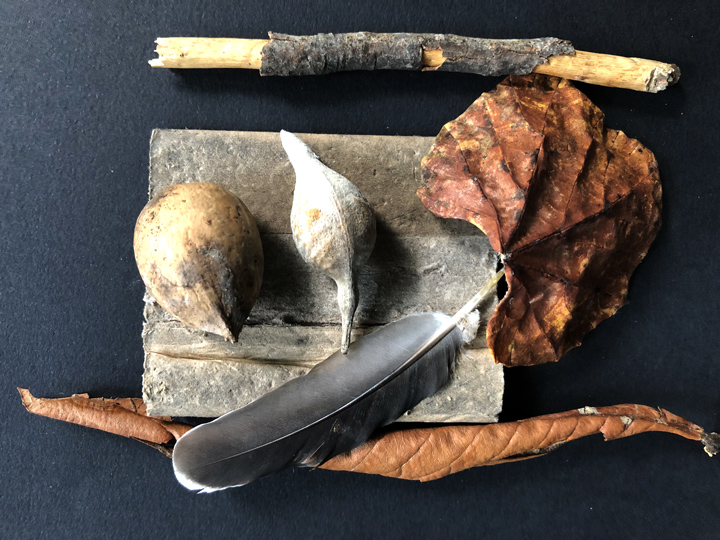
Below are several little objects I want to wrap into the next figure – two seed pods and a feather.

No one who sees the finished doll will know about the provenance of these objects – they could be just some stuff I picked up anyplace. But the seed pods came from my Pride of Barbados tree which seemed completely dead after the snow disaster this year, but manages to come back gloriously despite the trauma. The feather came from the construction yard at SAY Si where they are building a wonderful new place to share art with the youth in San Antonio who really need it. So all three of these objects have a special “provenance,” a story of rebuilding and renewal.
As I said, no one but me knows about the provenance of these objects, but somehow they carry an aura of their story with them, and that infuses the finished piece with a sense of inexpiable mystery and meaning. You can do this with objects, with paper, with fiber.

When you have a choice in your own work of using something that has a special provenance even though it may not look quite as bright and shiny as something you bought at a craft store, consider the source, and go with what your heart says.
If you look up “provenance” as it relates to collecting art, you’ll find that it refers to the trail of ownership of an art object, or the history that got it from there to here. But every object has a history and a story based on where it is found. As an artist, you can incorporate those stories to give richness to your work.