Gallery talk and hand sanitizer

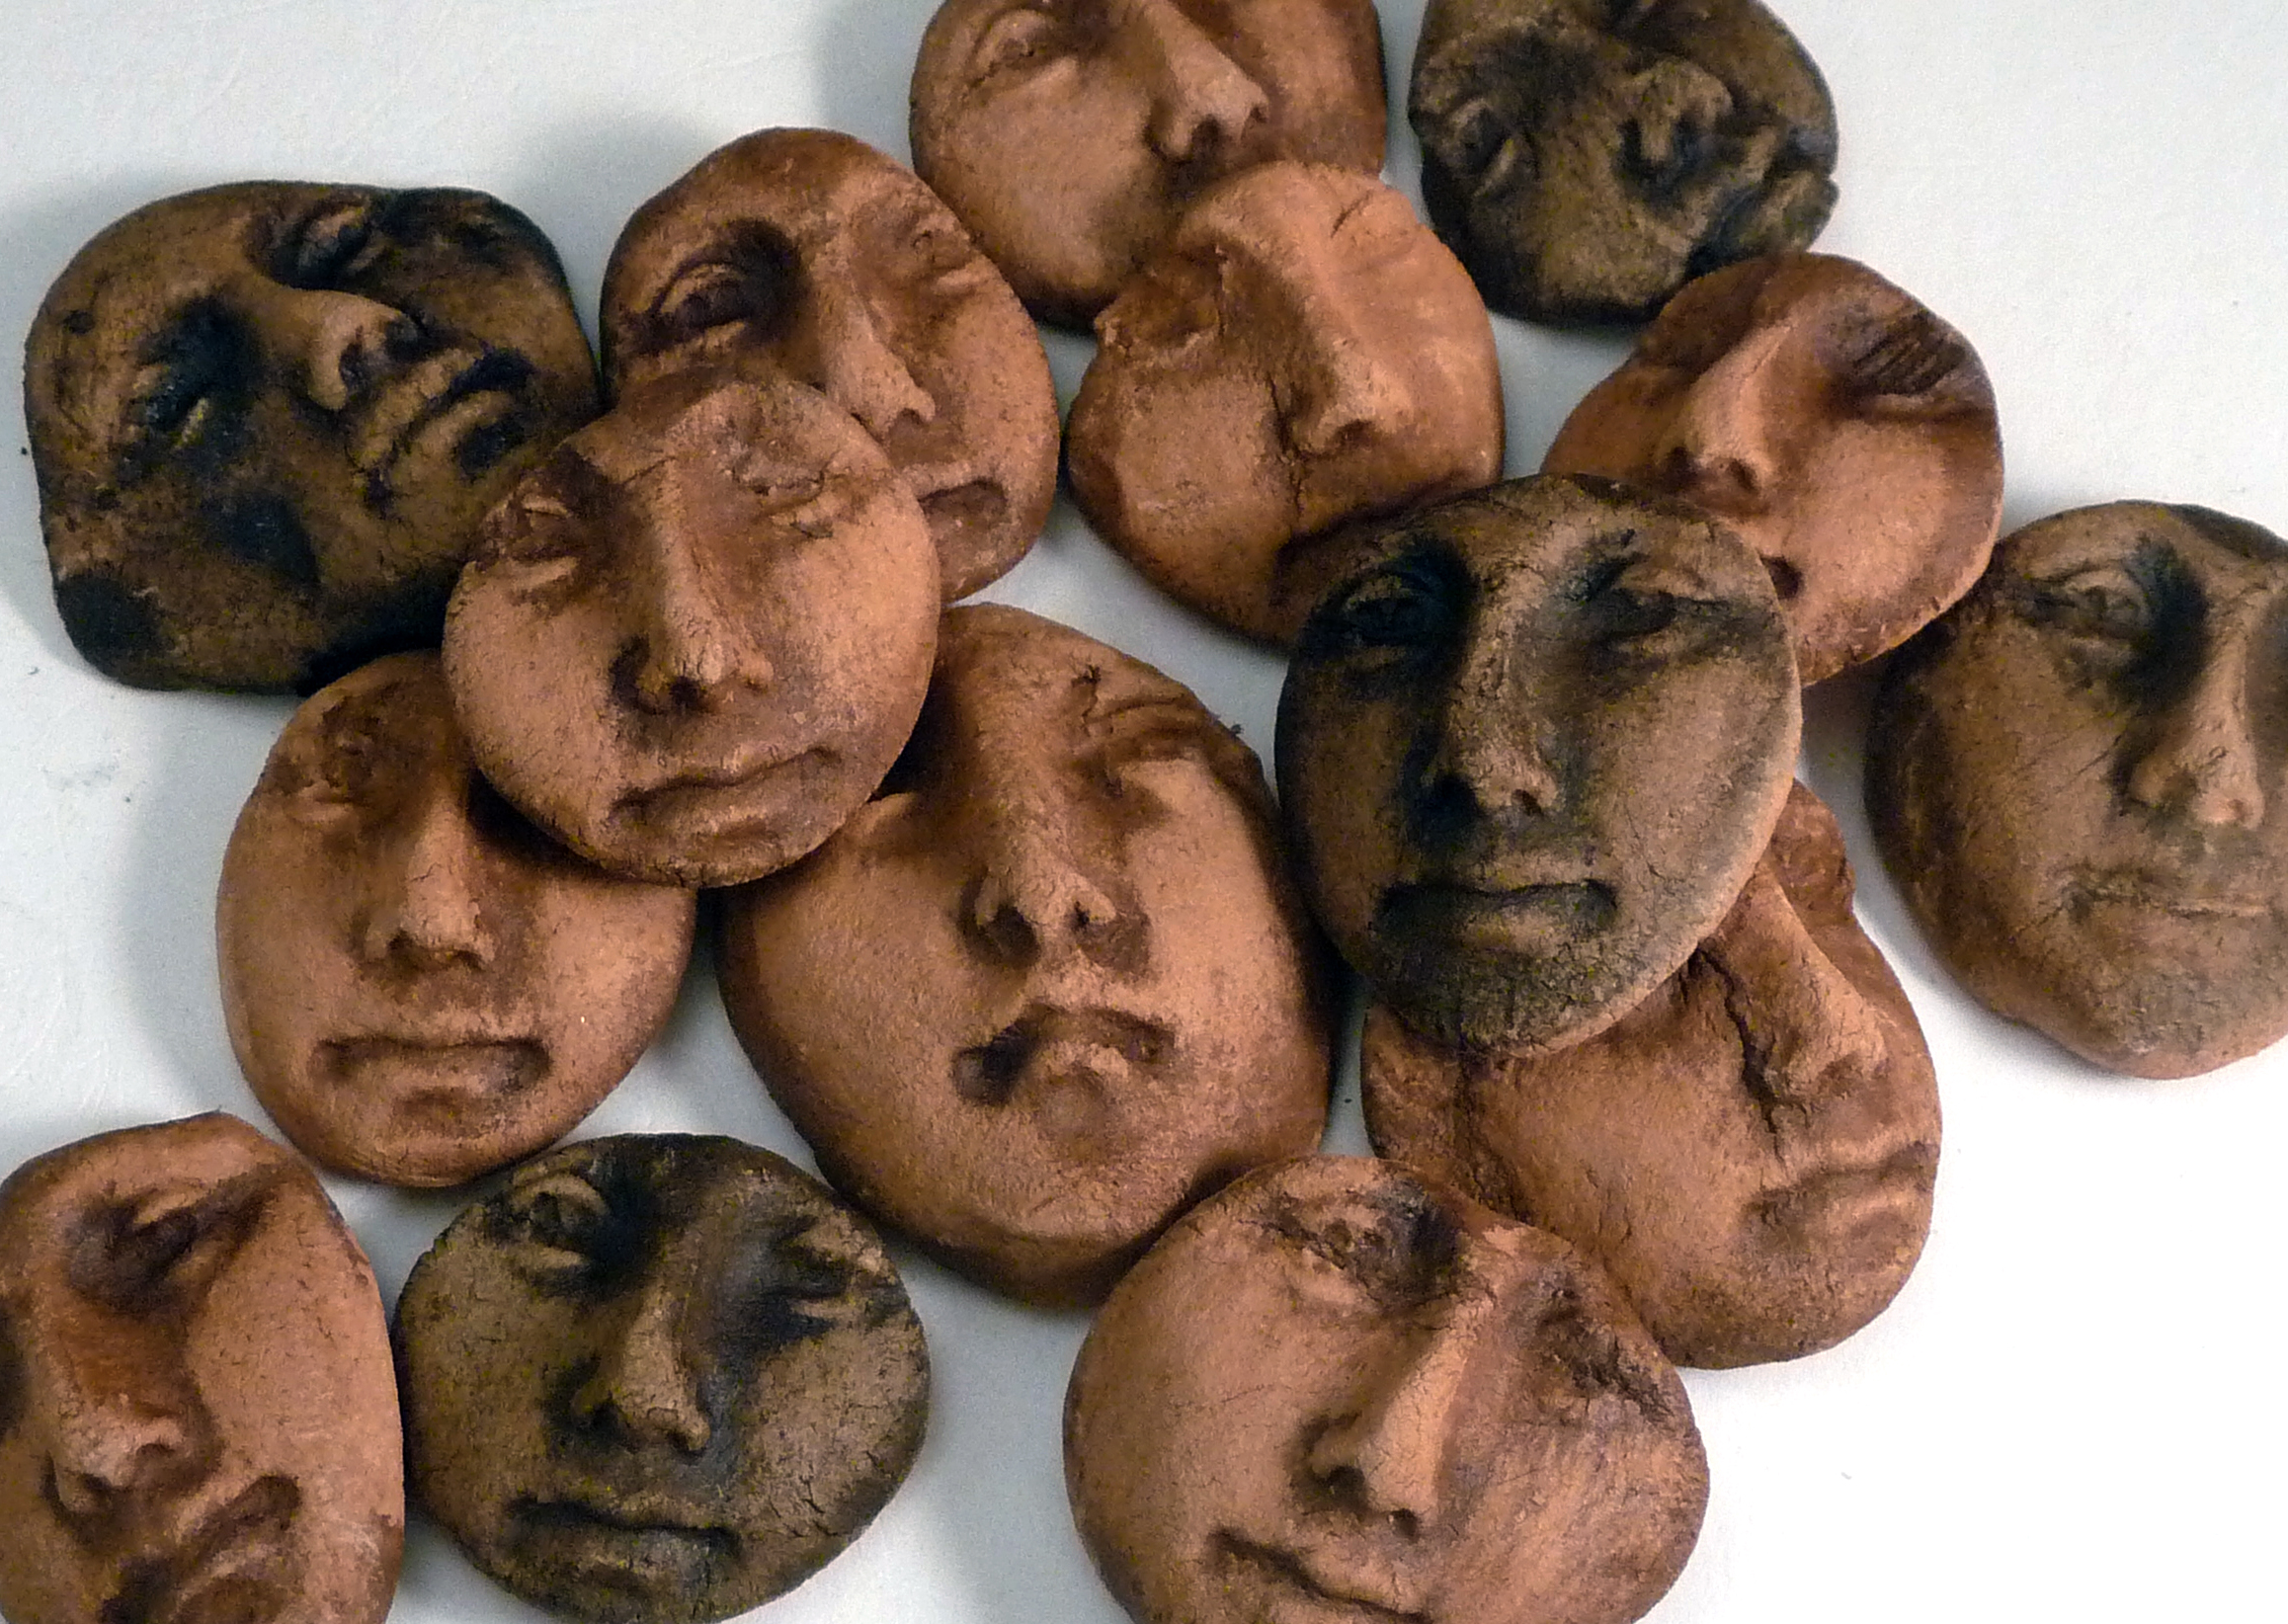
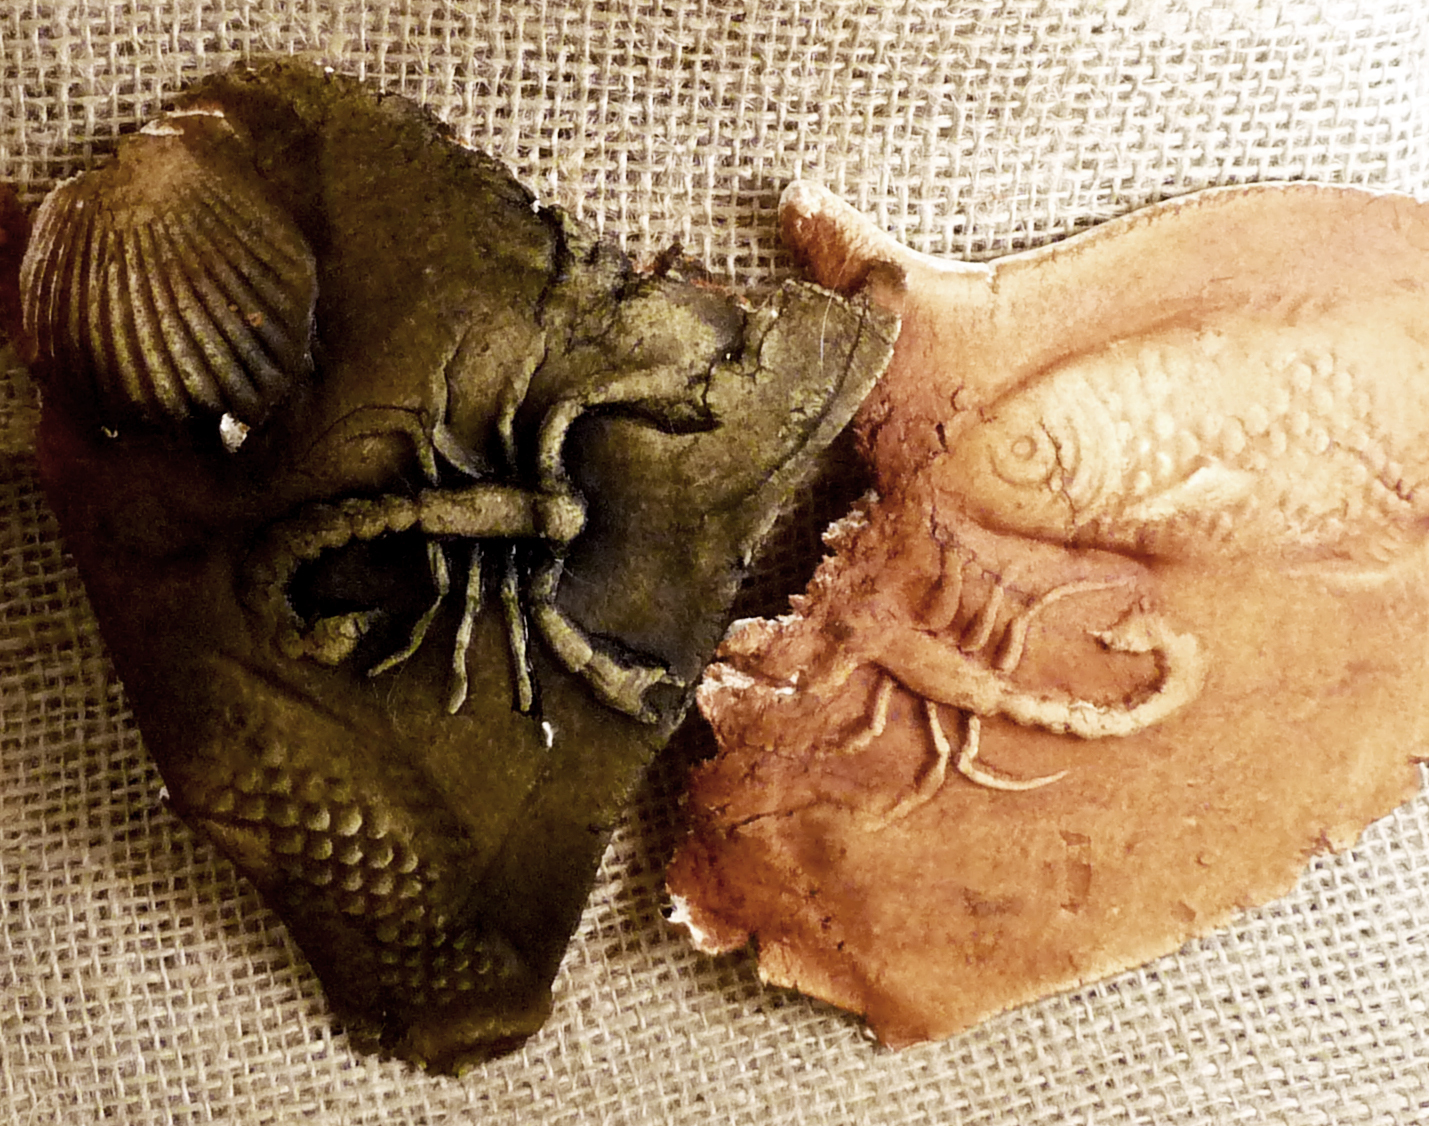
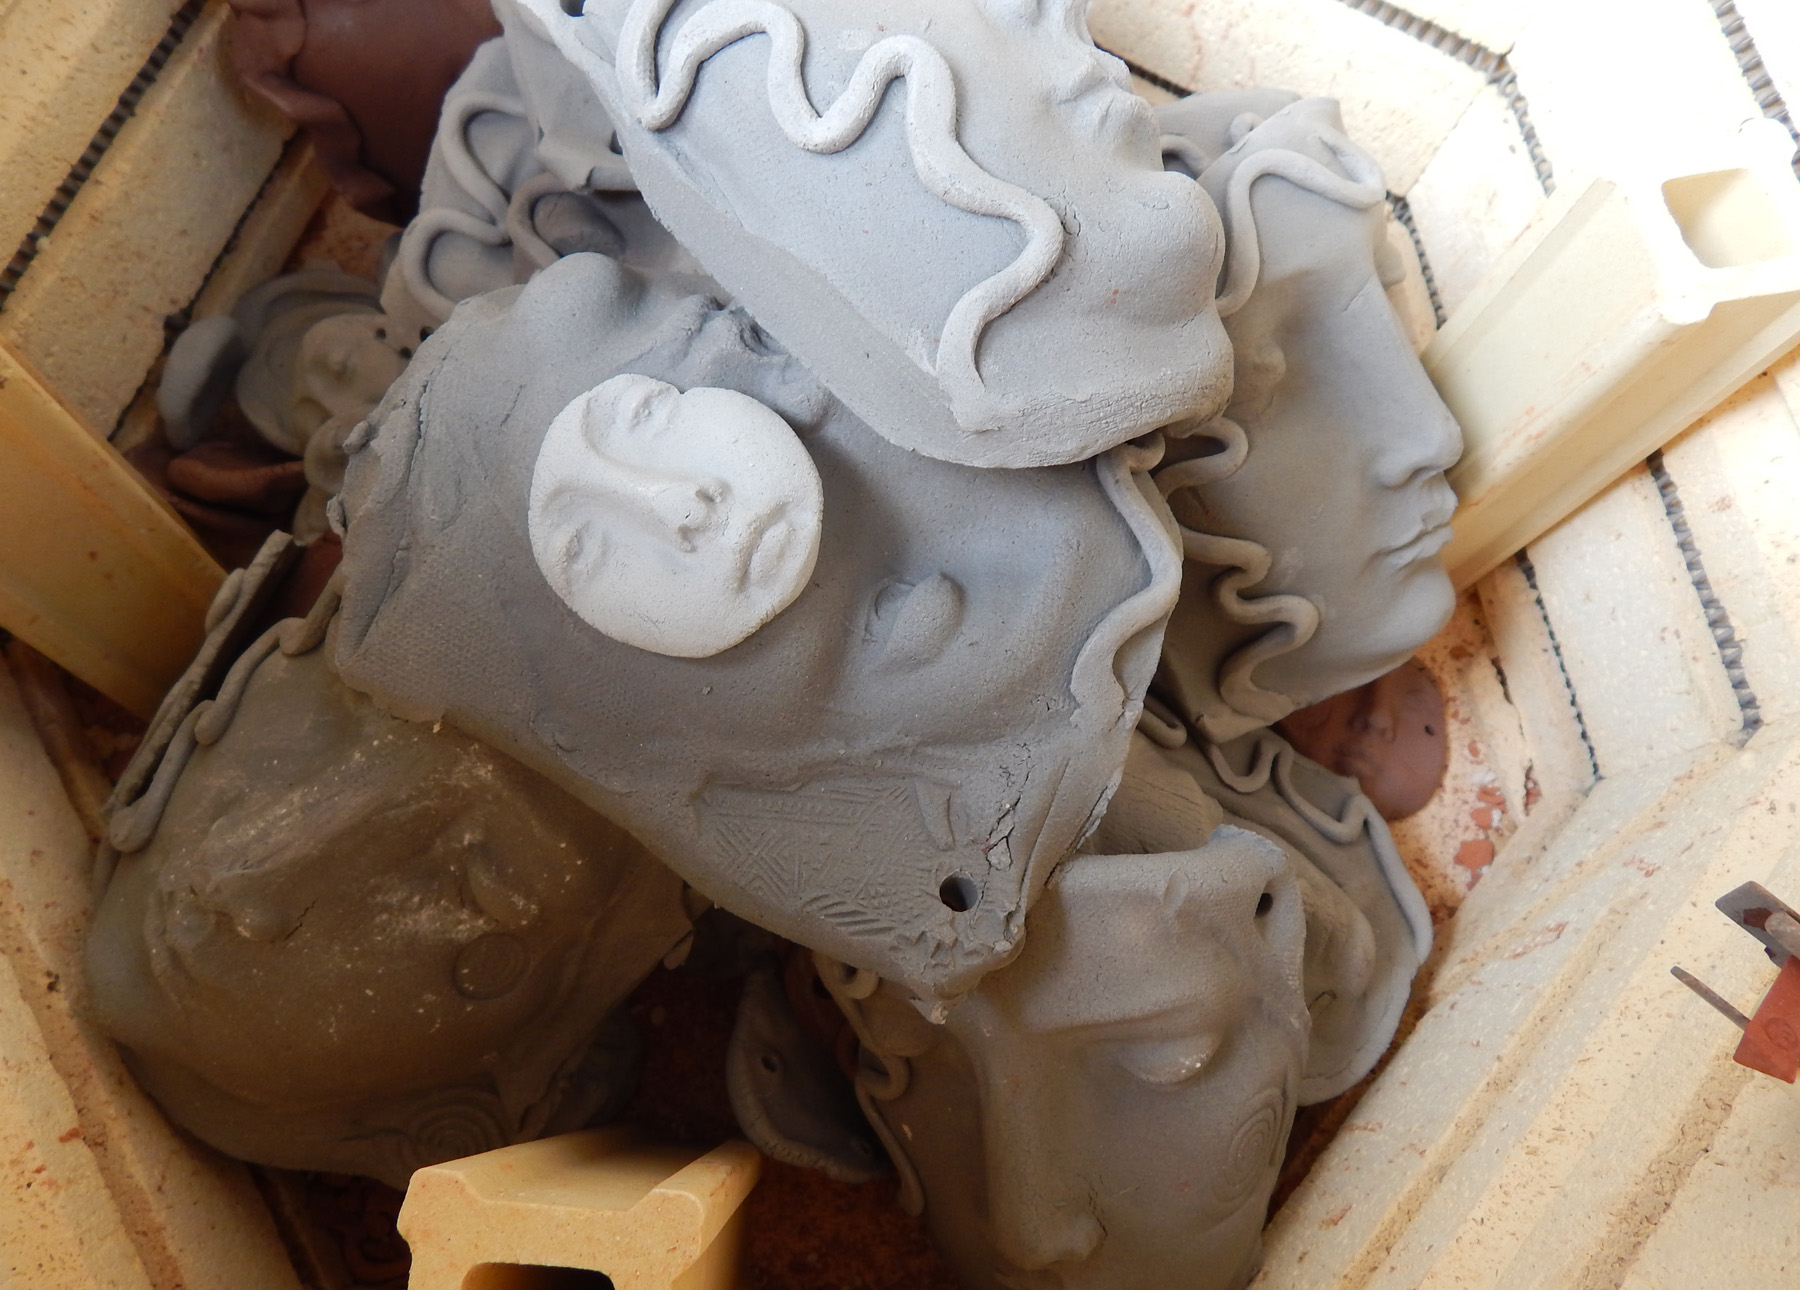
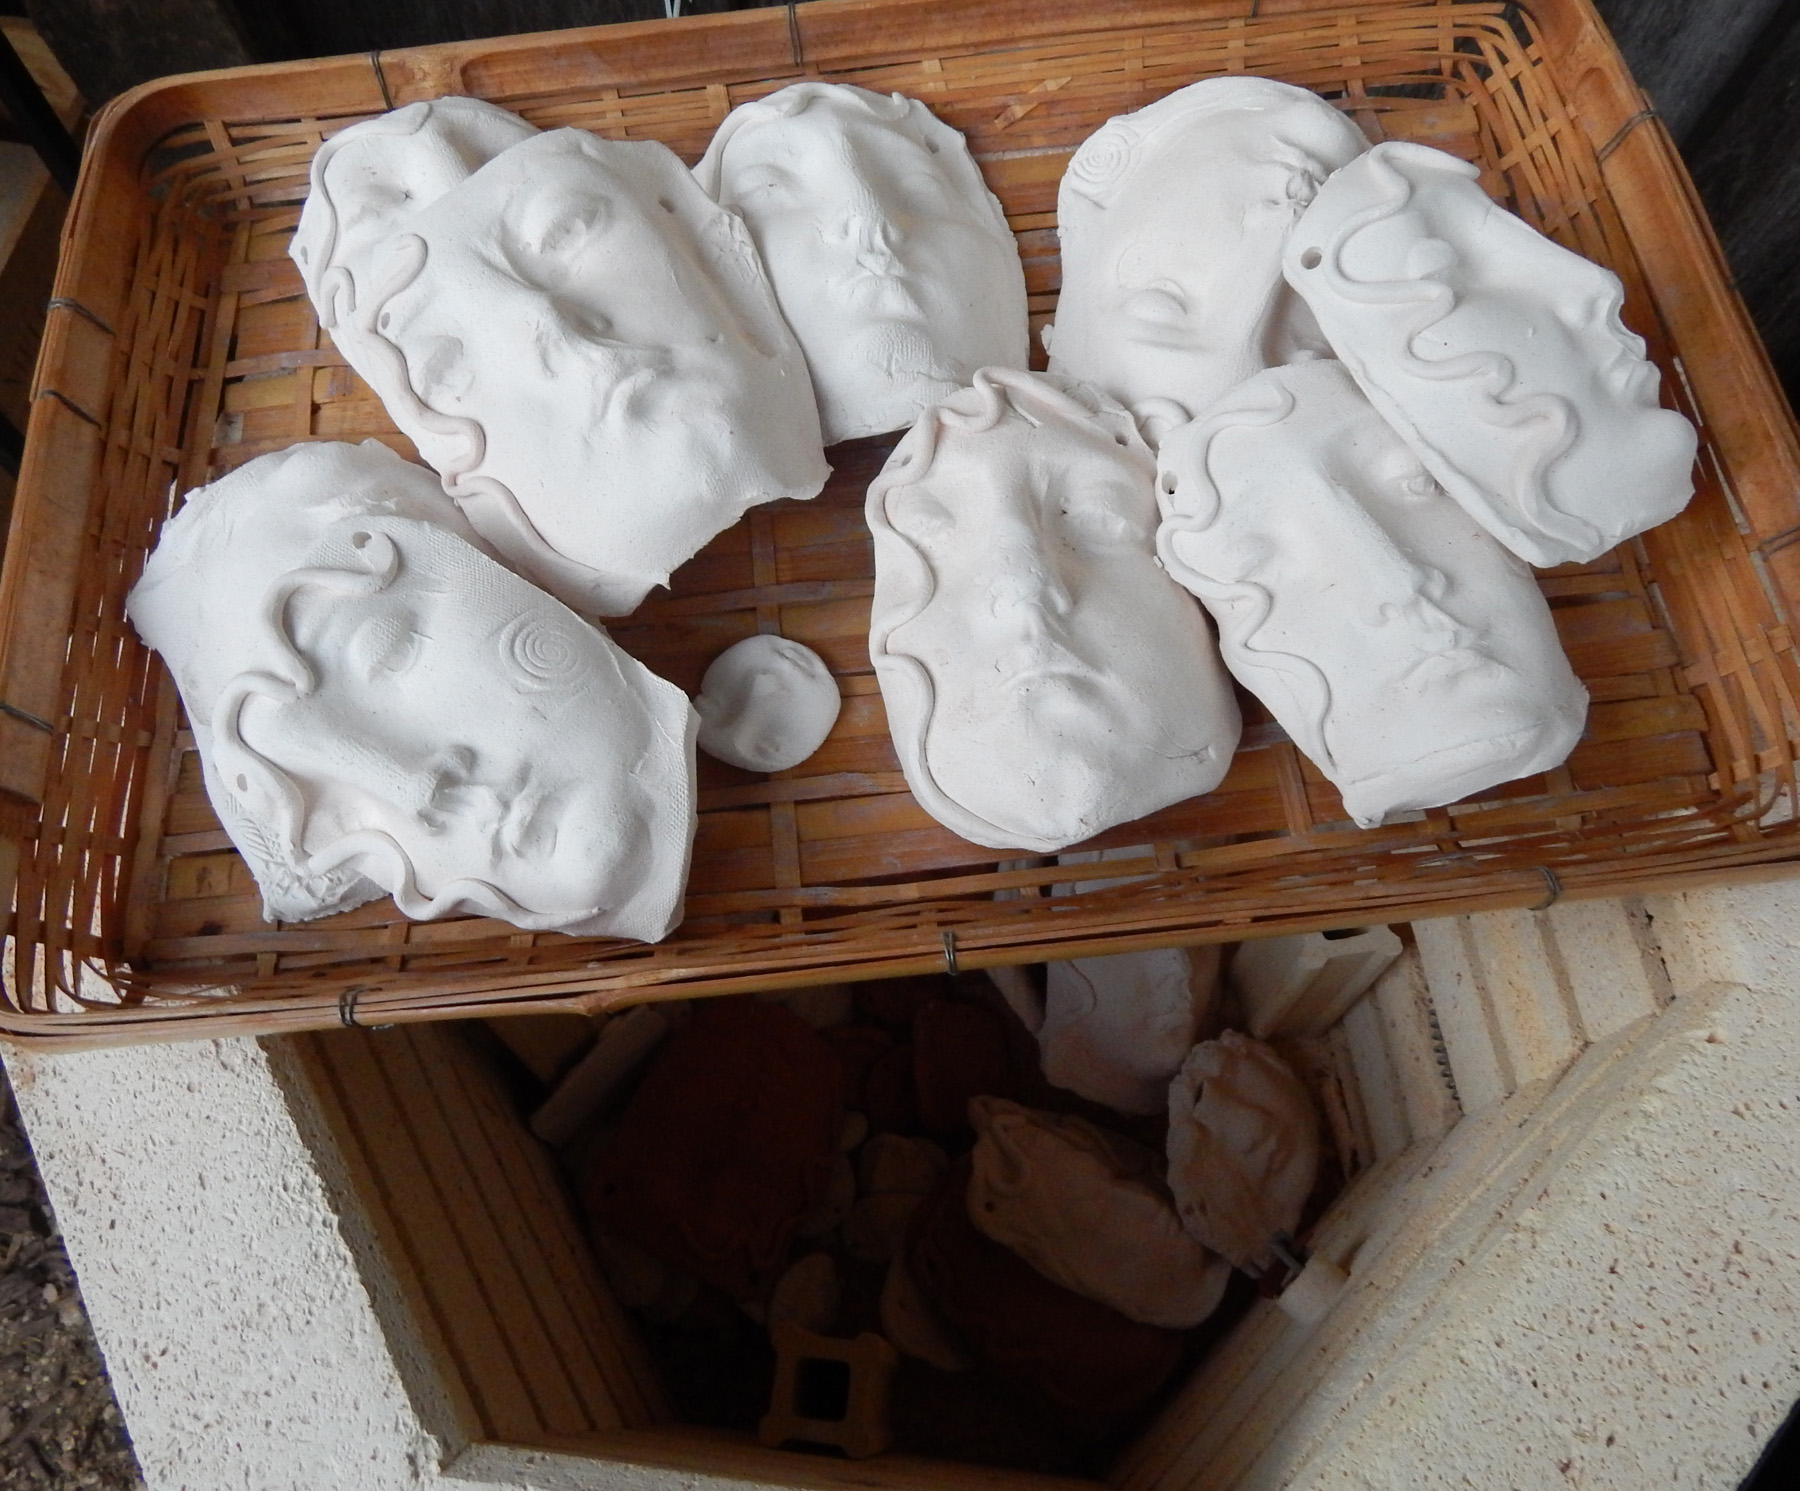
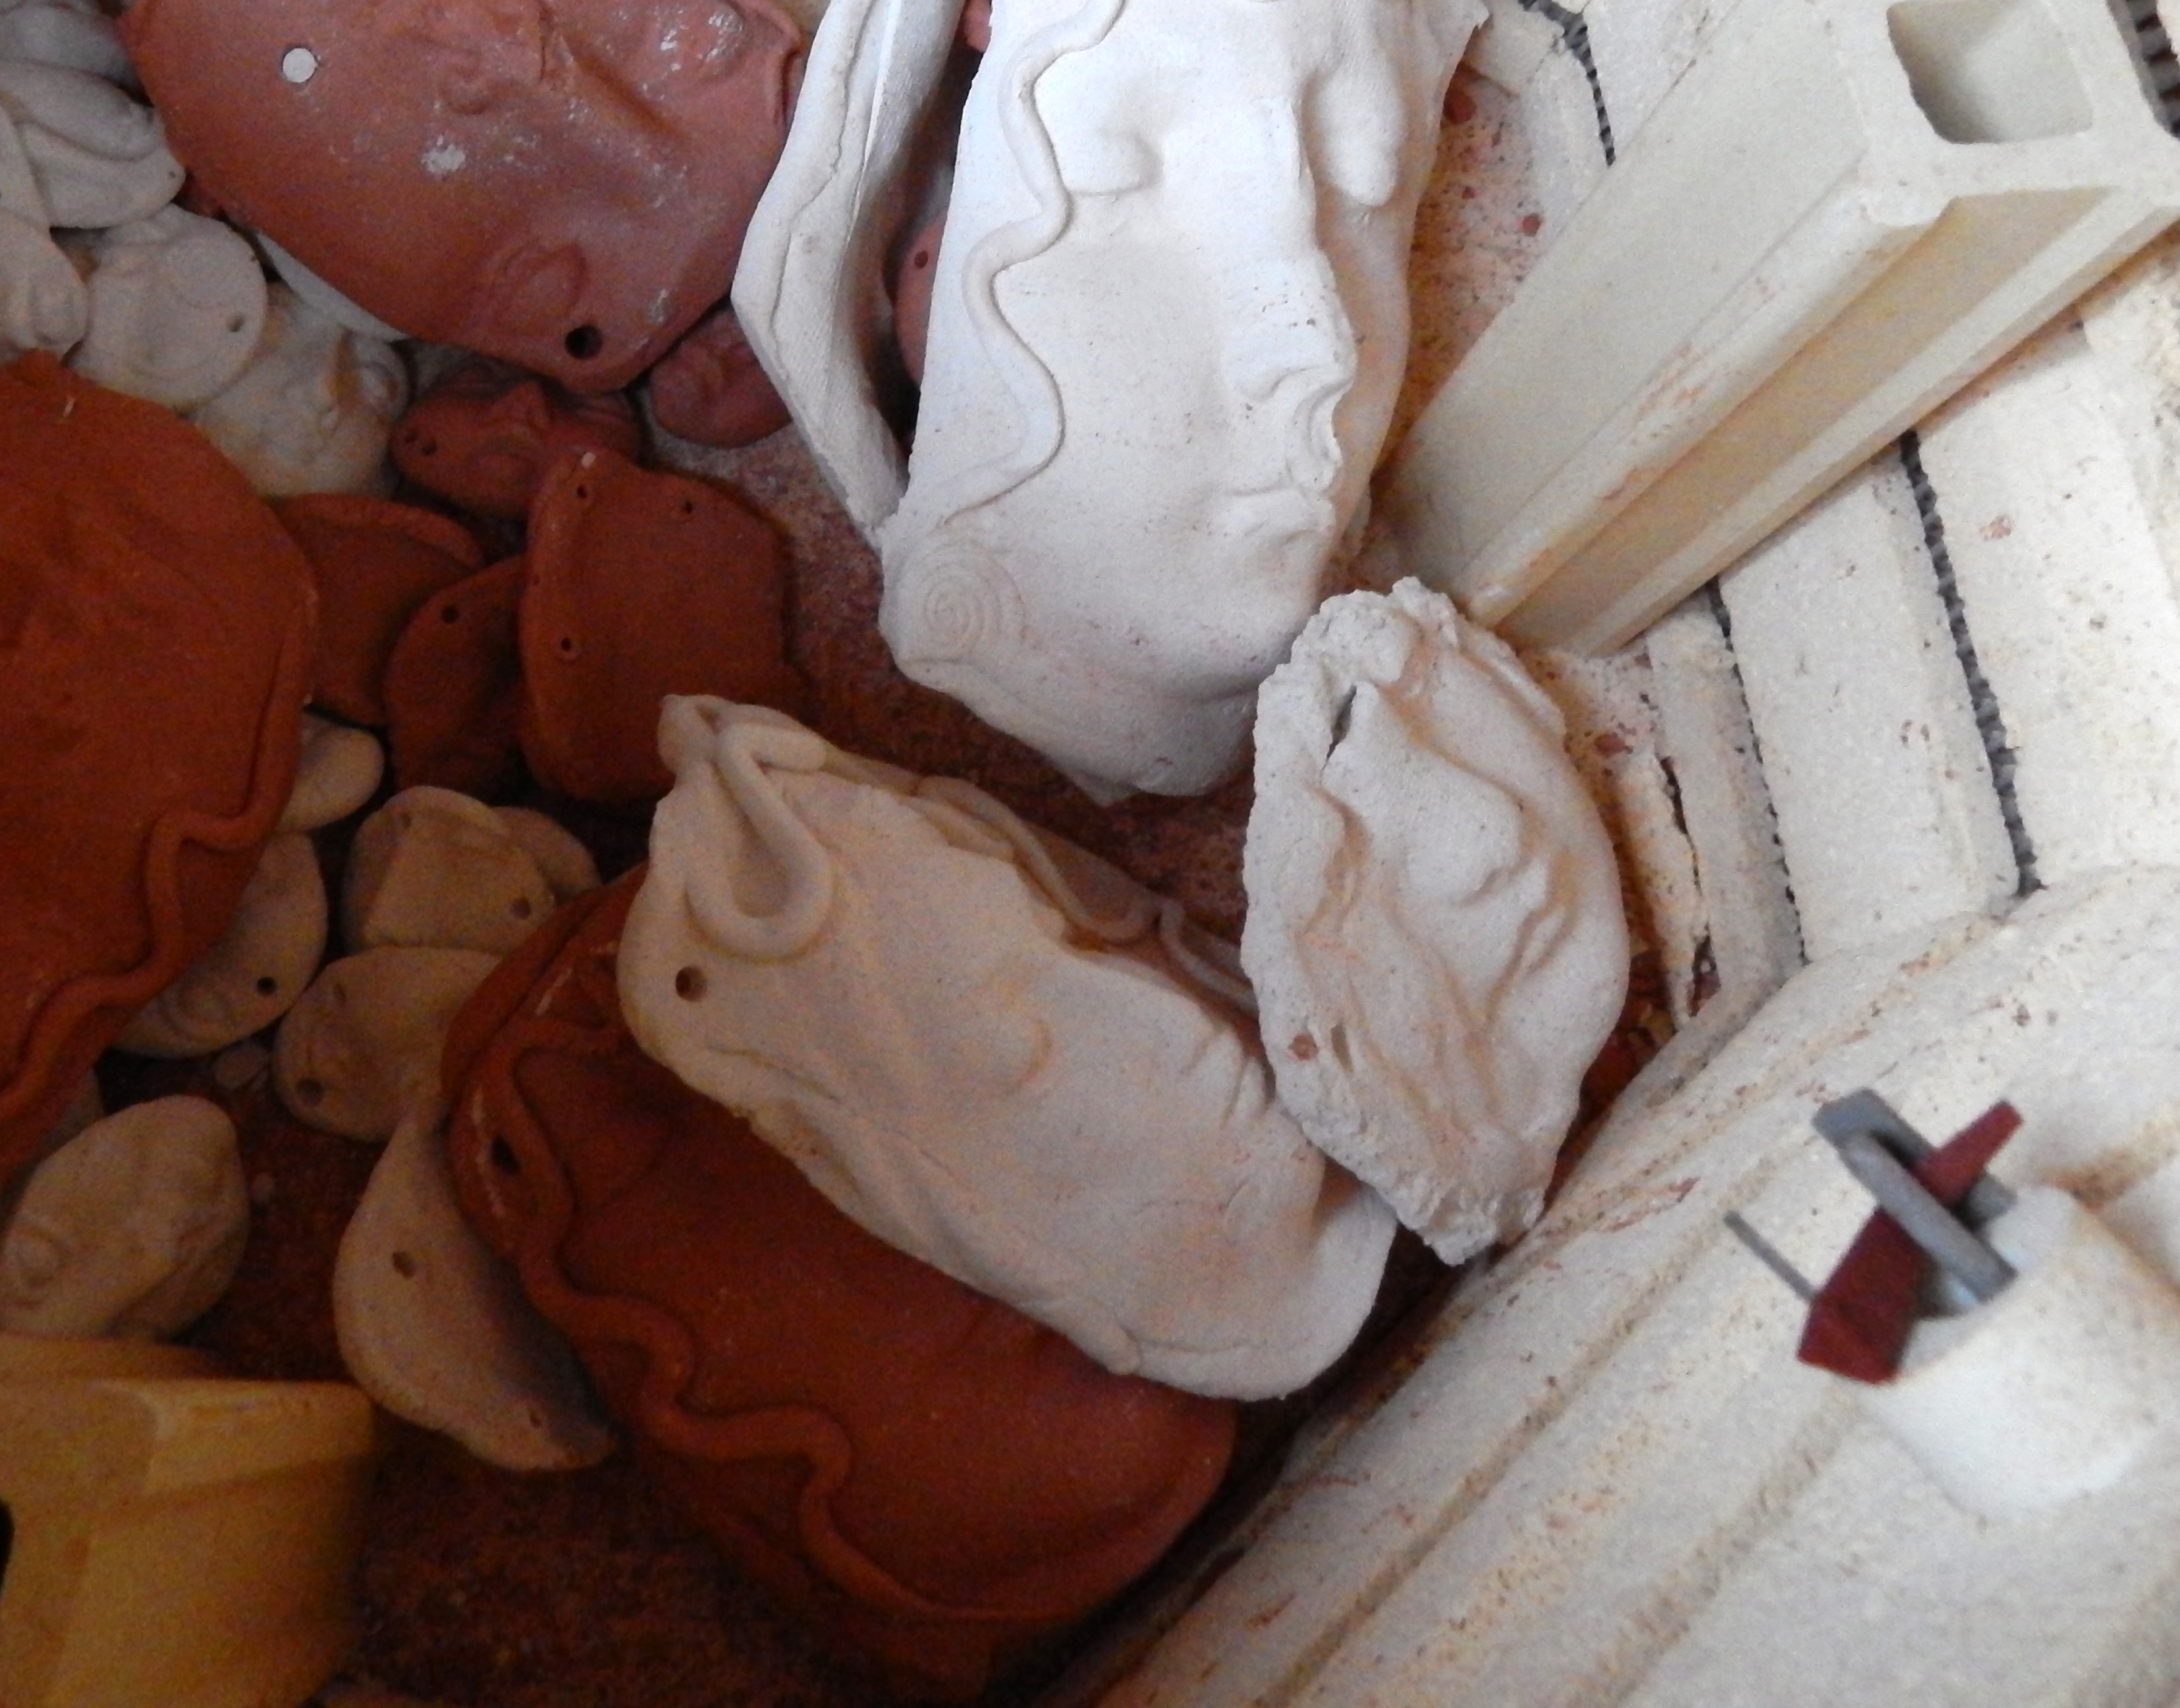
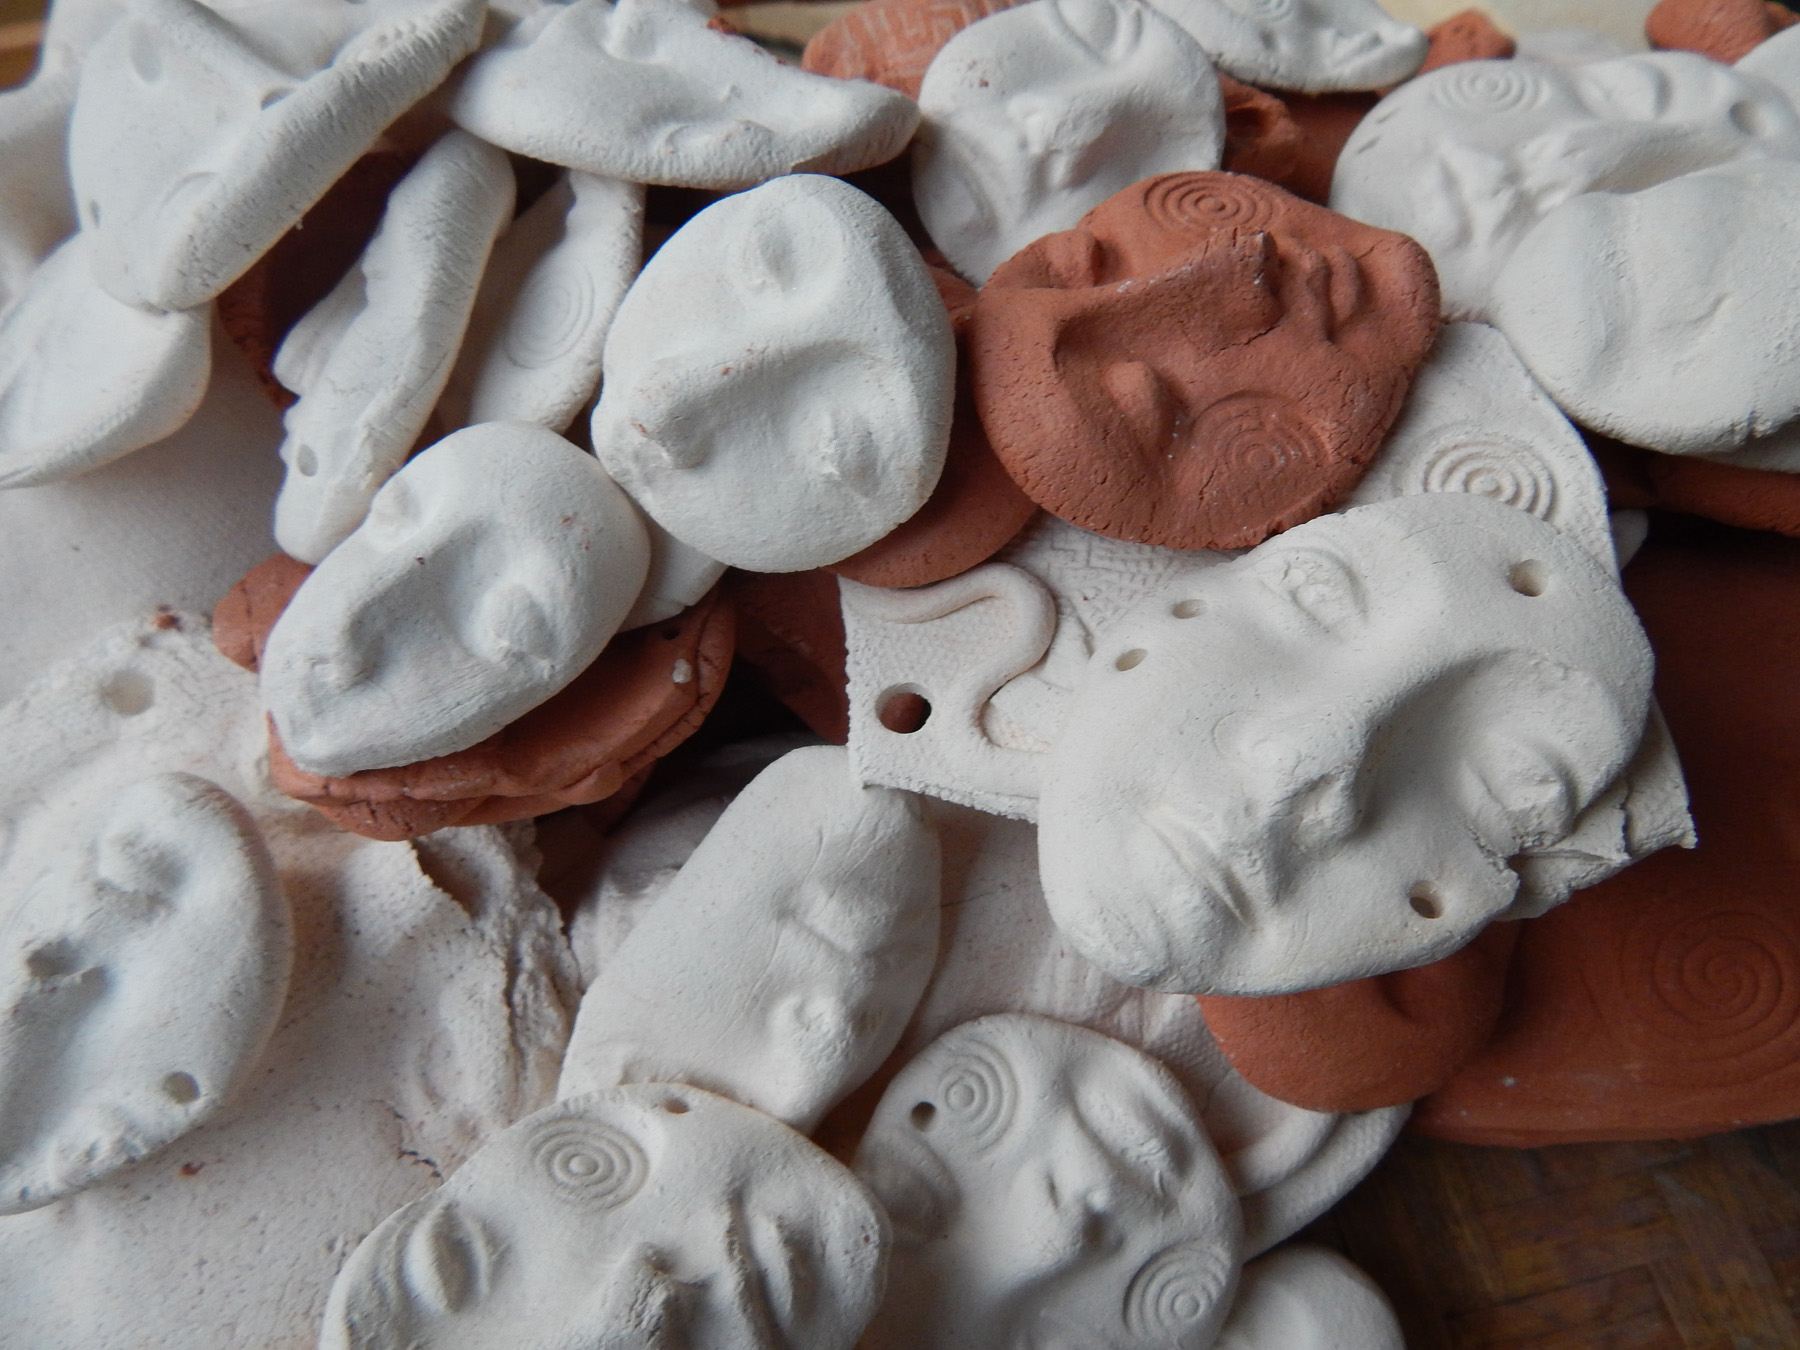
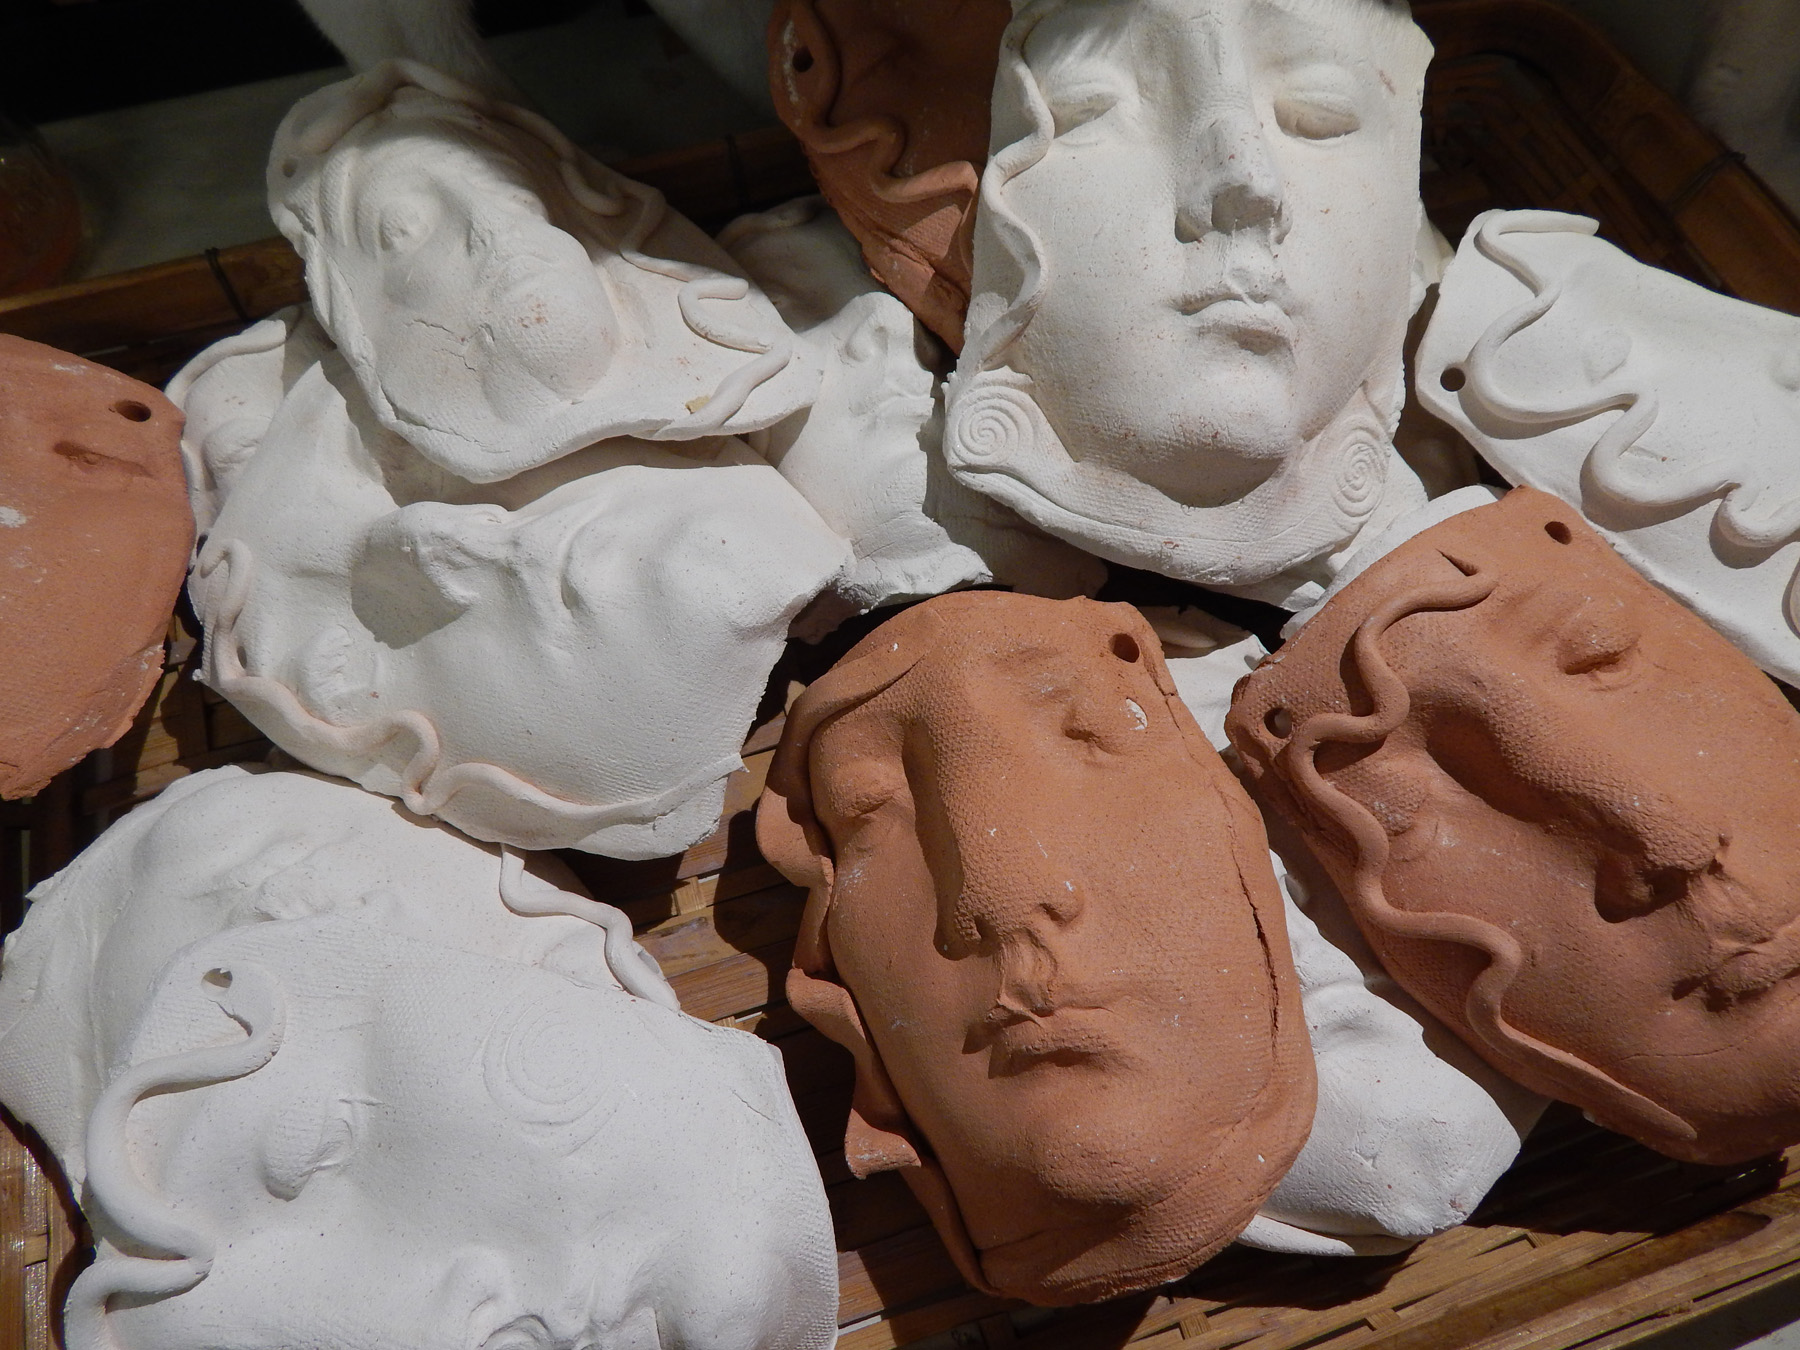
Tonight’s gallery talk at Nueva Street Gallery should be fun. It starts at 5:00 – hope you can be there. My title is “The Face: An Enduring Iconography,” and I’ve done a short slide presentation of how faces inform and inspire my work. I’m giving away little face shards, as well – and this is kind of interesting because I used the same press mold for each one, yet they turned out so varied. They look like they are related, but not identical. Here’s a photo of the freebie faces that I’ll give away at the event:

facesnueva

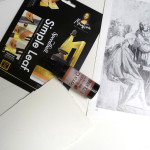
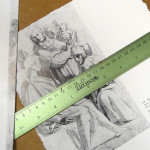
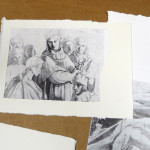
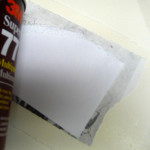
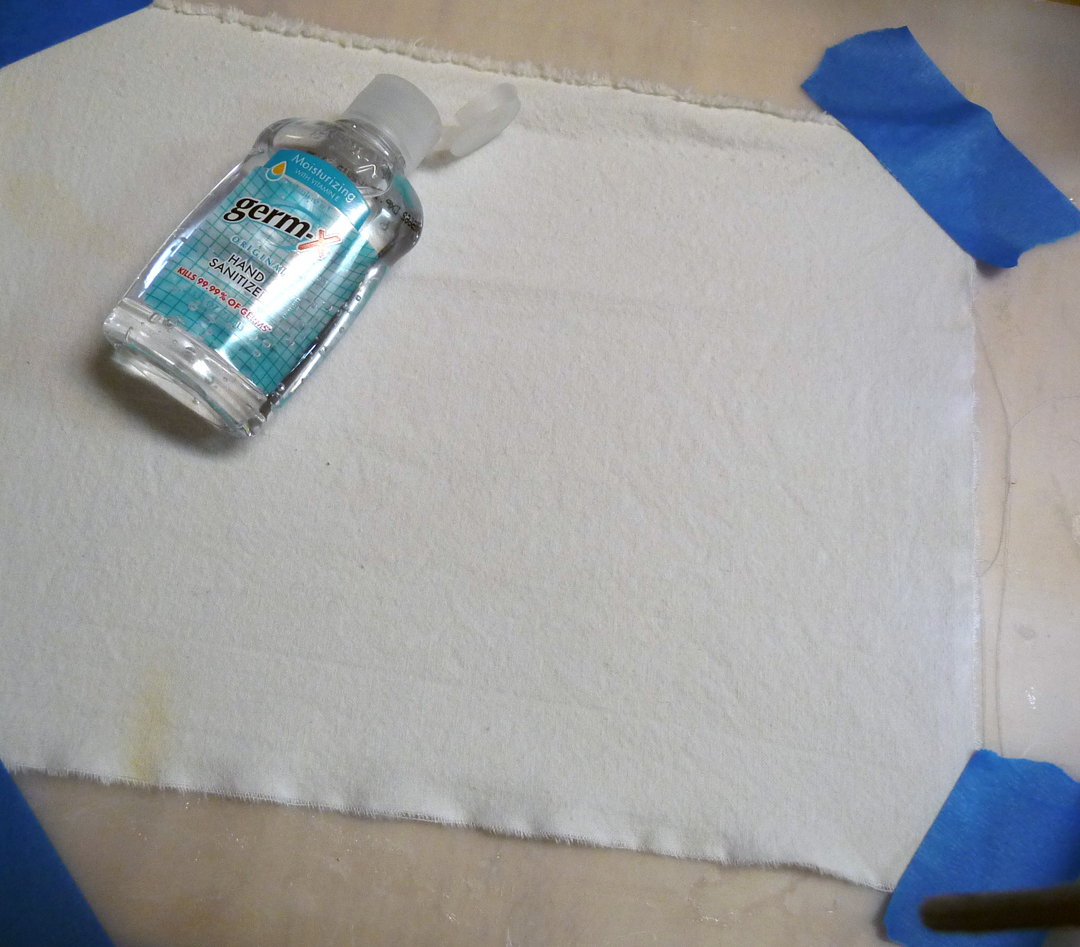
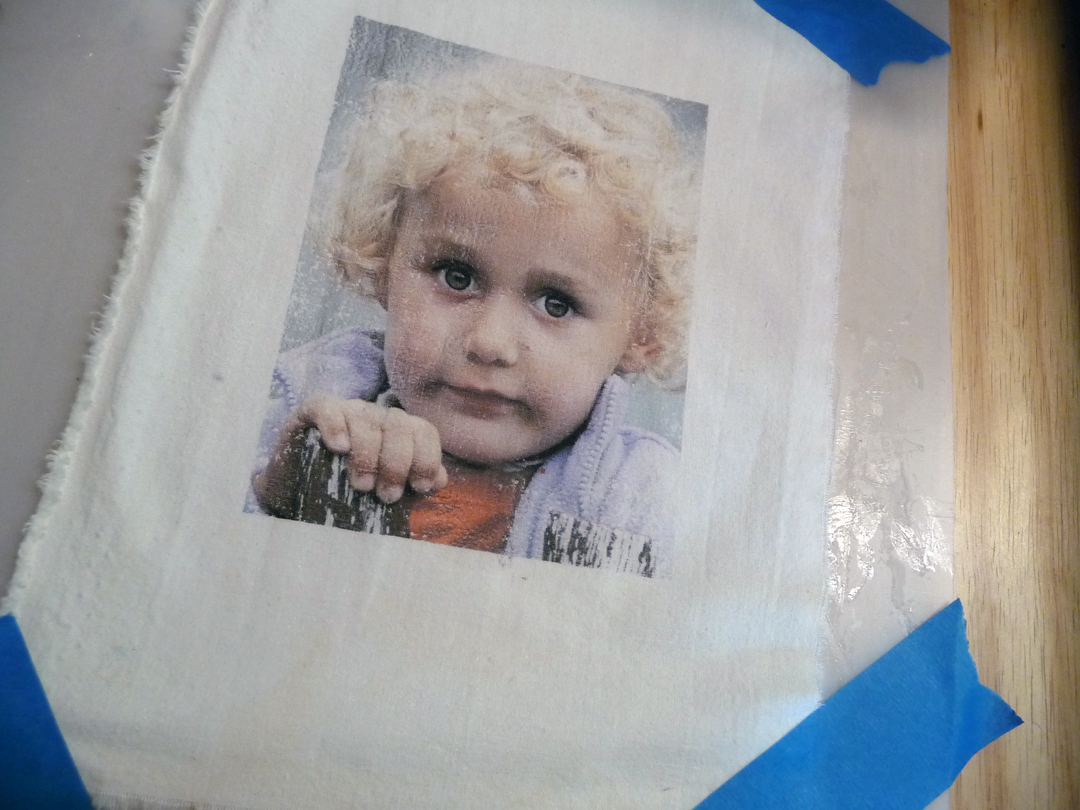
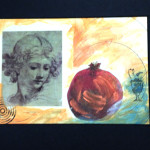
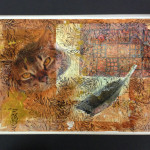
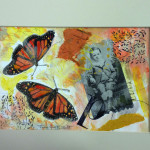
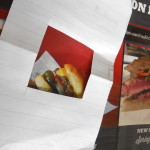
OK, now about that hand sanitizer. . . yesterday, my friend Gloria Hill helped me do some experimenting with transferring digital images onto fabric for my upcoming online collage-on-canvas class at Artful Gathering (checkout their catalog). We used hand sanitizer to transfer the images, and it worked! See the pics below, and in a future post, probably the next one, I’ll give you the directions. Till then, hope to see you tonight at Nueva Street Gallery!

hs1 hs2 hs3


We Felt So Good

What a weekend at the Studio – I’ll let the videos do most of the “talking,” but the whole experience of learning to make felted constructions was just incredible. Jill Scher is an extraordinary teacher. I learned so much (as did we all) and came away with a fascination and respect for this process and the fiber artists who are felters. It’s such a tactile and color-rich craft – the wool roving is soft and beautiful and there are countless variations for using it in two and three-dimensional pieces.

Video one ( just below) shows the first day in which we made wet-felted wool scarves, and video two (at the bottom) shows us felting wool into a silk substructure. I hope you enjoy the videos – being there in person was pretty cool too! And, PS – I’ve invited Jill back in November – so stay tuned!

Faux fossils

This is kind of interesting – I’m doing some dimensional paintings for the La Vida show on Dec. 6th and have been experimenting with Activa Super-Light Air Dry Clay as part of the process. Look at these fossil-like shards – they weight about as much as a feather but look really cool, kind of like limestone:faux fossils

These were finished with Tsukineko walnut ink. I’m not sure how I’m going to use them yet, but I know I’ll include this idea in the Exploring Air-Dry Clay workshop on December 15. Scorpion fossil jewelry, anyone?

Hot Tip and a Friday Freebie on Saturday

I’ll make this quick – I’ve been working on my website and if I spend any more time at this dang computer, well . .it won’t be pretty. But the site looks better. You can actually find workshop info (and I scheduled another Earthshard session by request on August 25th). Anyway, here’s the Hot Tip from my friend Barb at Ann Pearce’s. If you use Altoid tins for stuff, like I do for Spirit Boxes, you can fire up the barbie and put them on the grill. It burns off the paint and leaves them nice and shiny, kind of a patina black. Works great! Thanks, Barb. Now . . . look carefully at that fine golden rooster pendant on the newly-blackened box – he’s the Friday Freebie! If you are a subscriber to this blog, SHARDS, you’ll be in the drawing for him. Sunday night’s the deadline.

Whoopee – off to the Studio – happiness is this computer in my rear view mirror!

altoids

Workshop notes . . .

Oh, no – she’s over-blogging again! But I did want to share some quick workshop notes and videos with you. valerieThere’s a Spirit Doll workshop this Sunday, and, as good timing would have it, I just received this photo from Valerie, who recently returned to her house in Freeport, NY after hurricane Sandy – she made this Spirit Doll using one of my face shards to celebrate the return. I love the colors and textures. Thank you, Valerie.

Last night was the Asian Painting workshop – great fun, lovely results from the participants. If you want to see me do a demo of the basics, click on this link. And here’s a video of the workshoppers and their artistry. They came as Grasshoppers and left as Masters 🙂

Transfer and acrylic workshop report

Workshop Report Card Grade is A+++! New workshops are tricky, and this one especially so because we were using a heat transfer on paper and then working with acrylics, which were unfamiliar to some of the participants – but should I have worried? Nah! Great results, great times, lots of learning and laughing. If you’d like to see the process itself, I demonstrate it here on YouTube, and if you’d like to see the participants’ spectacular results, just look at the photos (which, taken on my phone cause I forgot my cool new camera, don’t begin to justify the work). I also did a tutorial on another process we tried using Golden Fluid Acrylic Medium for transfers, here.


How (not to) fire a kiln

Being away from the Studio for two weeks meant playing catch-up when I got back. There were a lot of things I could do art-wise while I was gone, but creating earthenware and firing it was not one of them. Sunday was Clay Day – I made about 60 small and large face shards and small sculpture pieces such as pendants. Monday was hurry-up-and-dry-so-I-can-fire-the-kiln day. I loaded the kiln Monday afternoon even though some larger pieces were still damp (gulp). This is a huge NO-NO. I don’t want to see you guys trying this.

Do you see the little face on top of the big face? It’s completely dry – you can tell because it’s white, but the big piece underneath is gray. It’s damp, and anyone with any sense wouldn’t fire it at this point, but I propped the kiln lid open, let it stay on Low for a few hours, and crossed my fingers that it would dry out and not shatter in the firing.kiln1

There’s really nothing mysterious about loading and firing a kiln. Most electric kilns like my Skutt have a kiln-sitter that uses a pyrometric cone made of clay. The cone is designed to melt at a specific temperature (in this case, about 1800F). When it melts, a three-prong device trips and turns the kiln off. That metal rectangular thingy has dropped down, indicating that the #05 cone on the inside has melted.

kiln2

The Kiln Gods were kind – nothing broke, amazingly enough. Here’s the first tray just out of the kiln, still very warm.

kiln3

Here’s the bottom layer, waiting to be unloaded. If you look on the right, you can see the slumped cone and the tripping device with the middle pin in the down position.

kiln4

So despite my Bad Practice of loading damp greenware, I got away with it – this time. These pieces are now ready for me to figure out how to use them – as Scent Shards? Sculpture pieces? Stay tuned 🙂

kiln5 kiln6


Hamburger Transformed

Sorry,  I’m probably “over-blogging” from Boston, but rarely do I have such a stretch of time to experiment with art and write about the weirdness of the process. For example, my Taos teacher Gwen Fox always says, “Start with a thumbnail from an existing picture.” So I found this hamburger in a magazine (fig. 1) – it looked interesting through the paper window (or maybe I was hungry). I turned it sideways and sketched in the shapes which started morphing into abstract figures. (fig.2). I tried to make the two figures balance and relate, but it became obvious that the figure on the left was dominant, so . . .whack! Off went the second figure to be used elsewhere. (fig. 3) I put a very few finishing tweaks on the left figure and, when matted, it is intriguing and colorful. (fig. 4). I think I will name it “McDonald.” Or maybe “Hunger and Evolution.” Isn’t art fun??

Note to self – quit while you’re ahead

Having all of these fantastic new art materials to try is great, but I keep making the same old mistake  – trying to fix a painting or collage by adding more stuff. Arg. It’s really tempting when there are a zillion colors to choose from, especially when you’re working small like I am on a dining table in my temporary Boston “studio.” . Here’s an example of a really awful painting that I tried to save by piling on more layers of color, scratching into the layers, adding gold leaf, spraying with walnut ink – all the usual tricks. I even cut a hole in it! Ewww. What a mess.

abstract4
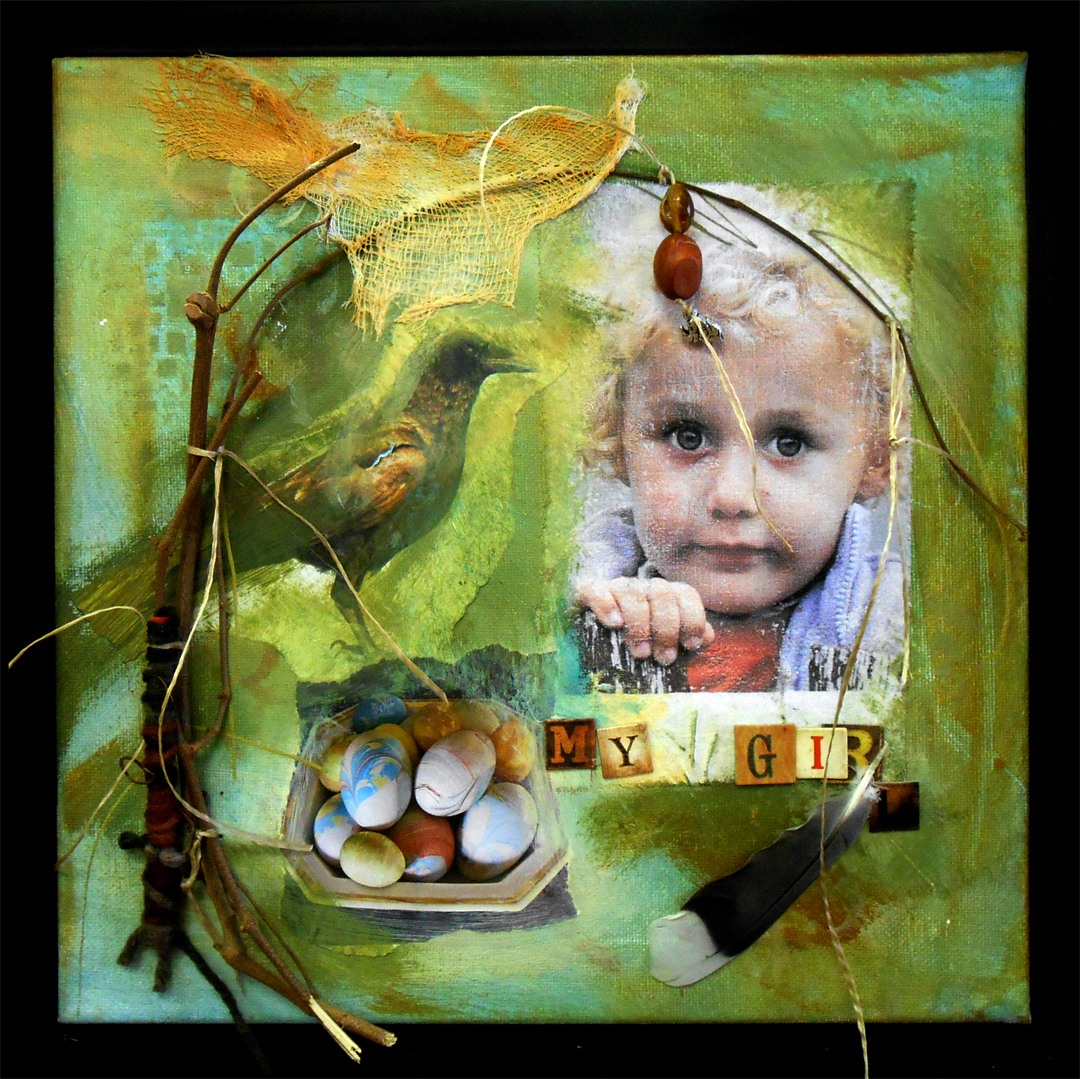
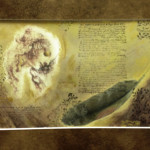
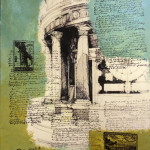
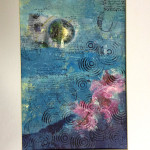
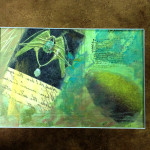
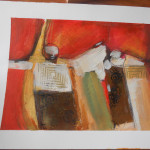
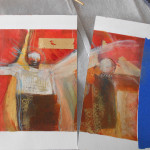
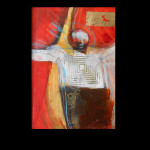
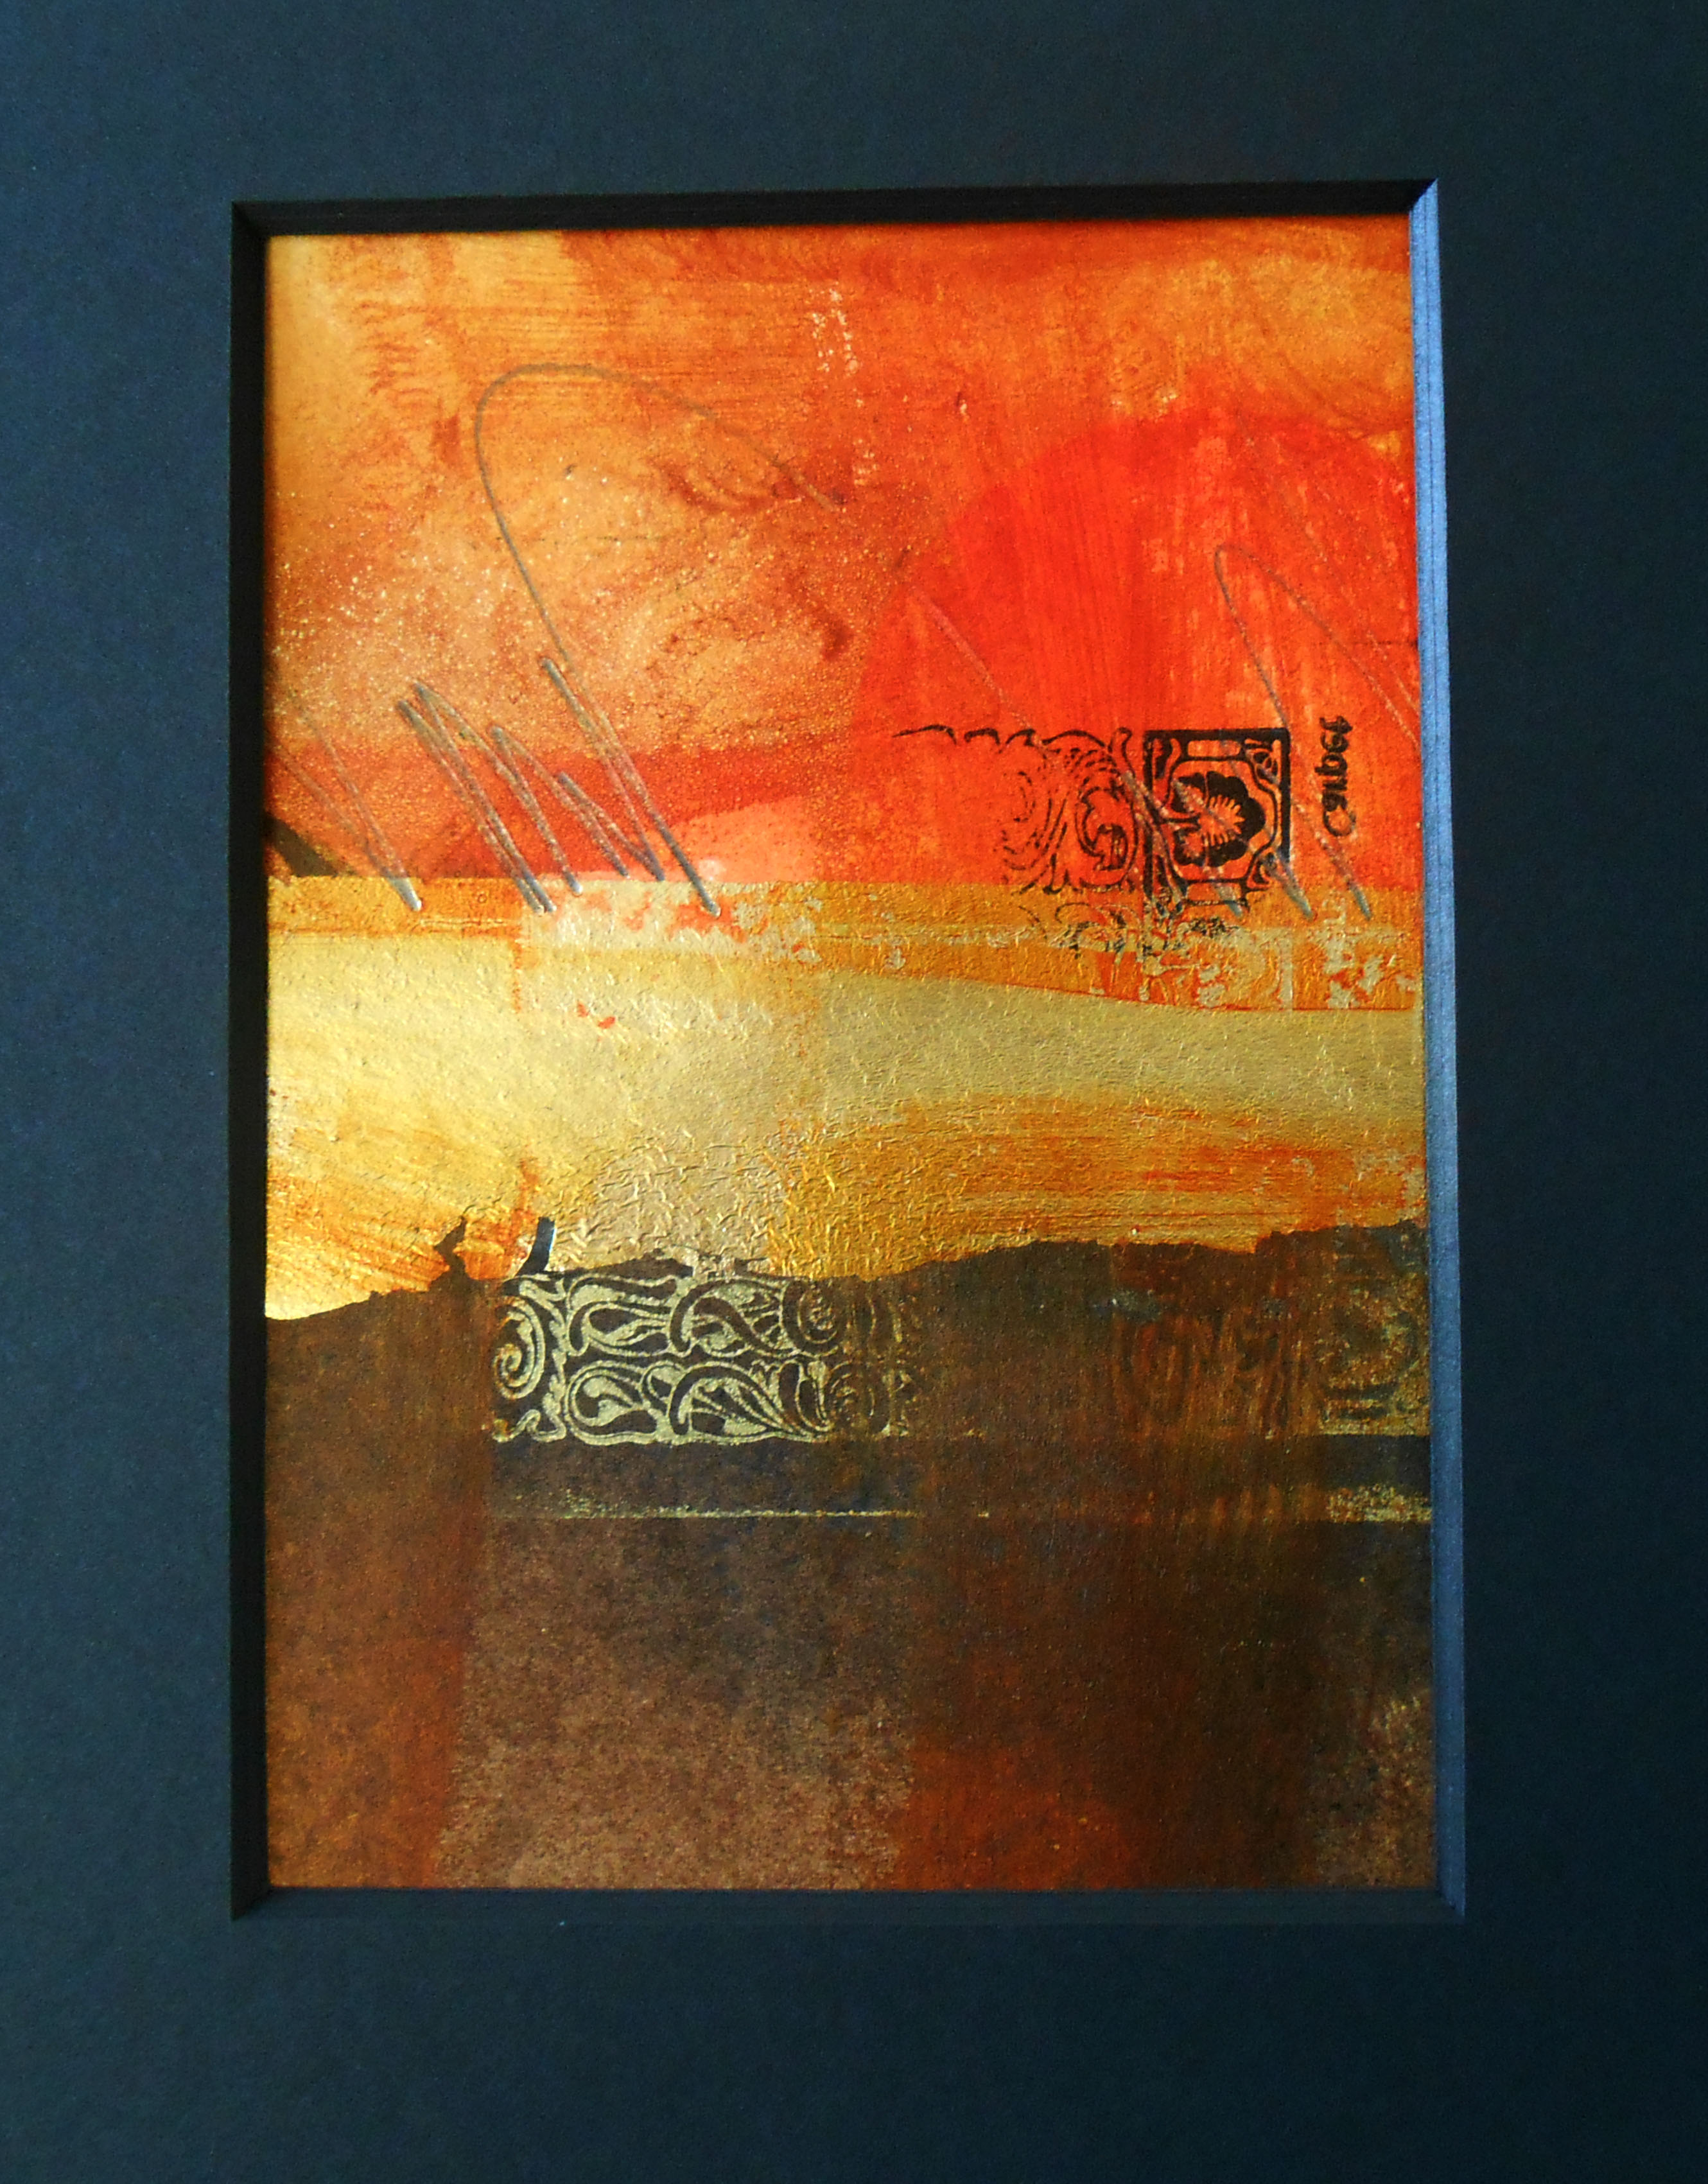
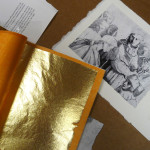
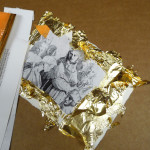
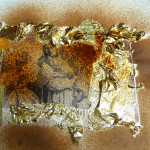
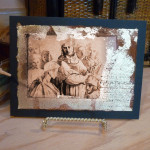
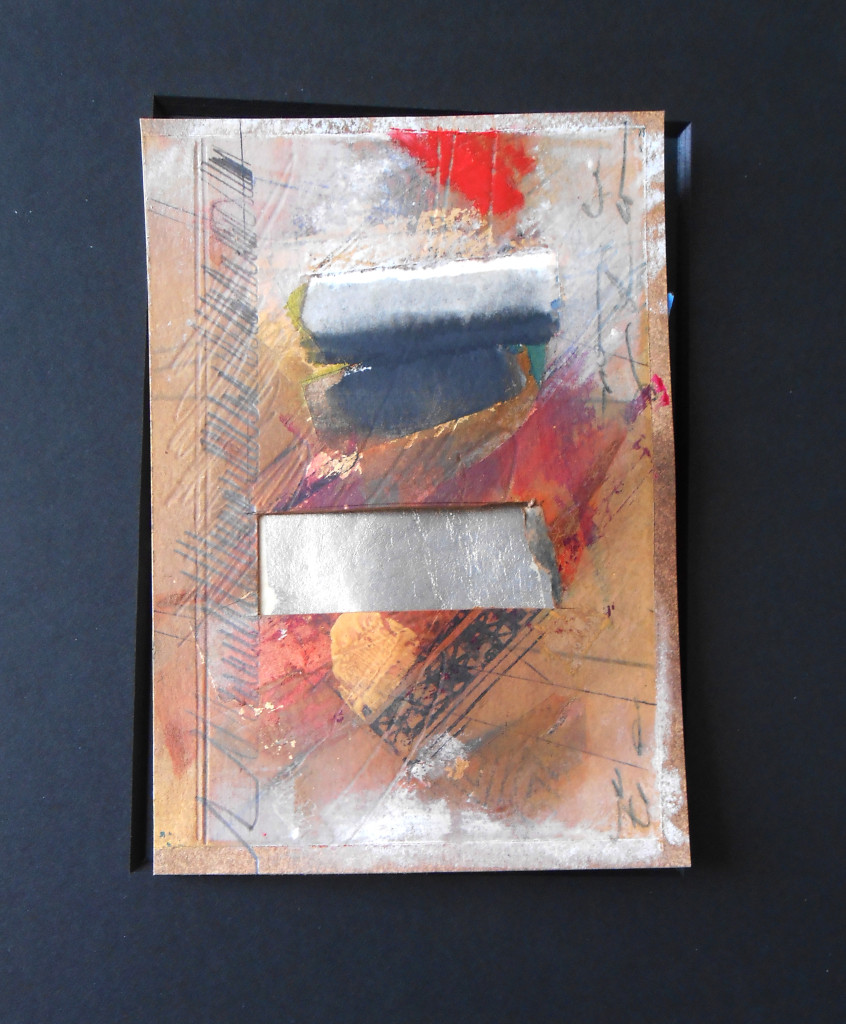
Here’s the next one – it might not be finished, but it isn’t overworked.  I simplified the composition and the palette, and then stopped. Sometimes less is more. (Except maybe for gold leaf, walnut ink, chocolate sorbet and Diet Dr. Pepper. :))

abstract2

3-PART ART #1

So I was thinking about new workshops and such, and I thought it would be fun to share some quick and easy techniques that you can do with just three “ingredients” (there are a bunch of cookbooks like that*). The first of these is a Reanissance-esque little collage on watercolor paper that can you can use as a card or a cover on a box or – whatever you can think of. Here are the three ingredients (yep, they include my favorites):

  • Walnut Ink (made by Tsukineko, available at Michael’s and Jo-Ann’s or online)
  • Fake gold leaf (ditto)
  • A black and white page from an old art catalog or art book from Half-Price Books or wherever you can find pages to recycle

Here are the steps:

Idea – if you have an art “ingredient” that you bought and don’t know what to do with, tell me what it is and I’ll see if I can figure a three-ingredient project to use it with. Hey, and don’t forget about the Sacred Ground show today!

*PS If you want my favorite three-ingredient food-type recipe, click here 🙂