 As you might guess, I’m excited to be teaching at Artful Gathering Online Art Retreats 2016, June 6 – July 17 and July 16 – August 26. The preseason kick-off includes the Artful Gathering annual Hop Contest. I’m one of the featured instructors this week! Just follow this link
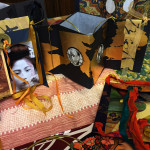
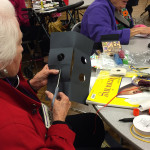
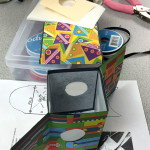
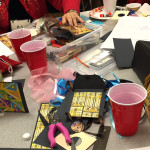
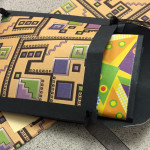
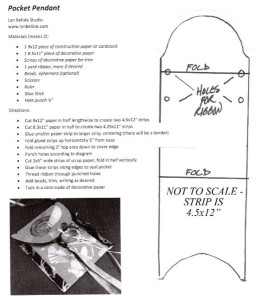
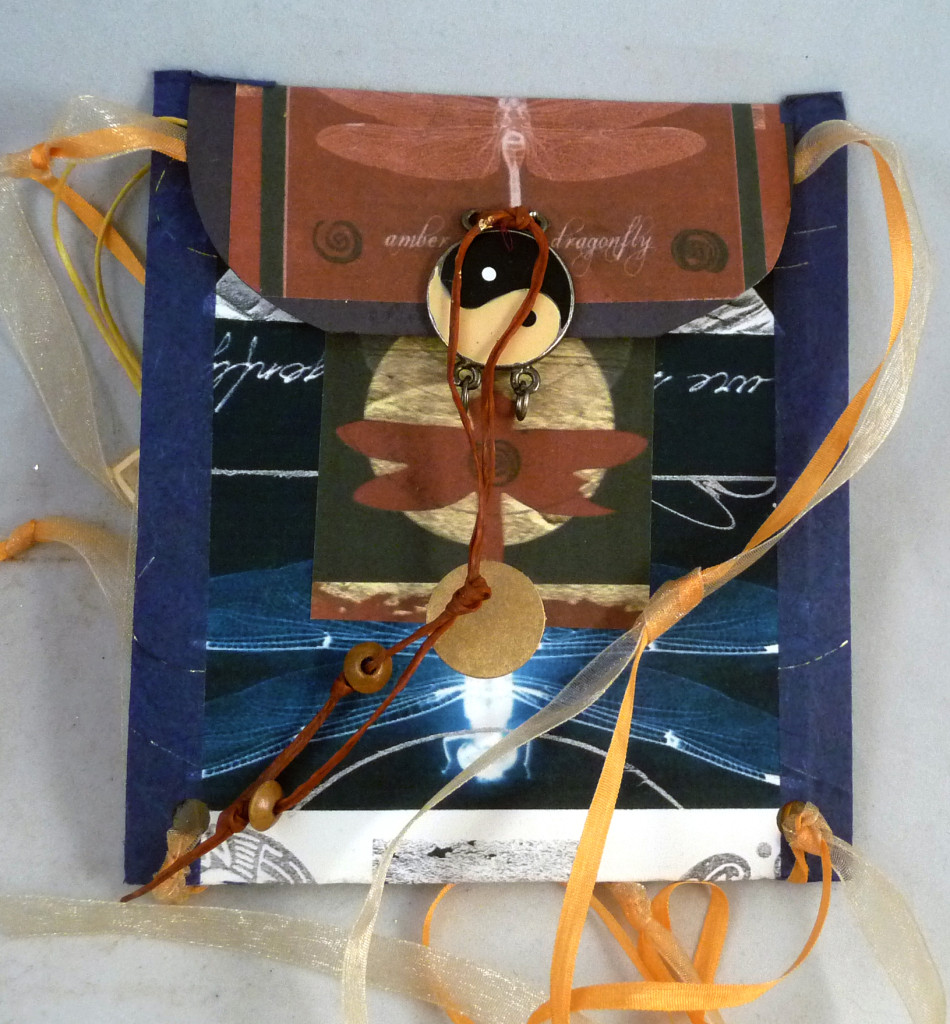
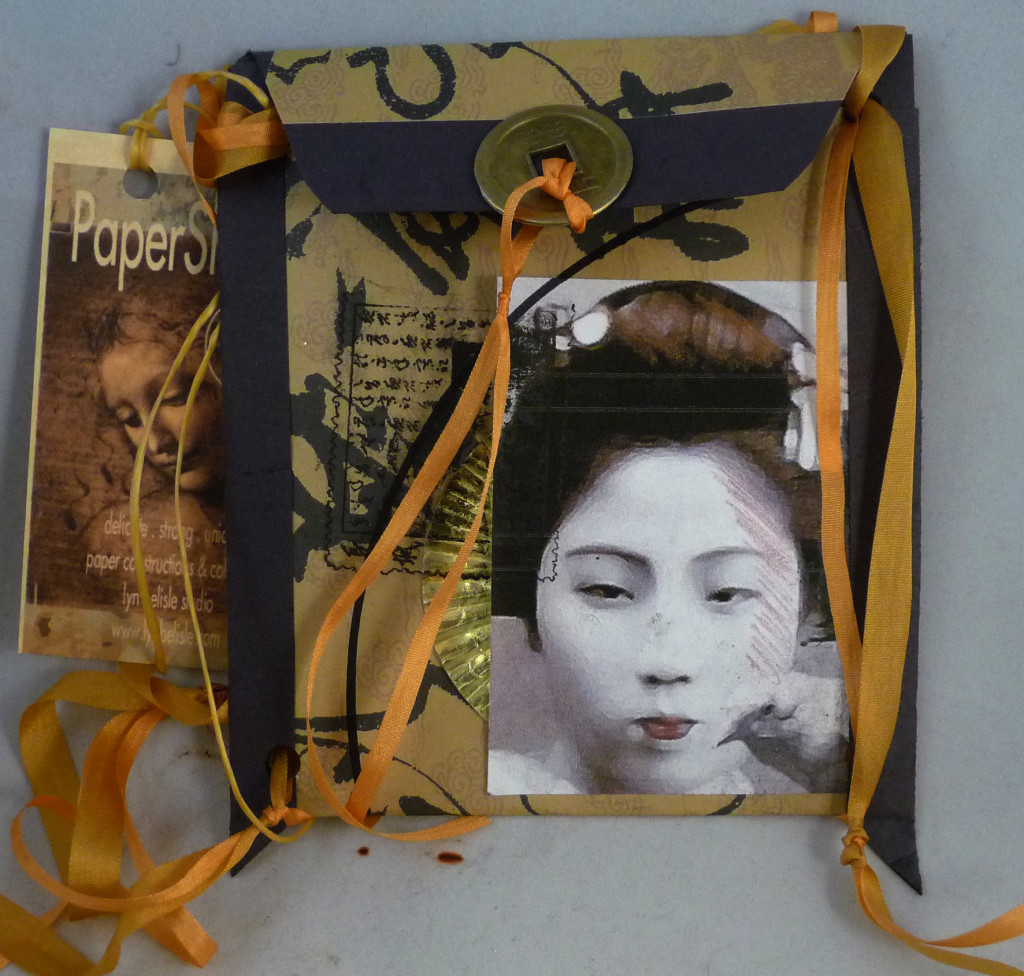
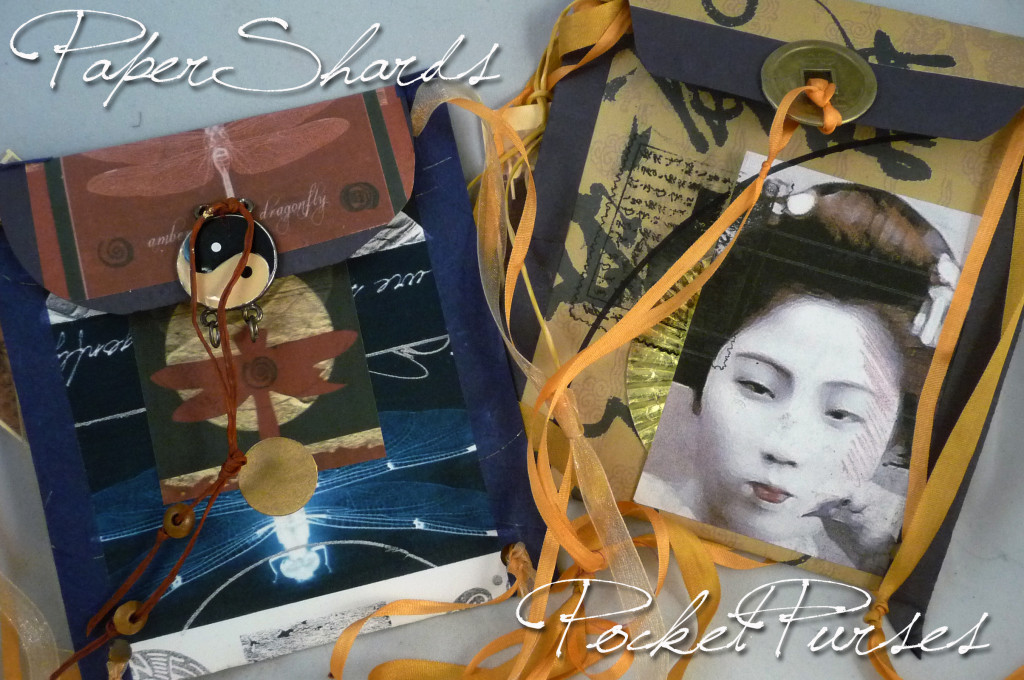
These are the two uber-nifty classes I’m teaching for Artful Gathering – both designed by yours truly –
A Story Within a Story: Narrative Collage Covers for your Personal Technology & Journals and The Mystical Cat Shaman. Be very afraid of that cat one – Meow!
What’s in it for you, you ask? When you join the class for just $85 each session, you get almost three hours of video instruction right from my studio, plus “live” feedback in our online classroom. And these workshops are never “sold out.”
This is my third year with Artful Gathering, and I wasn’t sure how it all worked when I first started. But it’s very cool! And you can come to class in your PJs! Registration opens on May 1st. Hope to see you at Artful Gathering!
 Now – – on to ARTFUL ABSTRACTION.
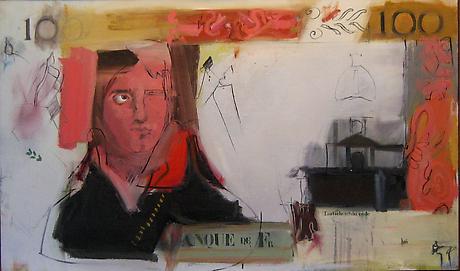
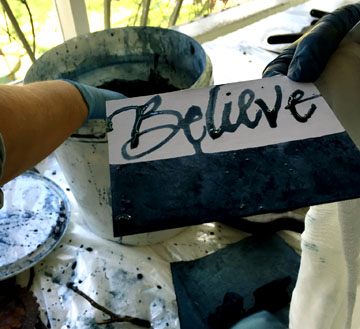
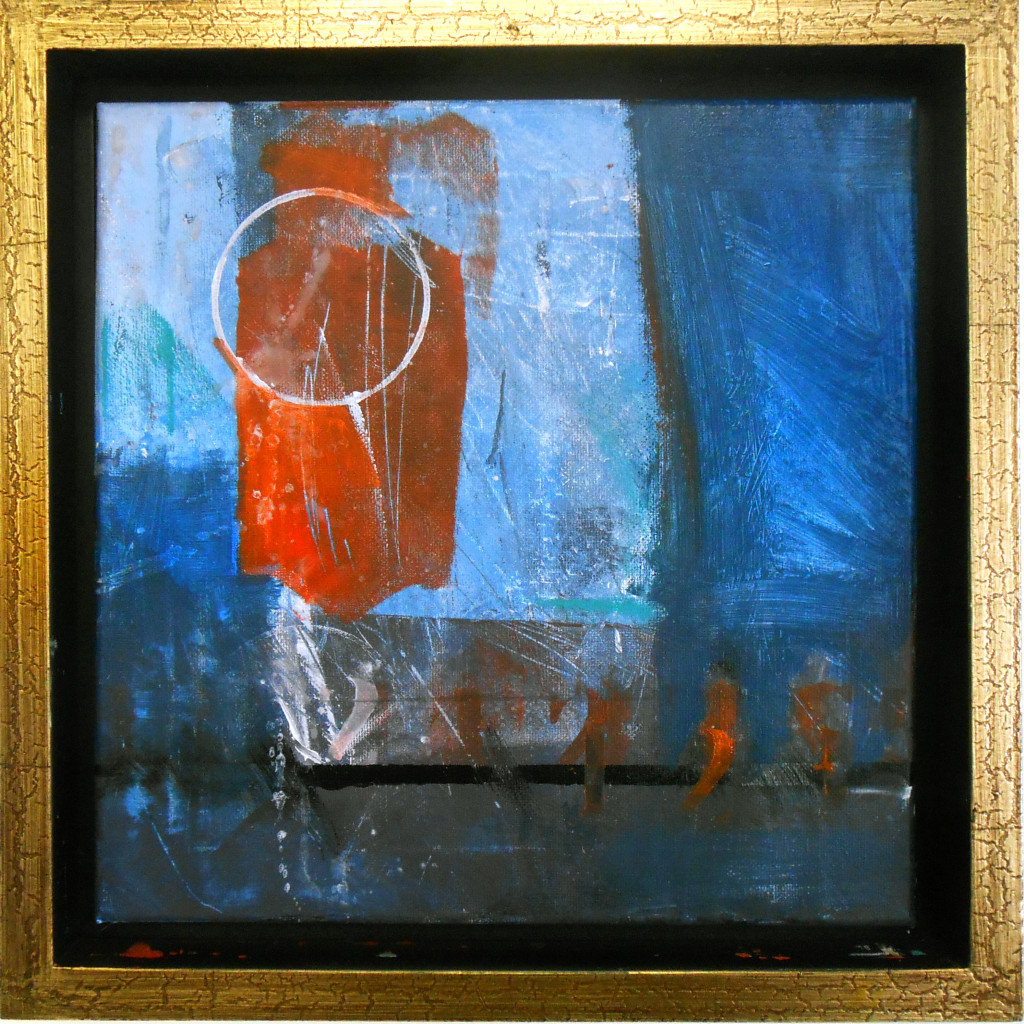
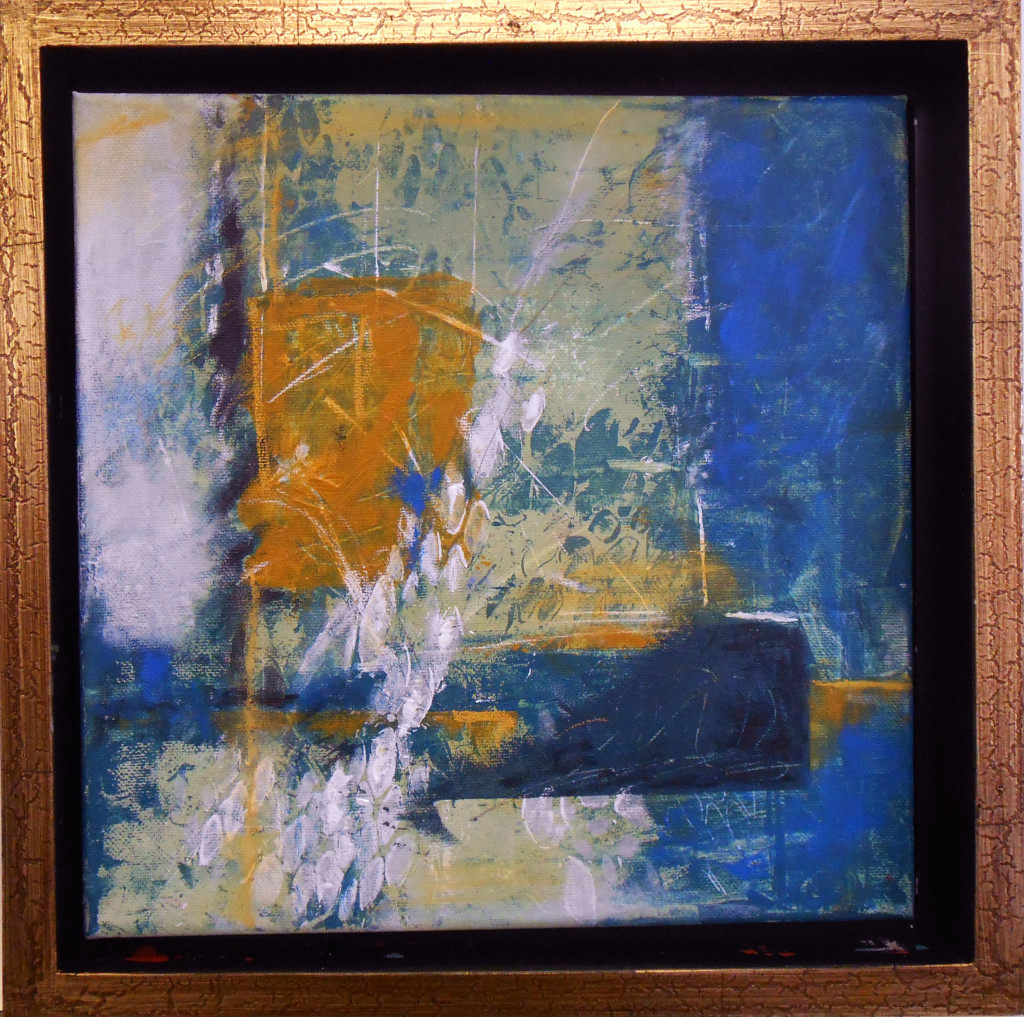
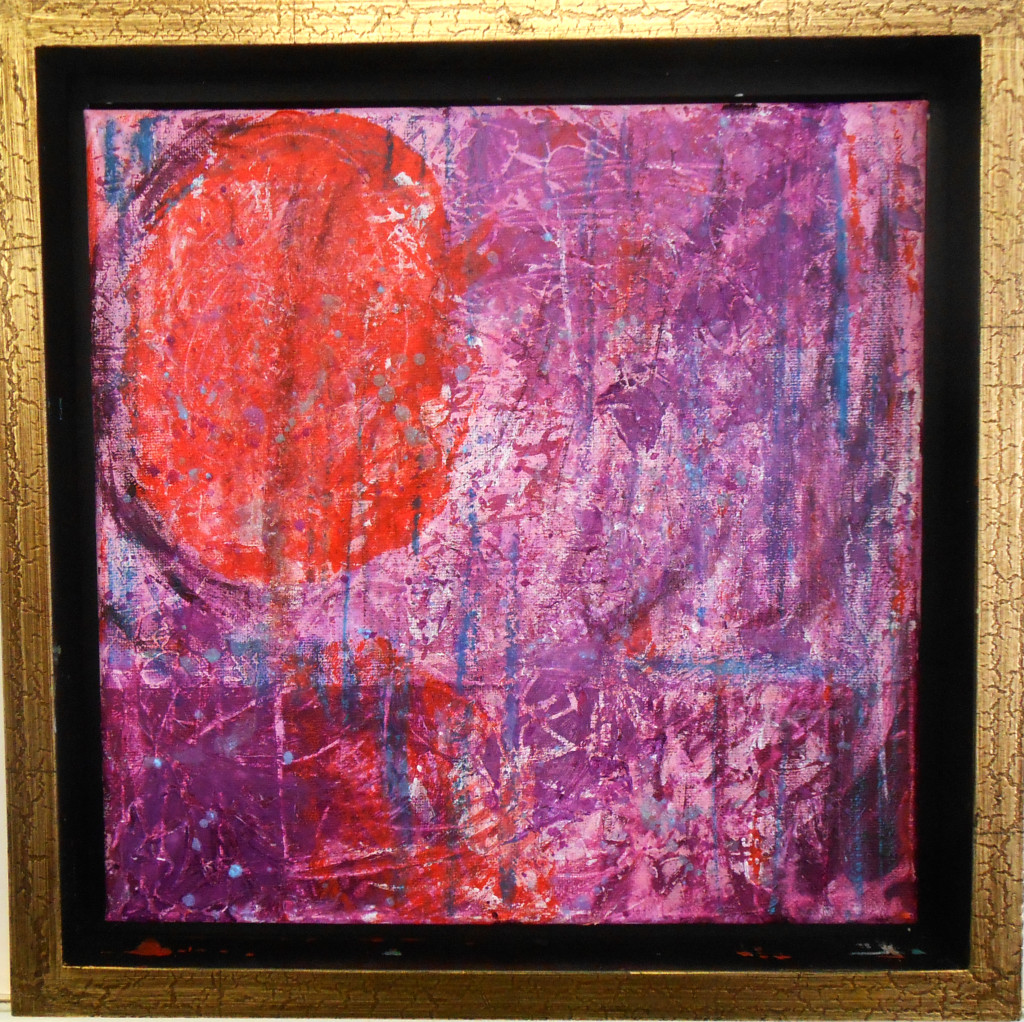
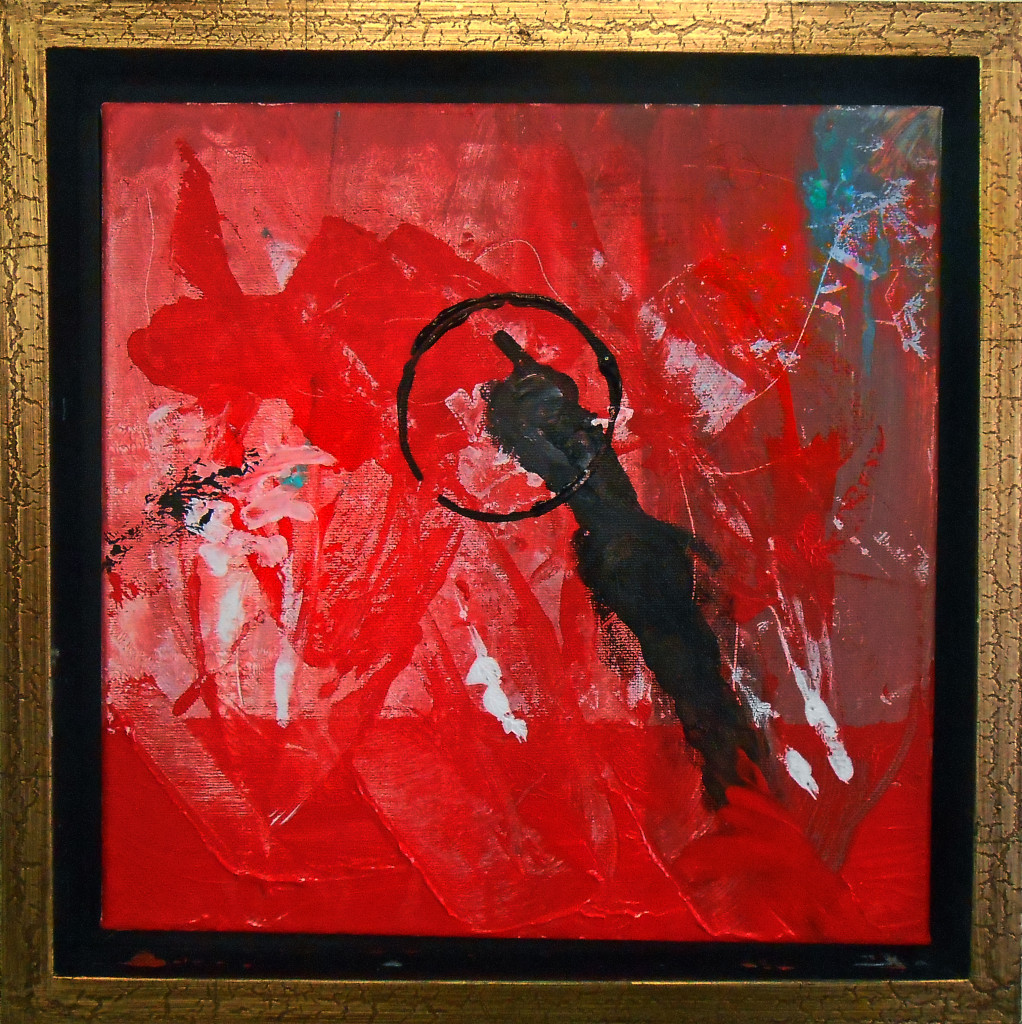
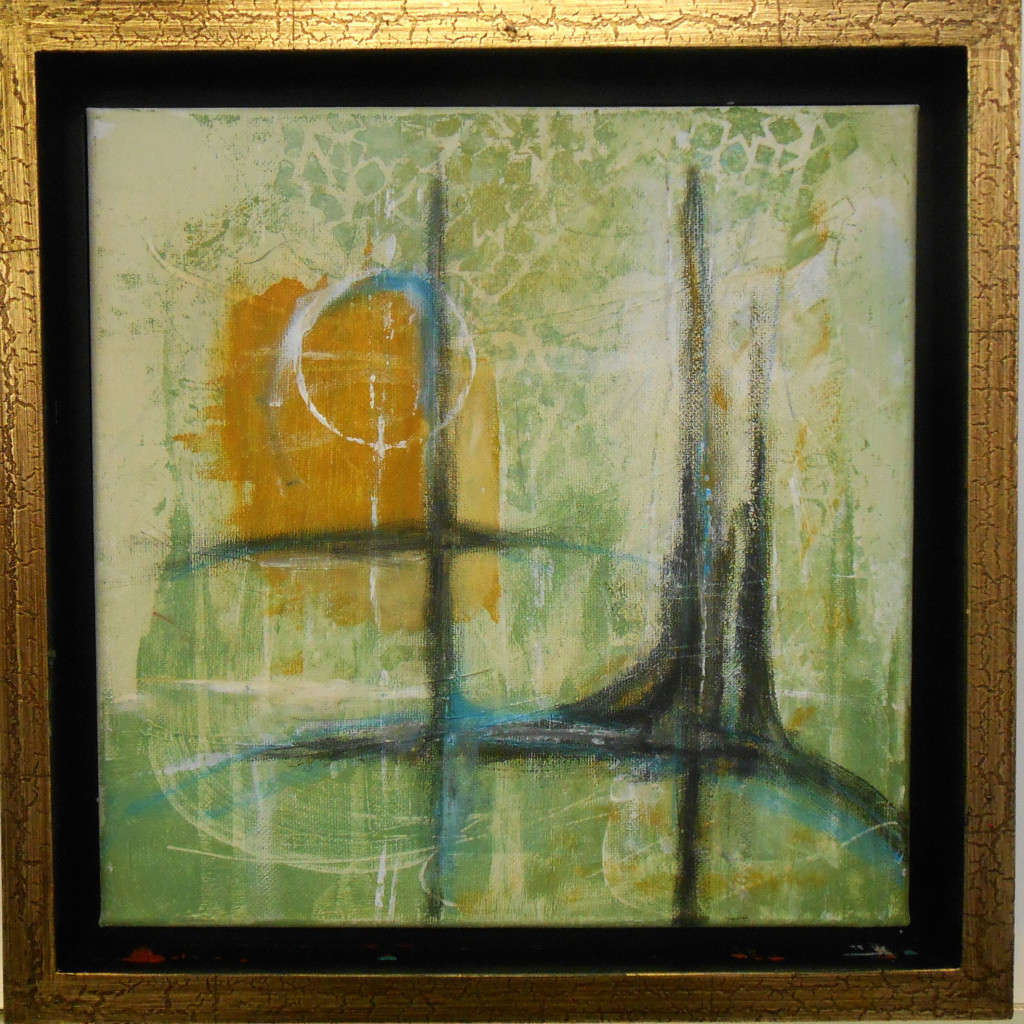
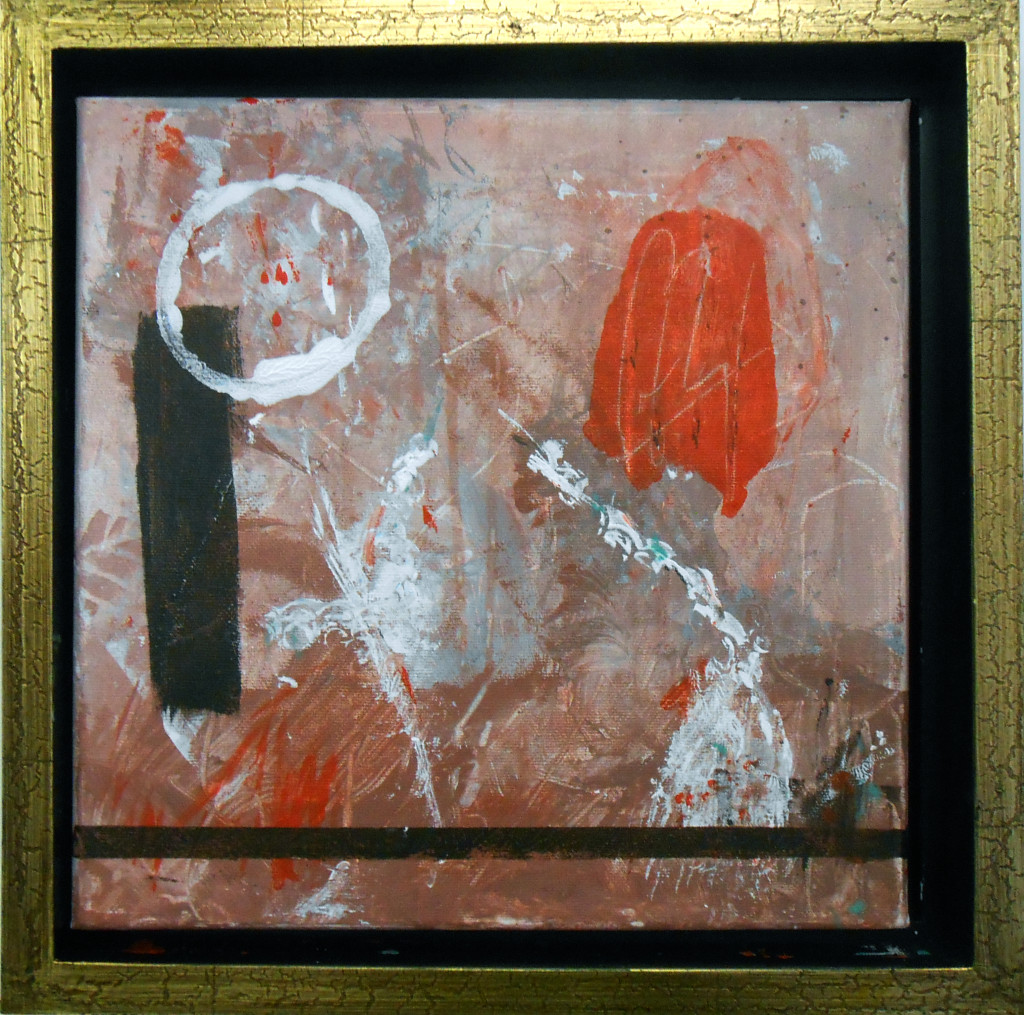
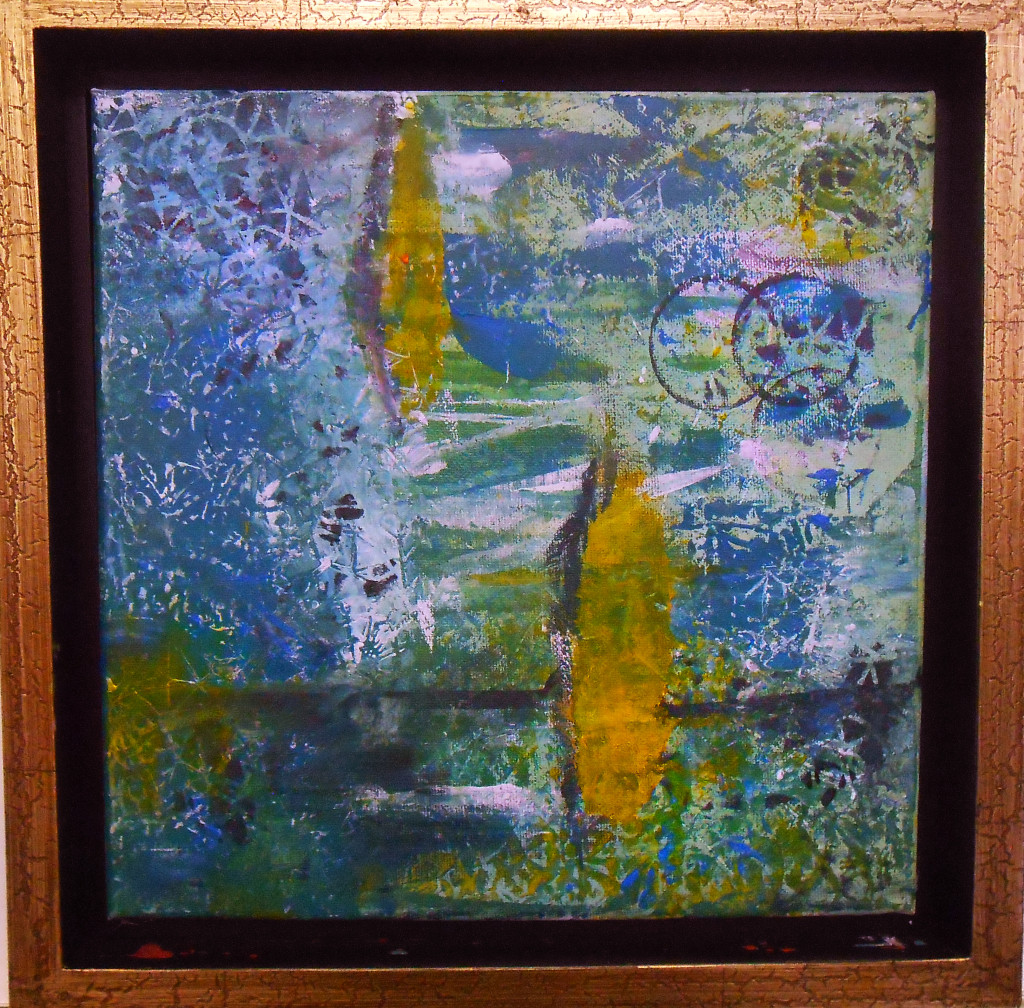
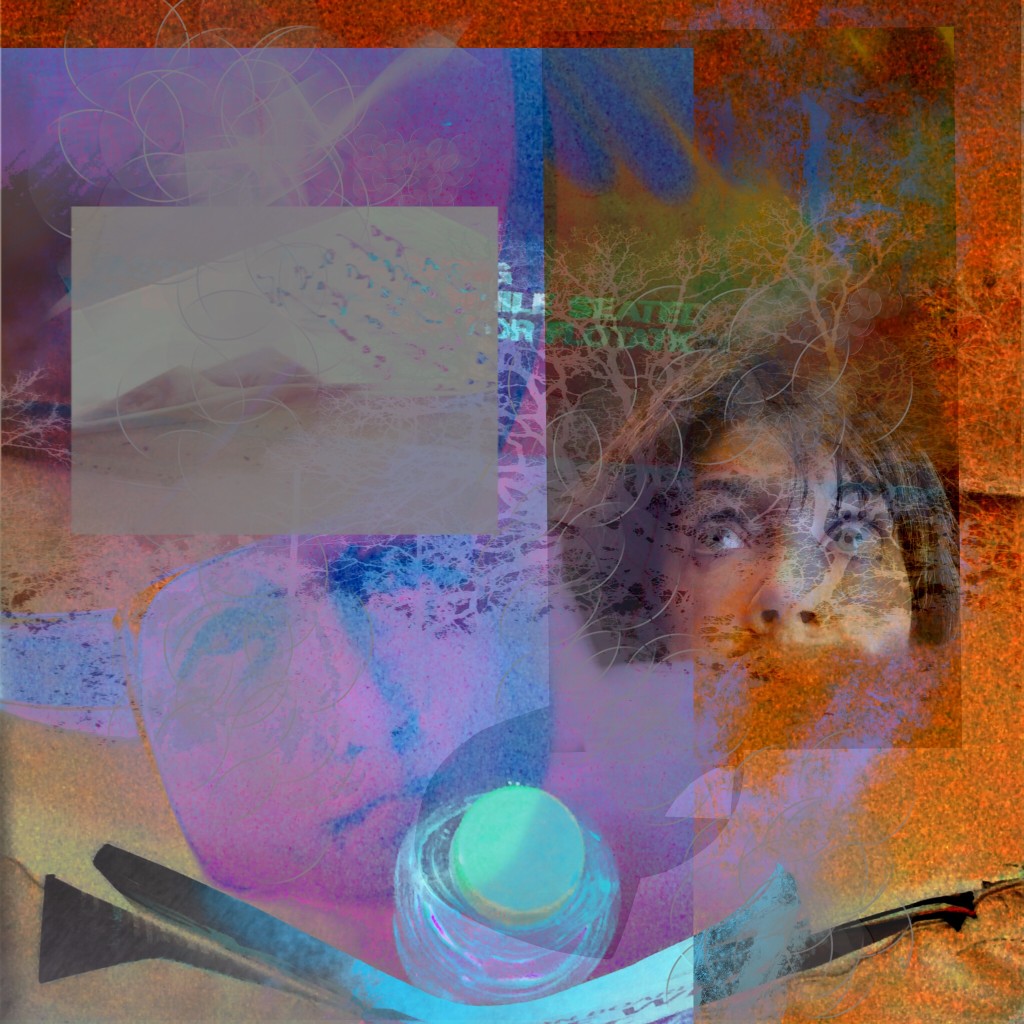
Wednesday’s workshop, Abstract Acrylic Exploration, was hard work – just ask any of the participants! Painting from an abstract perspective is like walking a tightrope without a net – there are no representational objects to look at. You are on your own, trusting the process and making decisions every moment while trying not to over-think. It’s tough.
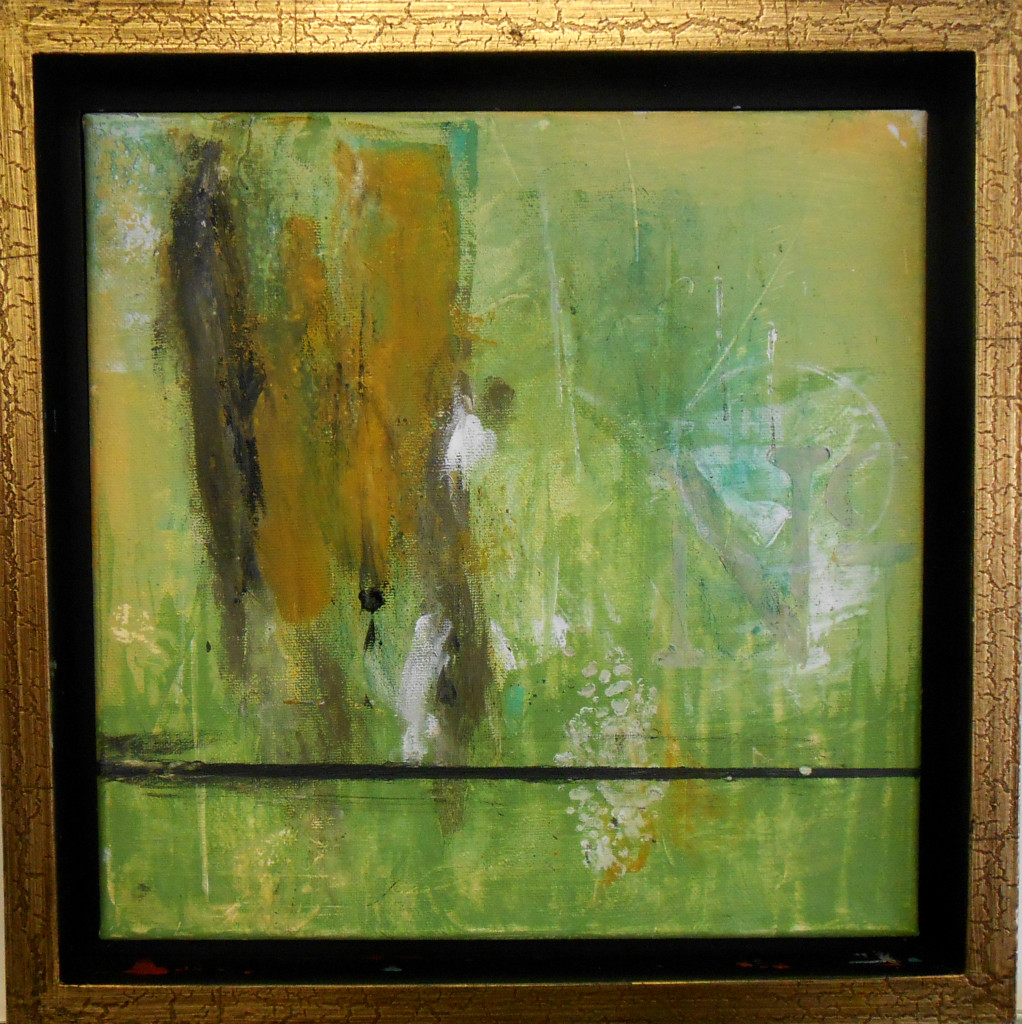
I am so proud of their results! Each of the students had the same guidelines (layers, textures, limited palette with just two colors on a 12×12″ canvas) but individuality ruled! Take a look at these amazing abstracts – intricate, passionate, personal – nice work, everyone!
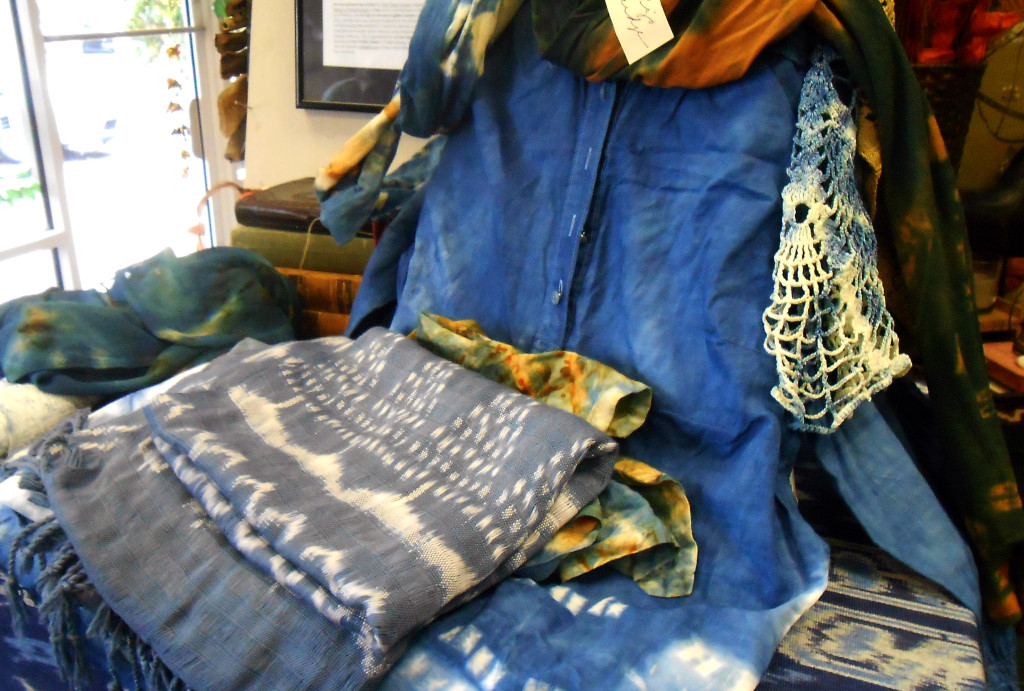


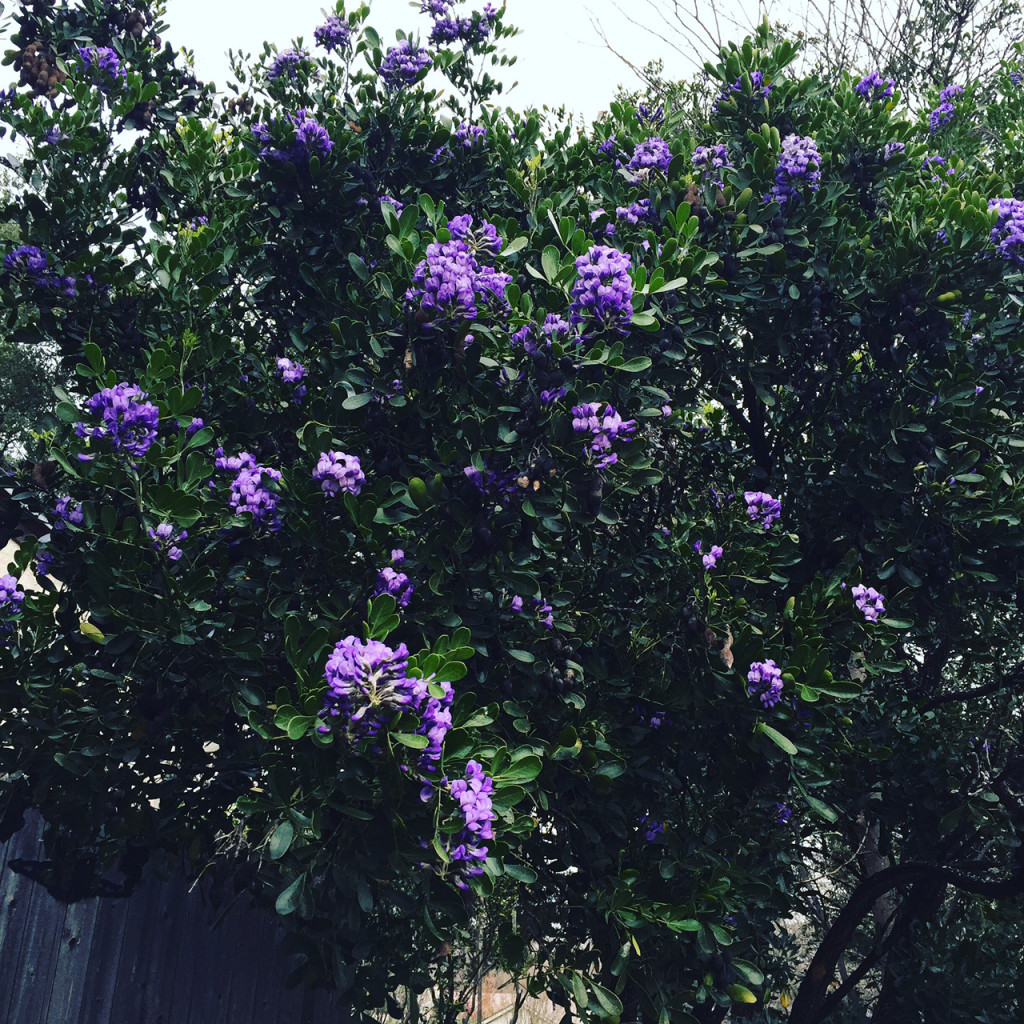
 Last night, I visited the