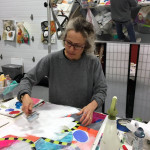
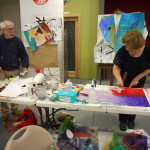
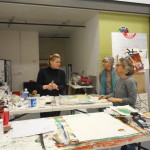
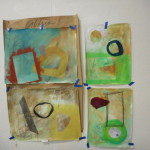
I will never again underestimate the artistry that goes into a pair of earrings designed by nationally-known artist Dale Jenssen – her skills are impressive. She taught two days of detailed metal jewelry techniques at the Studio this weekend, and her students produced some amazing work (see the video, below).
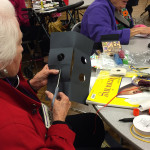
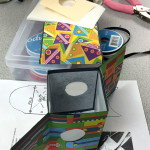
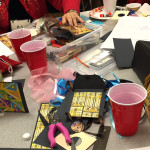
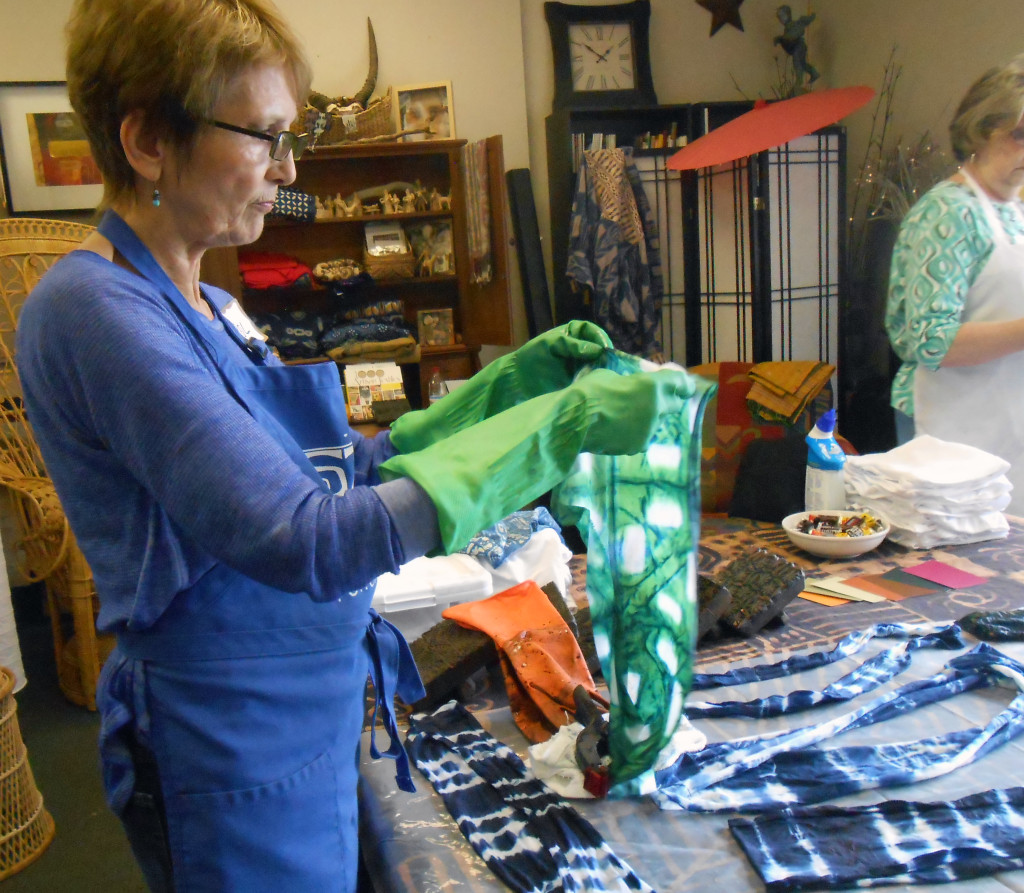
I have been a fan of Dale’s for years and have collected some of her work – earrings and a treasured mirror – but working with her gave me new insights into her talent and experience as a designer and craftsperson. She provided an array of materials for students to choose from, then led them through the process of cutting, finishing, and assembling their pieces using tools like the drill press, grinders, punches, and wire brushes. It was cool!
Dale’s metalwork is featured in Artful Home as well an in galleries and public and private spaces through the United States. Here are some of her iconic sconces. She also does custom work and special commissions. I am profoundly grateful to her for sharing her skills with us!

Sconces by Dale Jensses in Artful Home
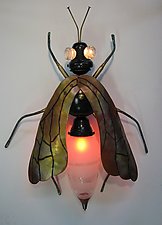
Wasp Sconce by Dale Jenssen


 Last night, I visited the