Lyn Belisle Studio: TOP TEN NON-ART Studio Essentials That I Can’t Live Without
Here’s my list – what’s yours? Share these with a friend 🙂 Next week I’ll have a list of the 10 ART PRODUCTS that I can’t live without.
1. Baby powder
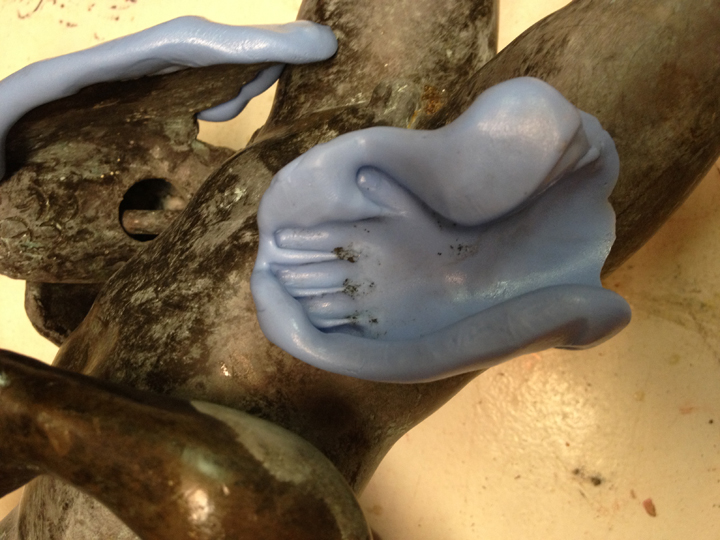
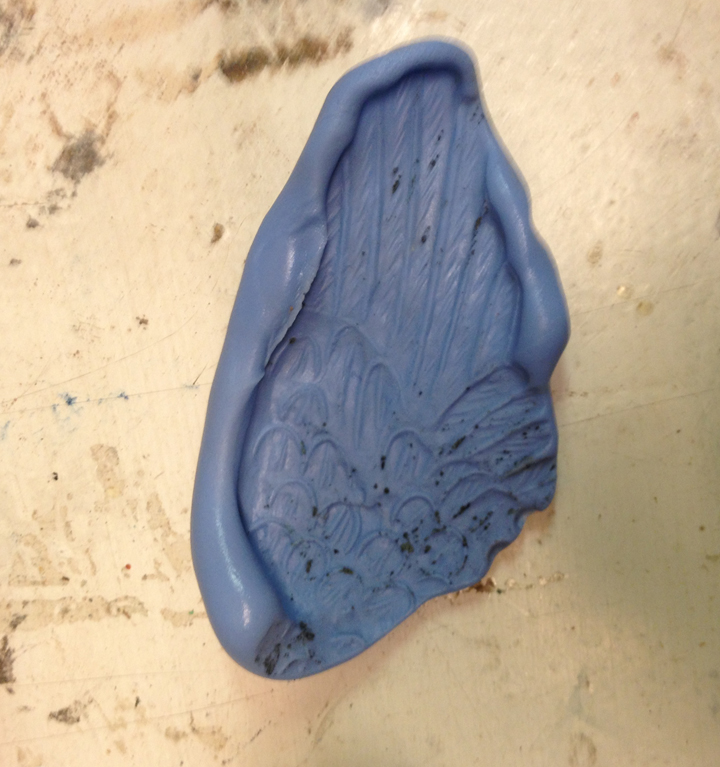
 I use this to dust the inside of air-dry clay molds to keep them from sticking, to “de-stick” my hands temporarily when I’ve been using spray adhesive, to dull down a shiny gel acrylic surface, among other things – Johnson’s smells the best to me – makes me all nostalgic
2. Blue Painter’s tape
 Masks the edges of watercolor paper, makes irregular stencils for stamping and painting, use to tape around unfolder paperclip to make a handle for a quick cutting tool, put strips sticky-side-up on work table to keep cat from stepping on work in progress (sorta works as a distraction when they try to shake it off their feet) – and so much more – available in bulk from Uline
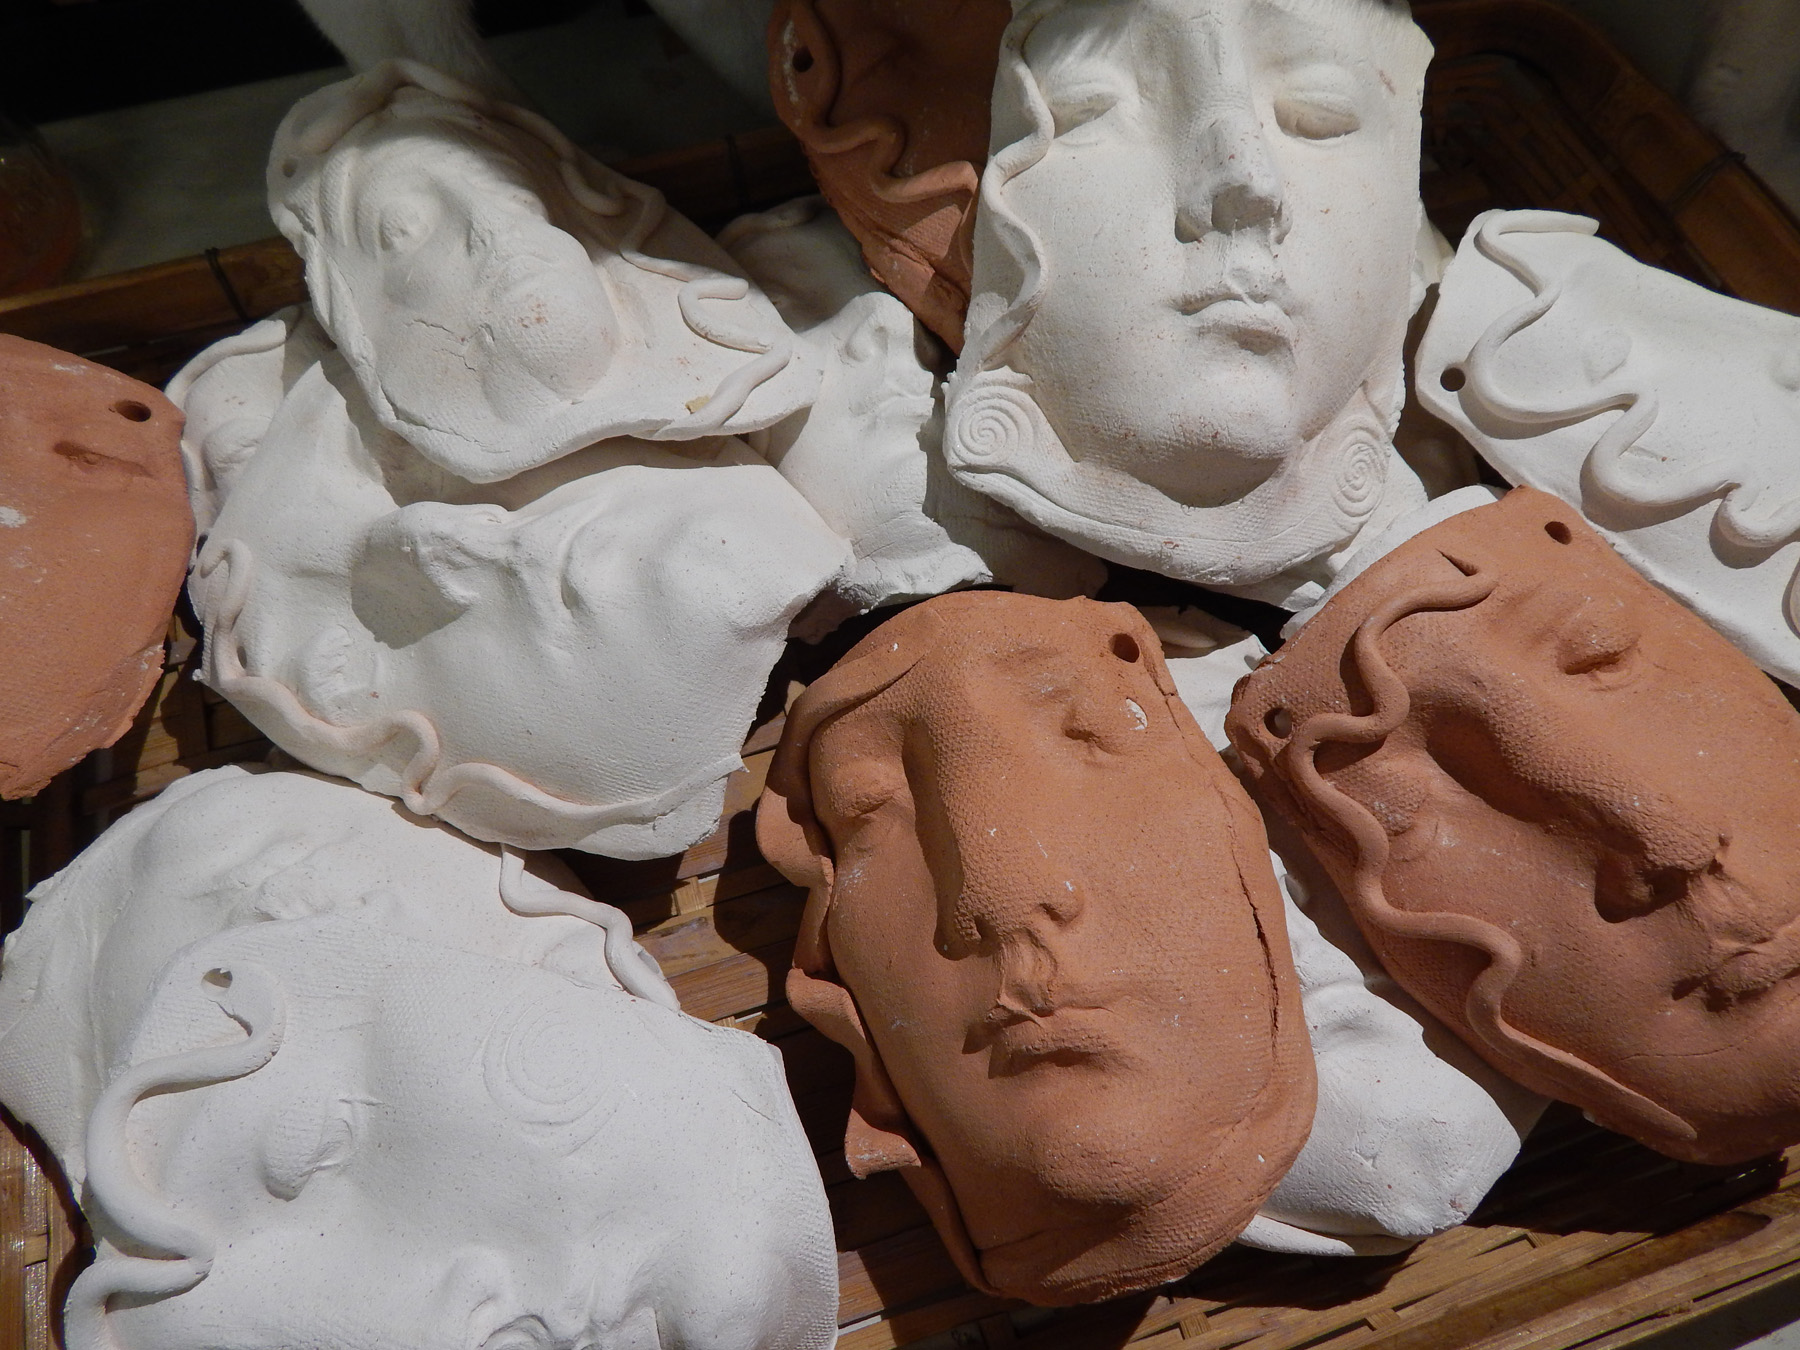
3. Canvas clay cloth
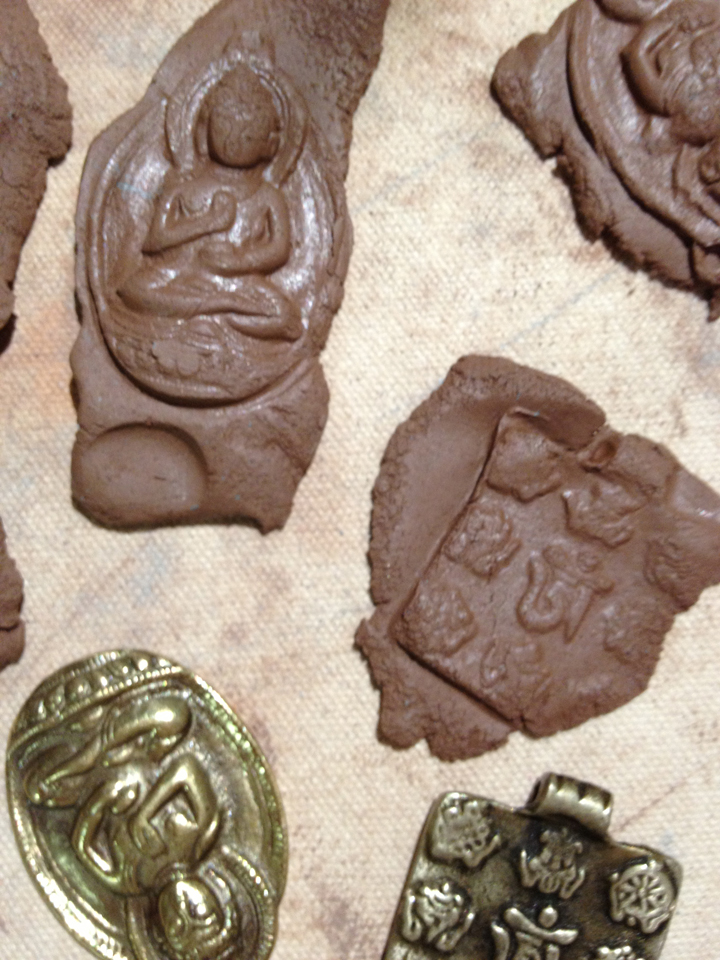
 I can turn my painting worktable into an earthenware clay workspace in an instant with this – it unrolls and has a great canvas non-stick surface for rolling out clay slabs. It also makes an instant “clean” surface for projects of any kind of you keep the back side un-clay-y – available at ClayWorld
4. Cheap white washcloths
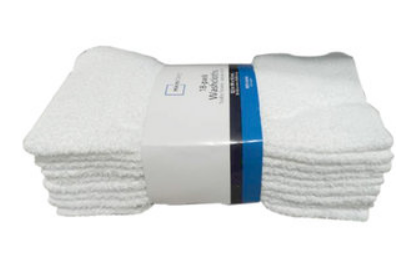 I really could not do without these – clean-up, texturing, wiping walnut ink off clay – it goes on and on. I wash them and use them over and over, and they are cheaper than paper towels and more ecologically responsible – $4 buys a bundle of 18 at Walmart
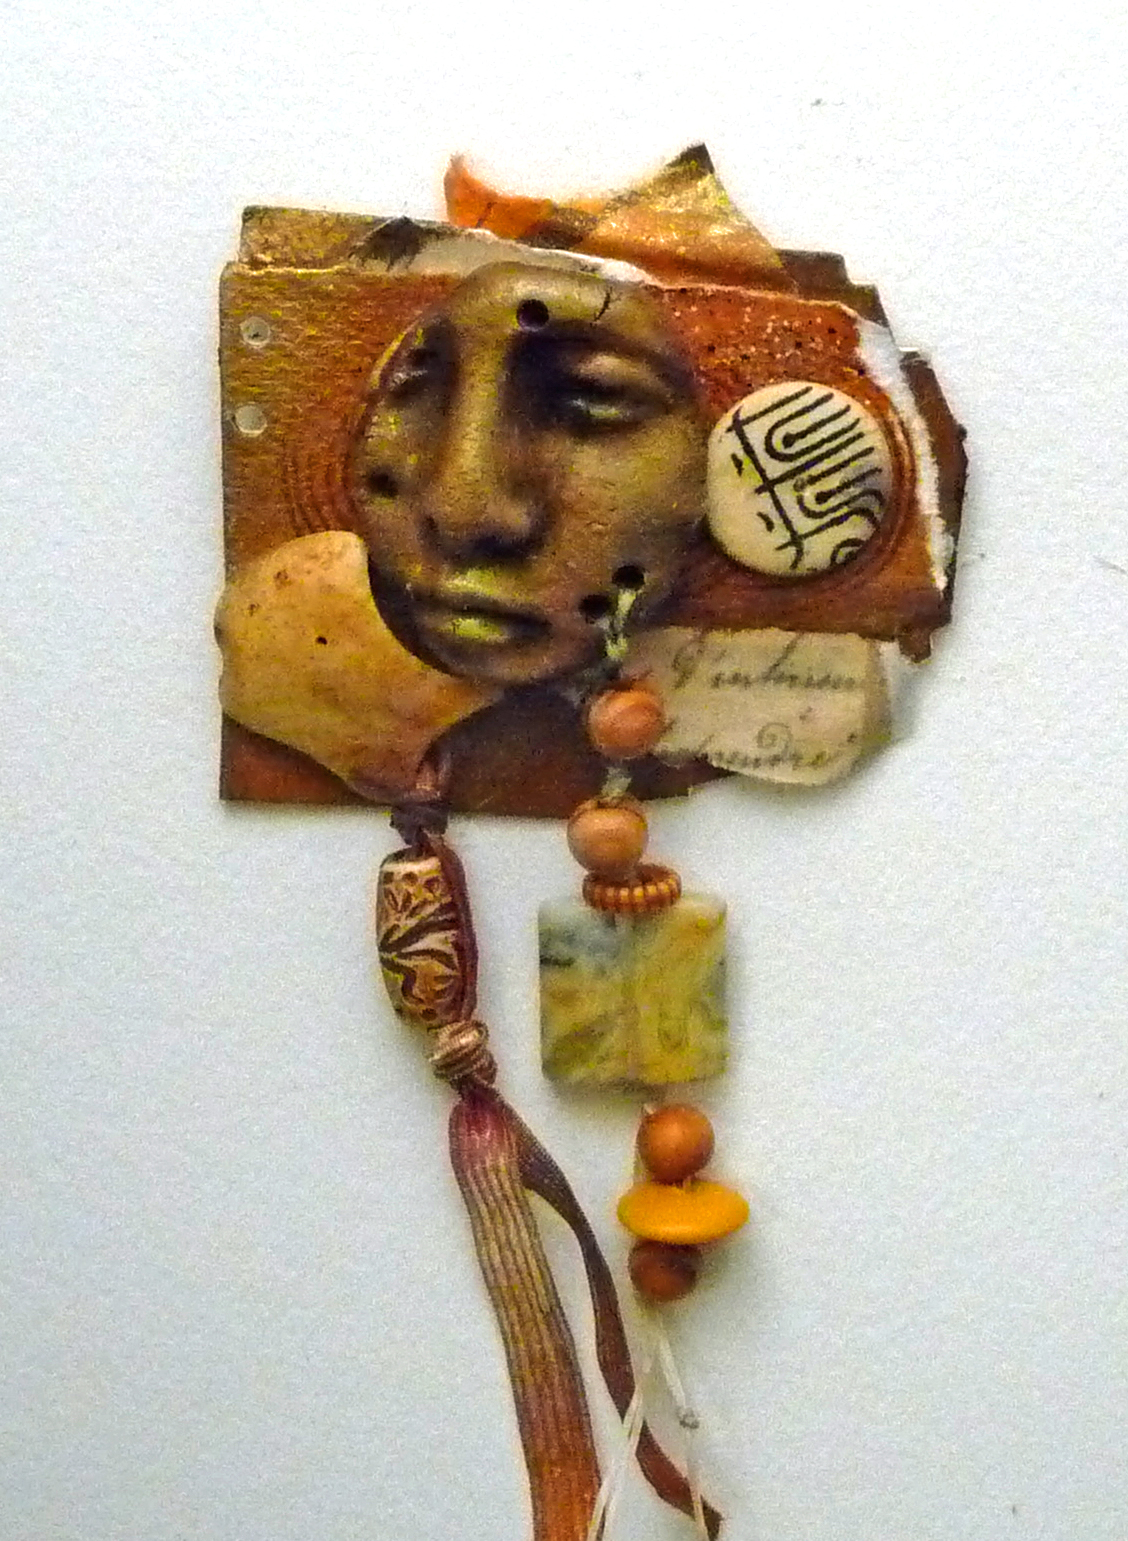
5. Drinking straws
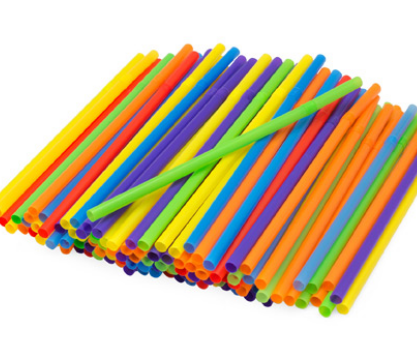 Let me count the ways I use these – hmm, ok, to poke holes in clay face shards and adornments, to cut into 2” sections and use as channels for cord backing on pendants, as cores for paper beads, drinking Diet Dr. Pepper – and so on. Get both sizes, the standard ones for big holes and the little coffee ones for smaller holes. Available at delis and coffee shops everywhere. If you happen to need 900 of them, get ‘em at Uline for less than $4.
6. E6000 adhesive
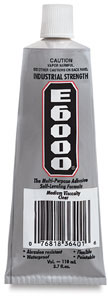 A sculptor in Colorado Springs told me about this, and the stuff can stick metal to glass and glass to rock, paper and scissors – you get the idea. It’s good stuff, kinda looks like silicone gel. Most artists and jewelers know about it, but just in case you didn’t, you can get it many places, including Michaels.
7. Heavy-duty hole punch
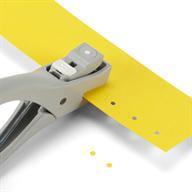 This is the only semi-specialty item on the list. I use it for punching holes for stringing beads, for book binding thread, for tags – it’s great. It will punch through thin metal and heavy mat board easily. Mine is from EK Tools. Worth the $15 price tag over and over, and you can get it in two different hole sizes. I have both.
8. Lavender Essential Oil
 You guys know that I’ve studied aromatherapy since the 80’s – and lavender oil is great for balancing your frantic mood when things aren’t going well in the studio – just a sniff will calm and refocus. But it’s also the best thing for burns, and I keep a bottle right next to my hot-glue gun. It’s saved me from having more than a few blisters. It works for mosquito bites, too, and can take off gummy residue better than goo-gone. You should have lavender essential oil just as a general principle in your life – great stuff! I recommend Aura Cacia, and you can read about it here.
9. Nashua Clear Duct Tape
 The perfect tape for book-binding, labelling, tape transfer – it tears cleanly and is super strong. I must go through a roll a week at the Studio. I used it to attach the covers for my custom e-reader covers and have been using it and recommending it ever since. It’s made by Nashua and is available at Home Depot.
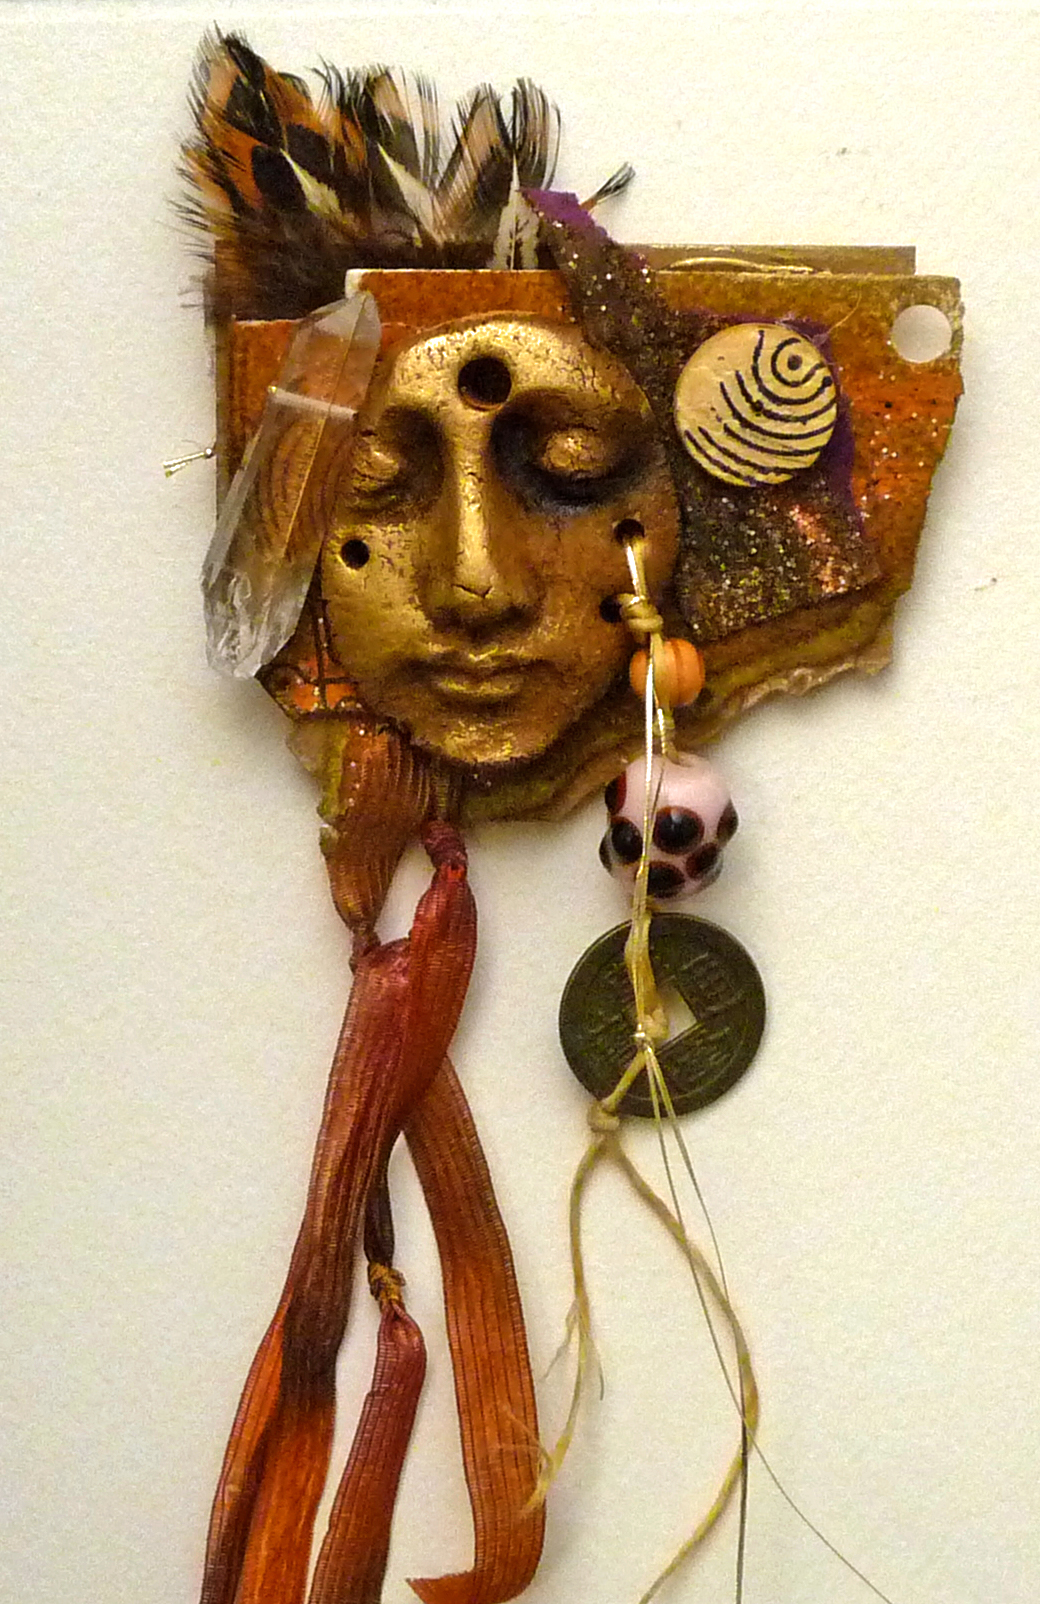
10. Quart Mason jars
 I hear my ancestors might have drunk whiskey out of these – now *that* would be an instant tranquilizer and work-stopper – but I use these for water jars, bead storage, feather storage (the cats paw at the sides trying to get to the feathers), brush storage, clay slip, glazes, spools of thread – chances are I don’t have to tell you how useful these big jars are – and they are recyclable and reusable and work as a nice vase for just-picked bunches of herbs and flowers for the Studio table. I have a friend who uses a meditation jar – she cuts strips of paper with favorite quotes and thoughts on them and keeps them in a clear Mason jar to pull out when she needs inspiration. Better even than whiskey? I imagine so.